When selected the image widget opens image specific settings in the design menu:
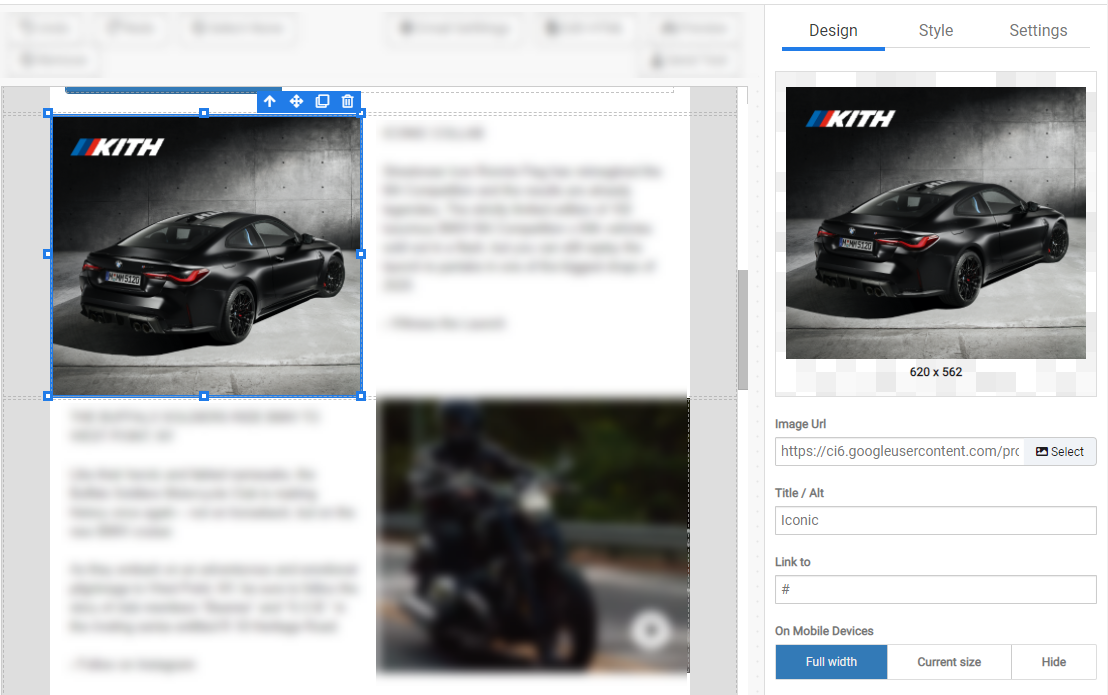
Within the image widget you can link the image to a URL (recommended). As well as set a title, which is also recommended.
At the bottom of the menu you'll find buttons that control how the image behaves on different screen sizes:
To set the dimensions of the image, click the style tab and set the width and height.
RecommendedIt is recommended that the image width is set to 100% unless the image is less than 600px wide. When set to a percentage the image can scale up-and-down for various screen sizes.
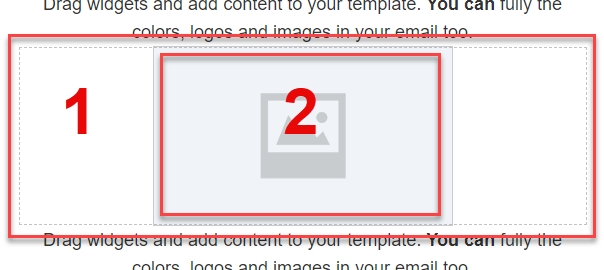
When place in the designer the image will consist of two parts. In the example below the image size was changed from 100% to 300px to be able to more easily see the image container.
The image container (1) controls all the alignment, whitespace, back ground color, and more for the image.
 Recommended
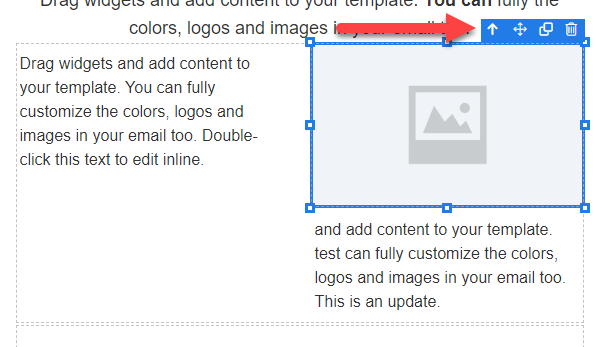
When working with an image you can select the image container by clicking the up arrow too.
Clicking Select button in the designer will open up the File Picker. From here you can select an image, upload a new image, and event edit the image.