Setting up or Editing a Web Form
To create or edit a Web Form navigate to Inbound > Web Forms.
Here you will find a list of all the Web Forms.

To edit a Web Form, click it. To create a new Web Form, click the Create Web Form button on the left menu or the + Create new button.
Create a Web Form
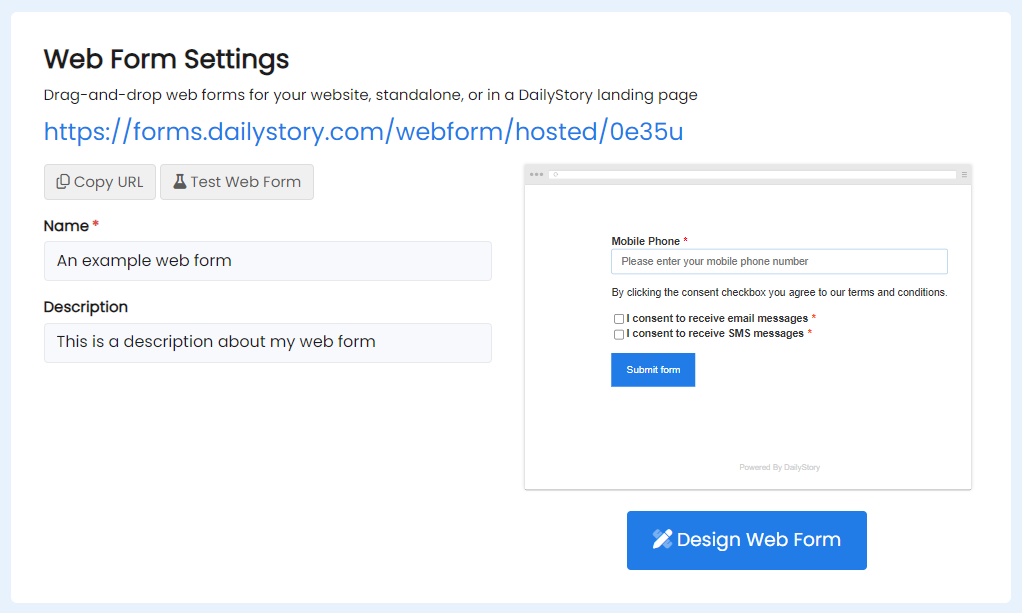
The Create Web Form screen enables you to set some basic information about the form:
- Name - the name of the form
- Description - an internal description of the form
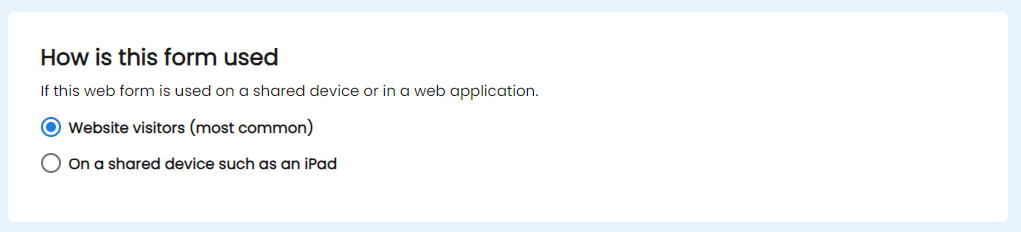
Configure how the web form is used
A web form is used is multiple ways: a self-hosted form that visitors can fill out, a form embedded in your website, a form embedded in a DailyStory landing page, or a form used on a shared device at an event.
Website visitors
By default a web form is configured for website visitors. This is the most common configuration of the web form and allows the web form to collect data about each unique visitor. It associated the submission of the form with a special identifier. Each submission of the form appends or updates data associated with the identifier linked to a contact.
This enables the form to progressively profile a visitor: as more information is submitted the contact record is appended each time with the new data.
However, if the web form is used on a shared device where multiple people may submit the same form, such as an iPad or computer at an event, it's important to configure the form to be used on a shared device.
Shared Device
When configured to be used on a shared device, each form submission is unique. DailyStory will only attempt to merge records if the submitting email address or mobile phone is linked to another contact.
RecommendedImportant: Change the form type to "On a shared device" if multiple people will use the same device to enter information into the form, such as an iPad at a trade show.
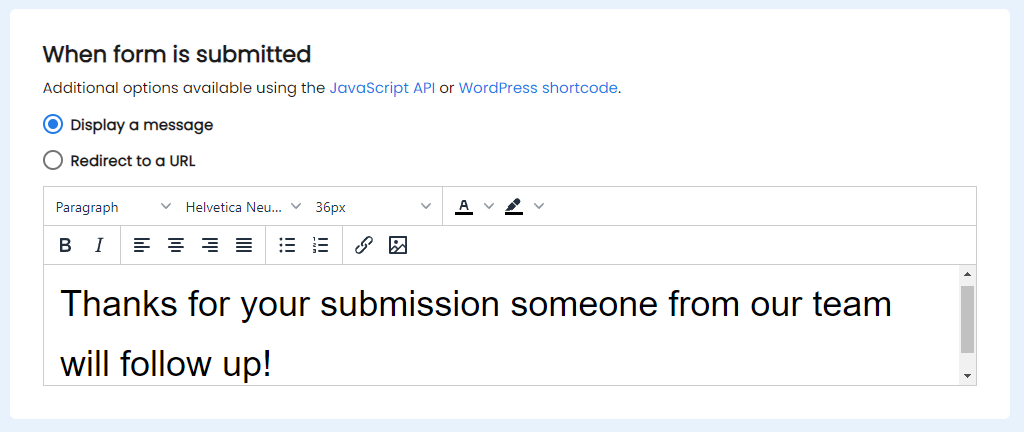
When form is submitted
When a web form is submitted there are several options for what the web form does next.
The web form can hide the form and display a message, it can be redirected to another URL - such as a thank you page, or using the JavaScript API you can perform custom actions.
SEO and Google Ads Conversion Tracking
Expanding the SEO and Google Ads section enables you to set some SEO options as well as enter a Google Ads Conversion Id. The Google Ads conversion id is submitted after the form is submitted to enable any Google Ads conversions to be credited with the conversion.

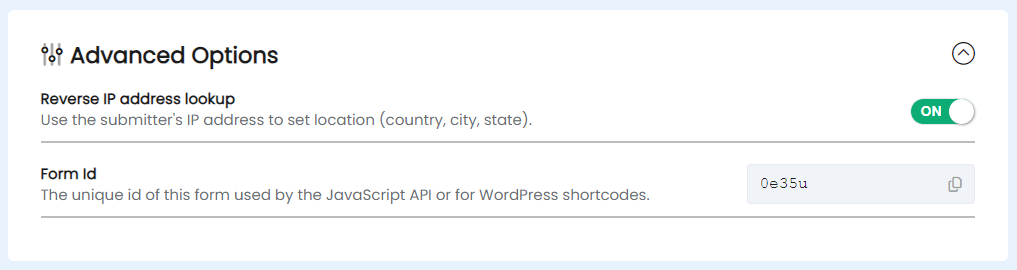
Advanced Options
Expanding the Advanced Options of the web form enables you to configure if reverse IP address lookup is enabled and access the unique form id.
Reverse IP address lookup is enabled by default. When a web form is submitted the IP address associated with the submission will be used to perform a reverse lookup to determine the location of the submitter. This is useful for scoring leads by country, excluding certain countries, building geo-location targeted segments, or running geo-location automations.
RecommendedImportant: If the web form is configured to be used on a shared device, reverse IP address lookup is disabled automatically.