Step 1: Finish Account Setup
Recommended![]()
![]()
![]()
If your account is a free account you will need to complete the account verification first prior to accessing some of these account settings.
Basic Account Details
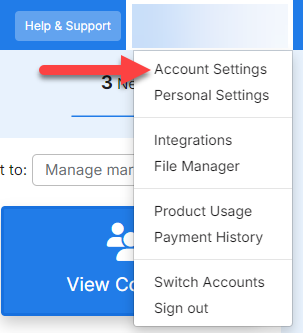
There are several important account settings you'll need to set up before you get started. Navigate to your user profile menu in the top right hand corner to access your Account Settings:
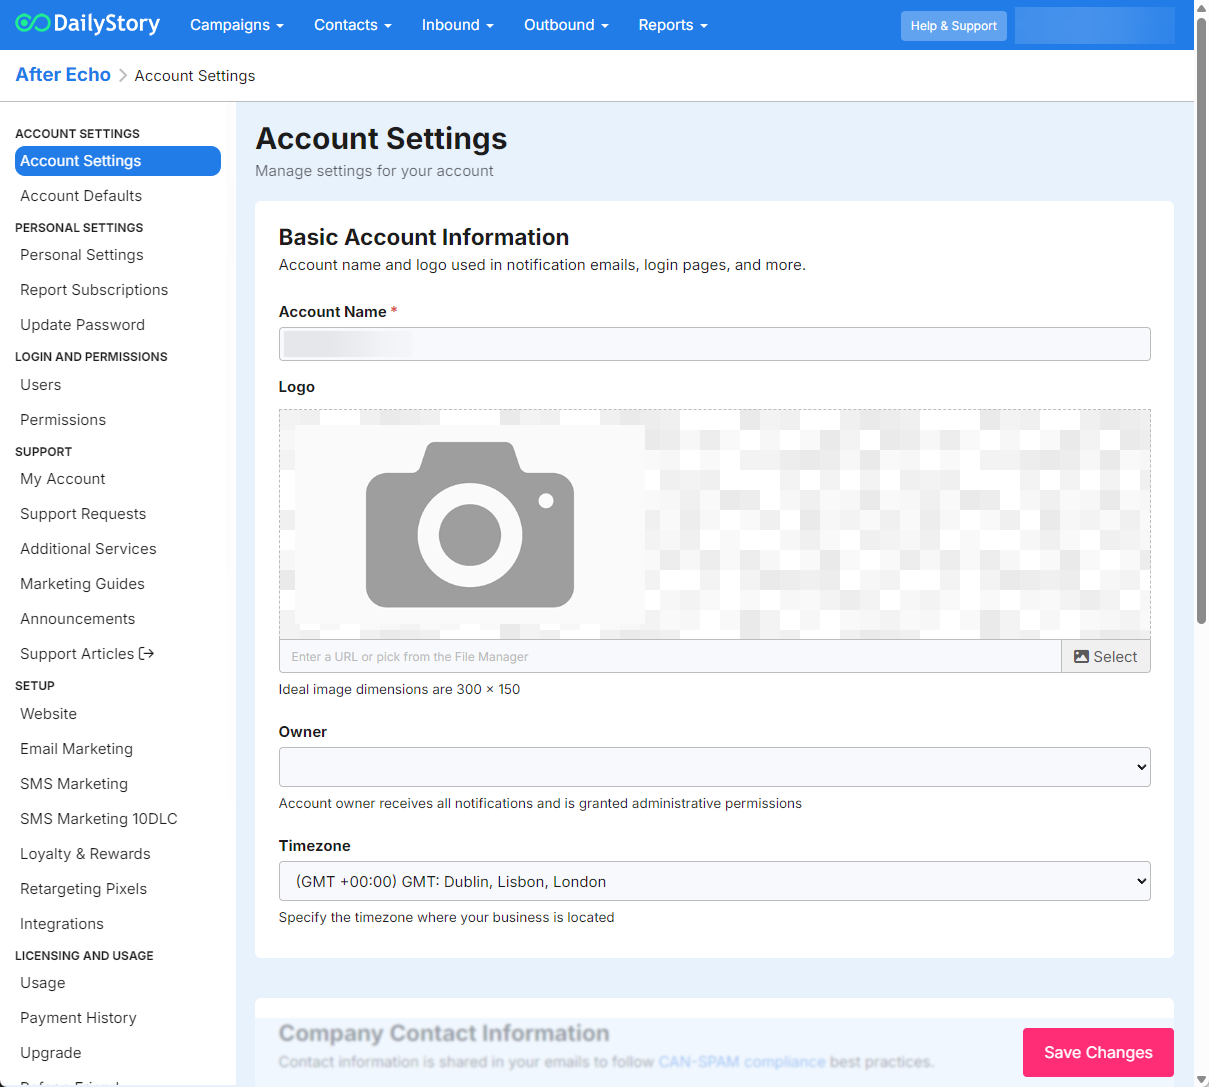
Company Settings
From the Account Settings section:
- Verify Account Name (upload your logo, recommended).
- Verify Account Owner.
- Set the time zone for your company. This determines the time zone for scheduled content.
The Account Owner is a super-user and is not restricted by roles / permissions.
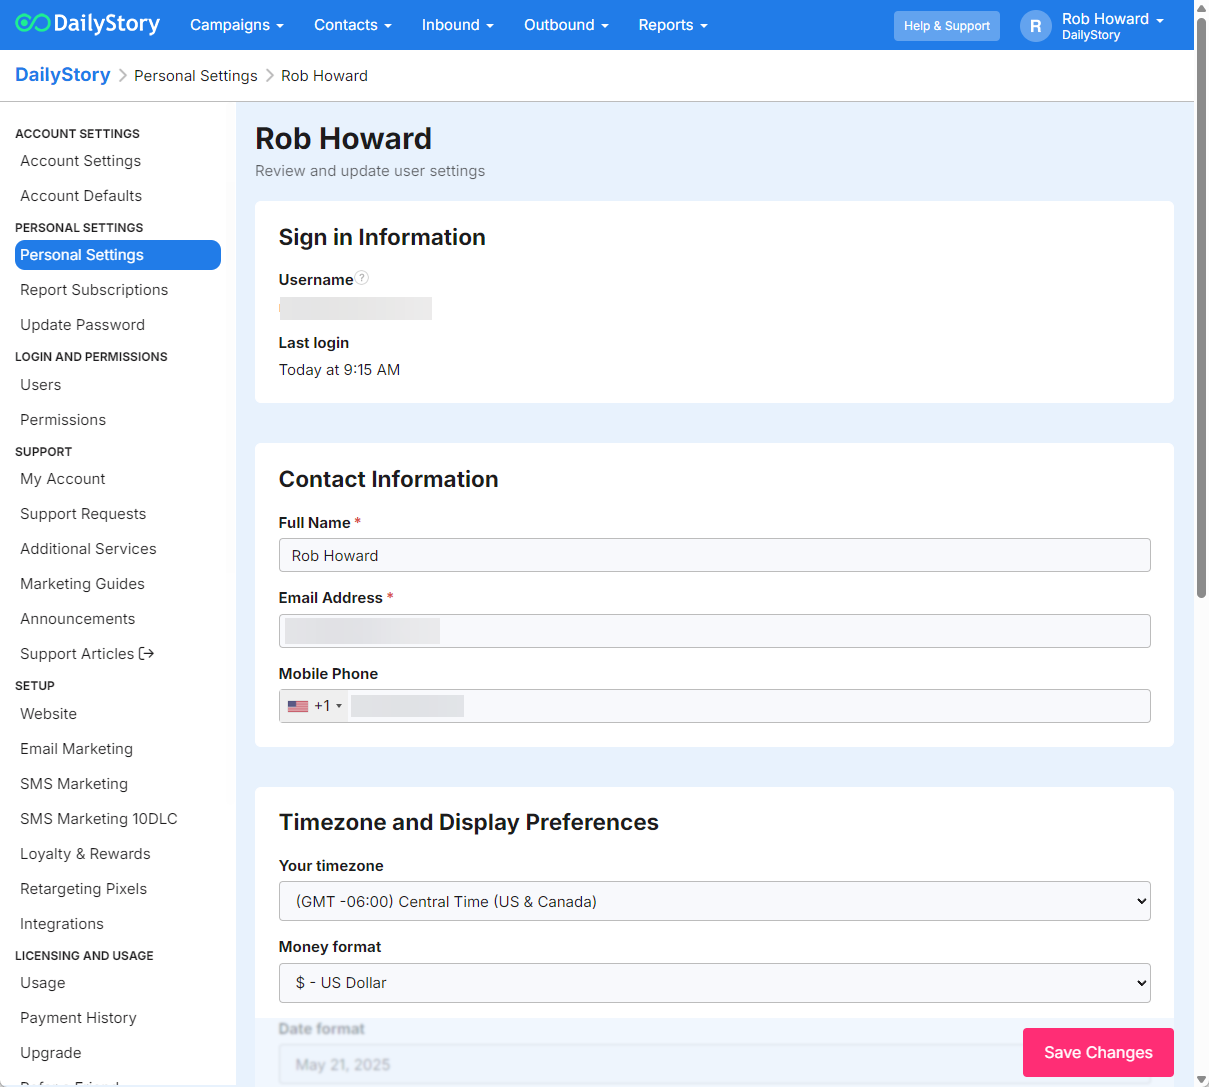
Personal Settings
- Add your email and mobile phone information.
- Set your personal time zone and day and time format.
- Select personal notifications.