Editing a campaign
You can edit the campaign's information and settings on its edit page.
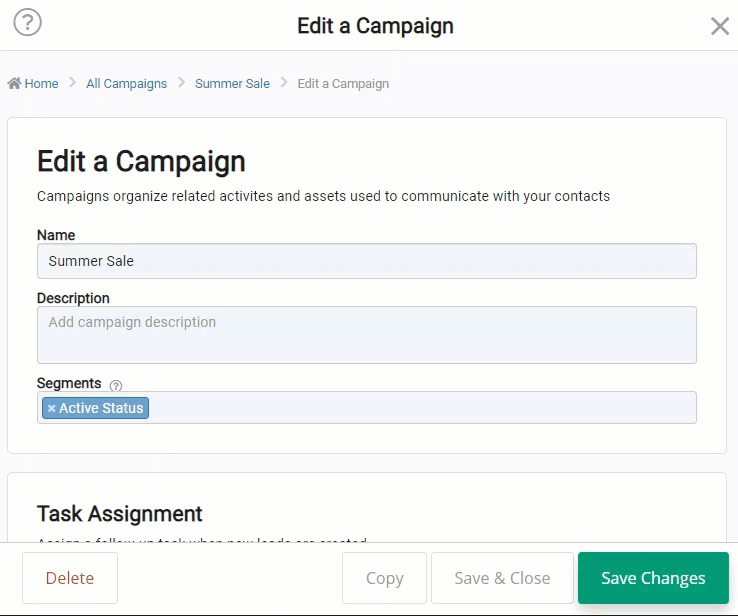
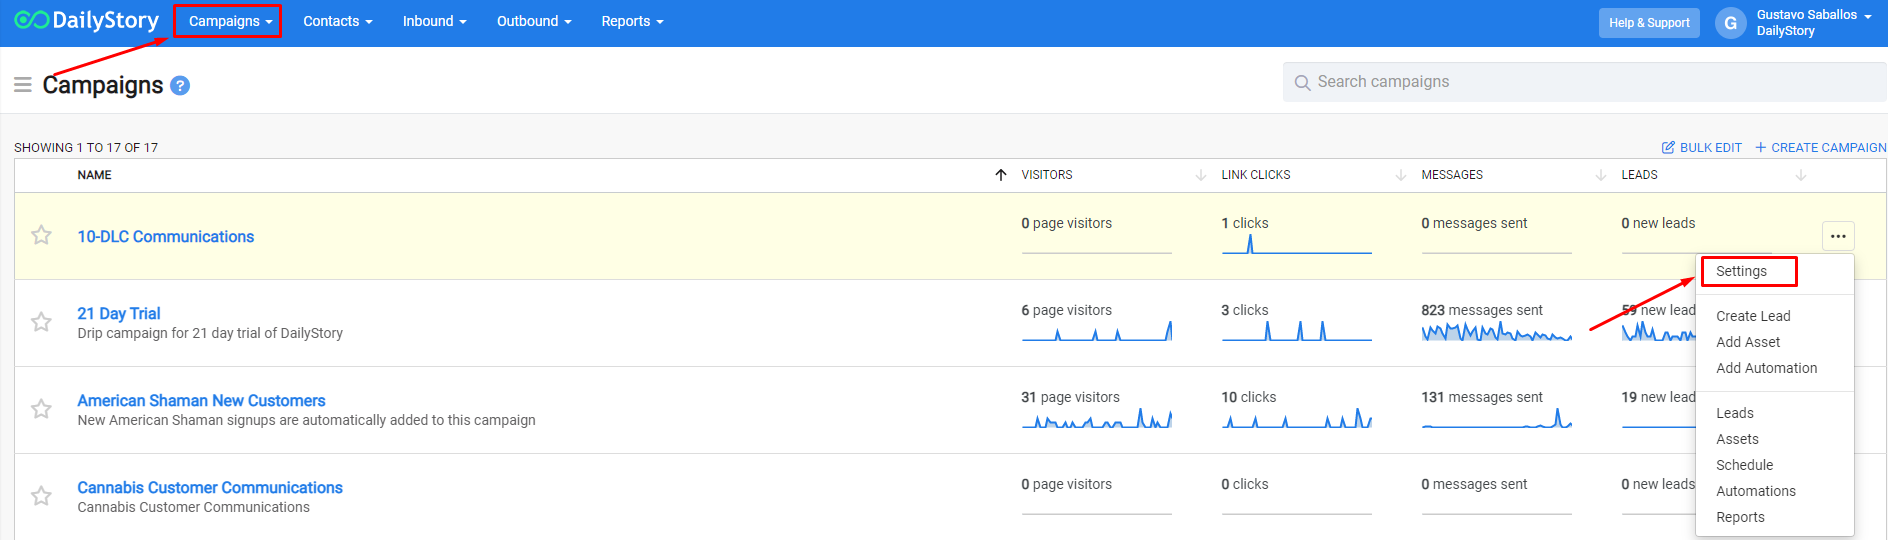
To access a campaign's edit page, you can use any of the following methods:
- From the main campaign list, click on the More options button at the right-hand side of the campaign, and then select Edit Campaign. The campaign's edit page is displayed.
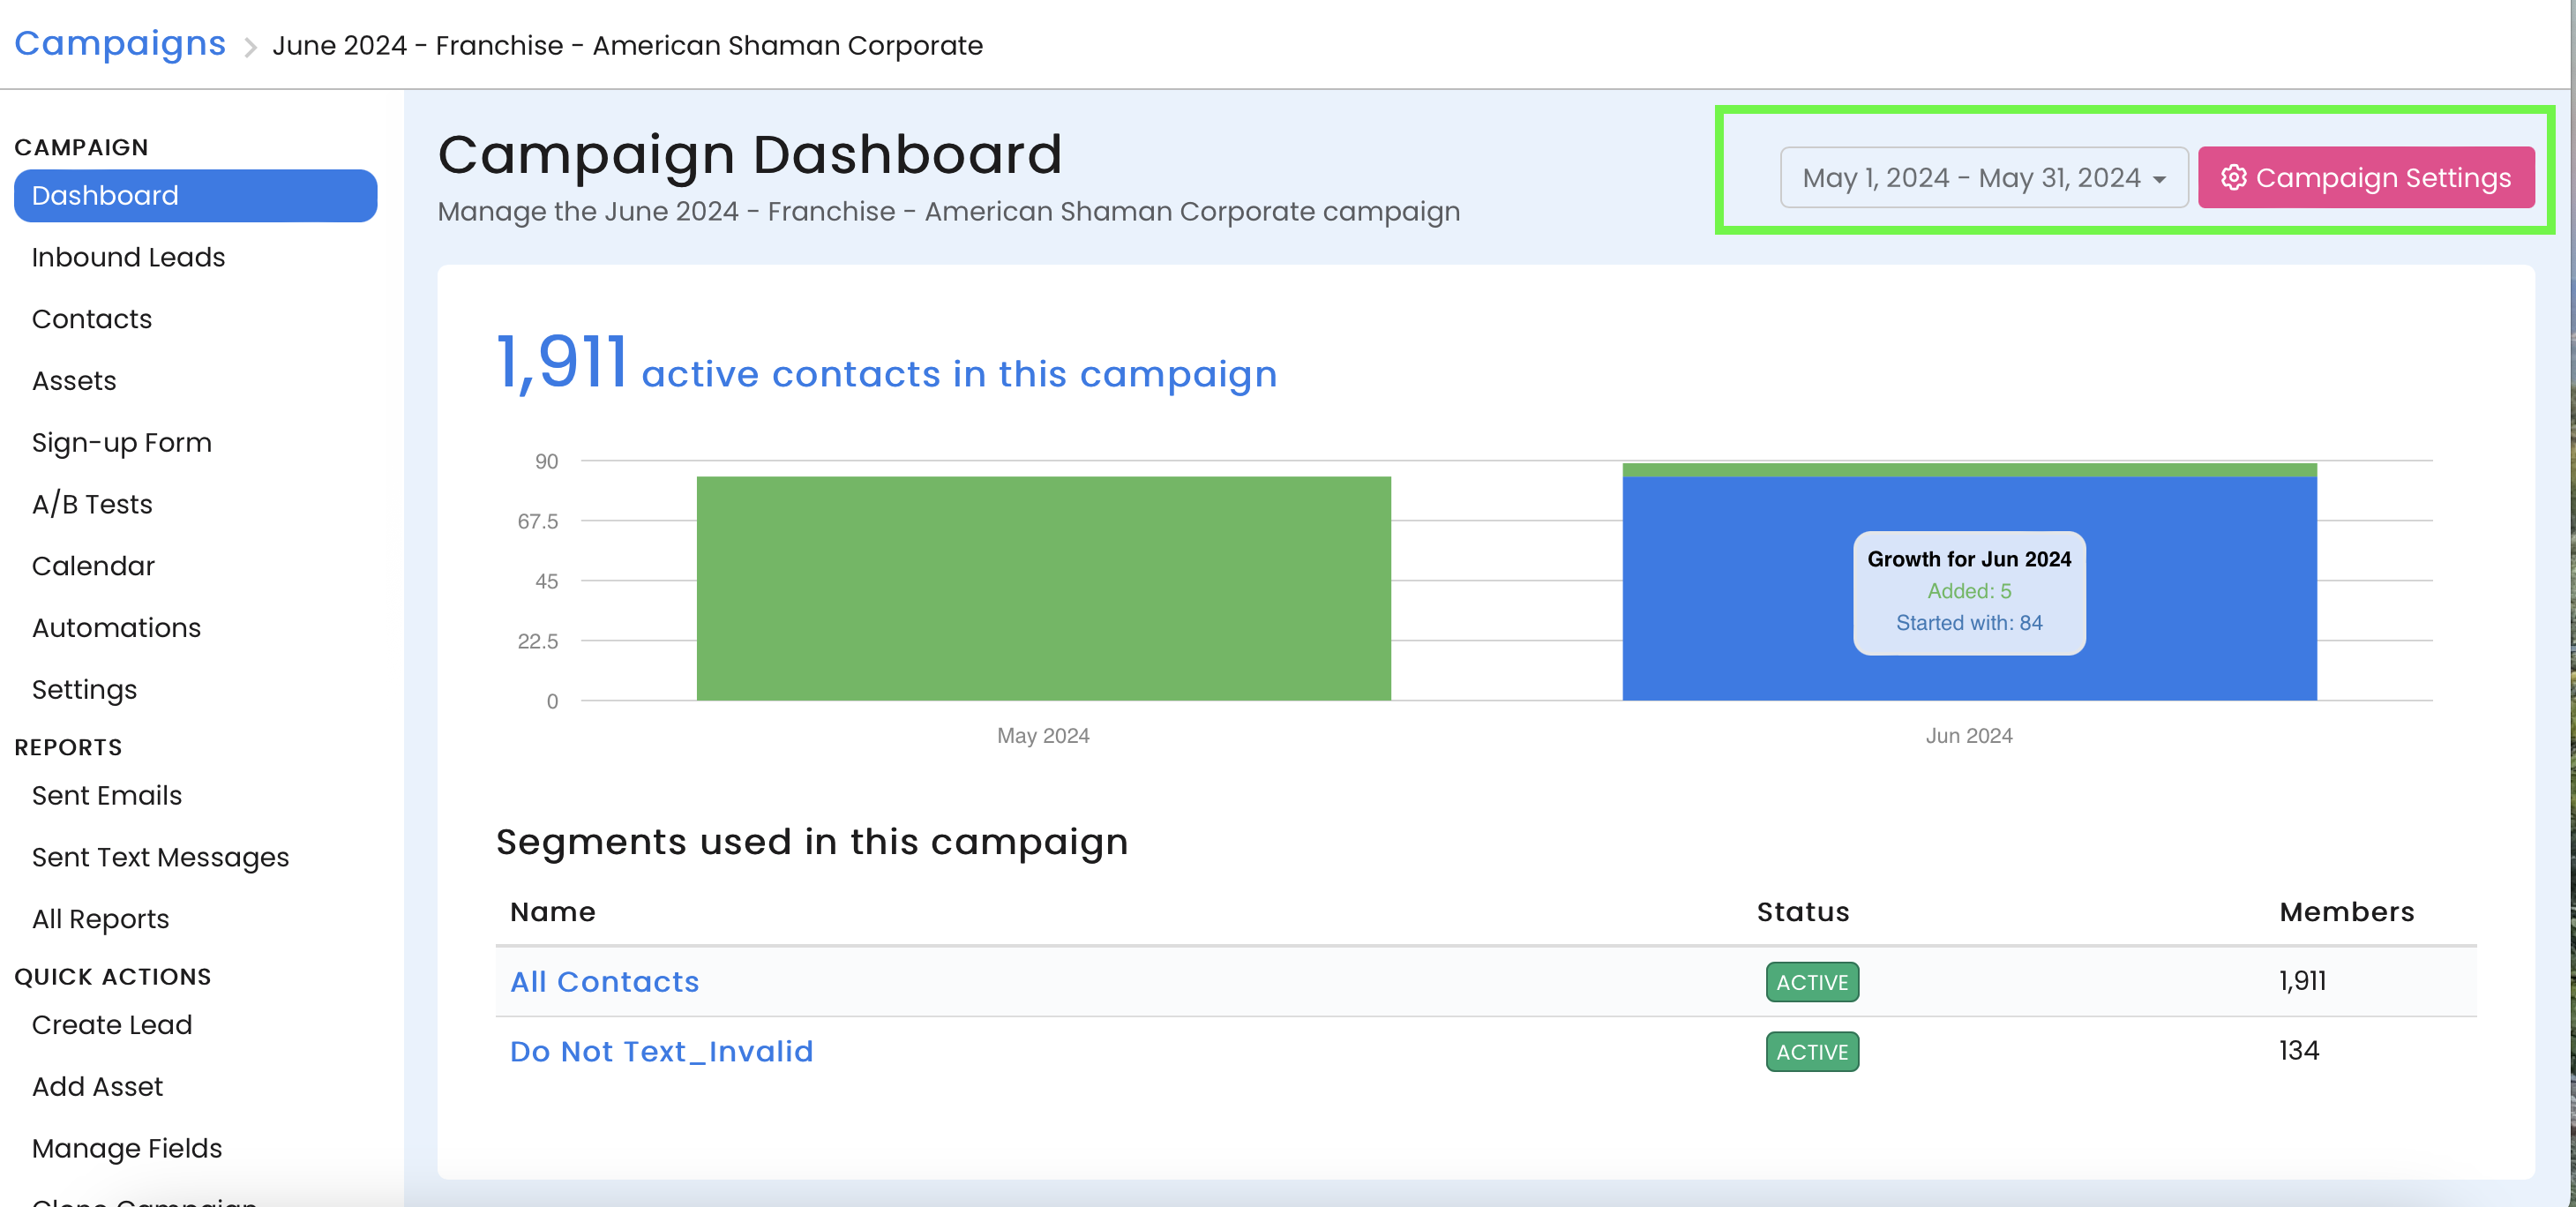
- Open a campaign, and then open the
Campaign Settings button. Select Edit to display the campaign's edit page.
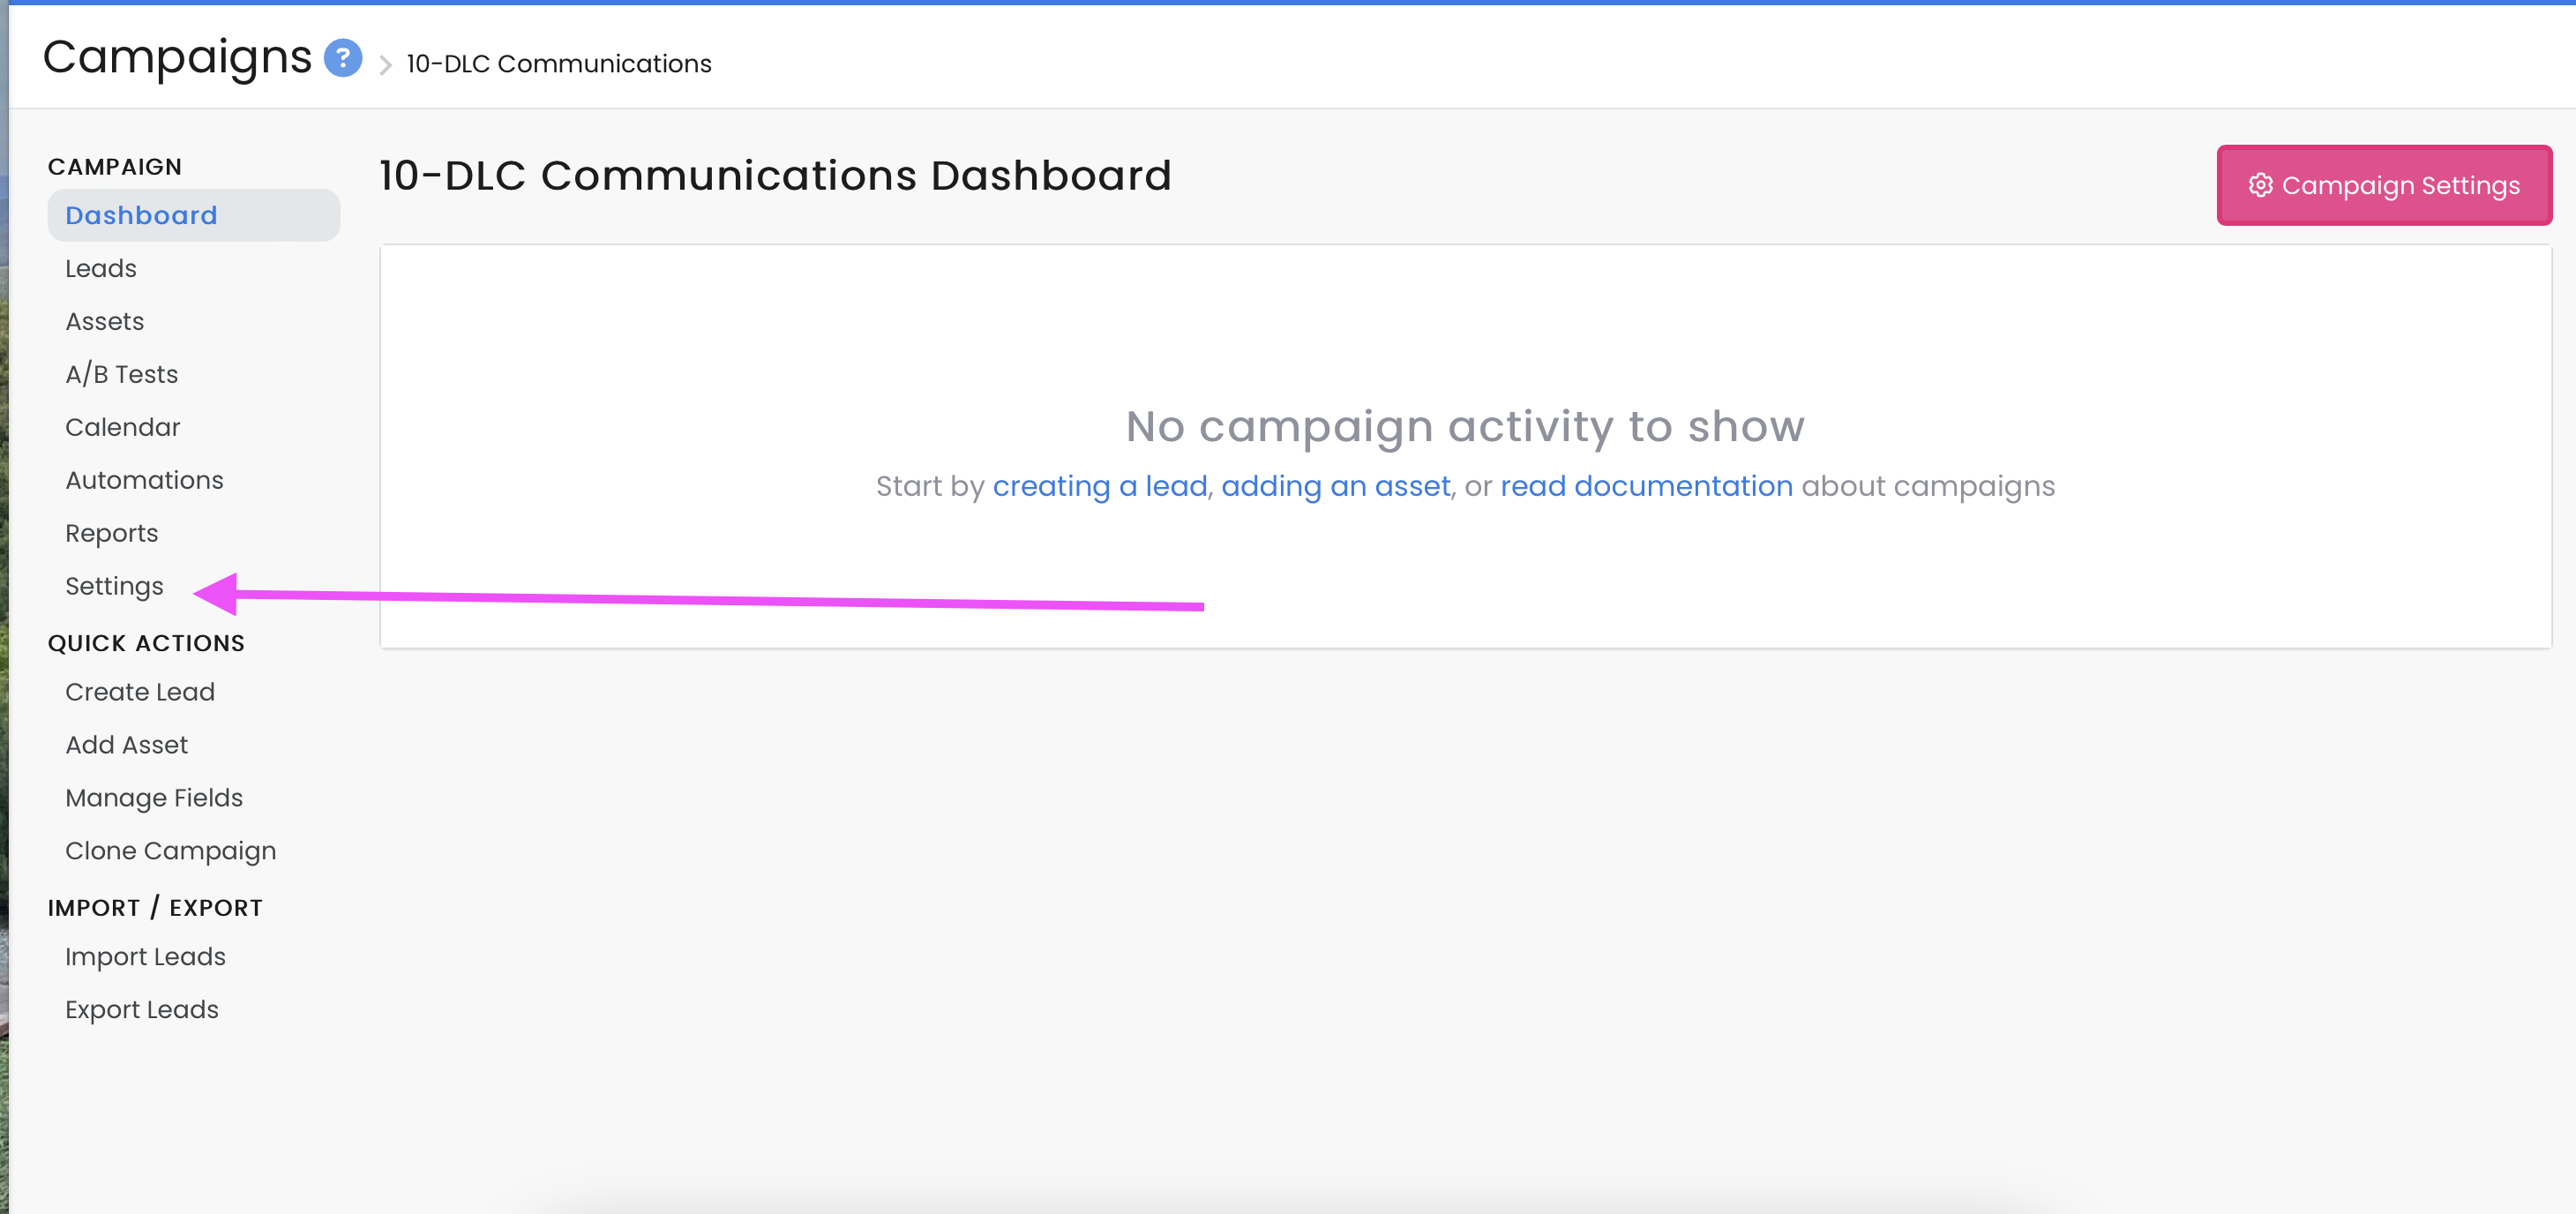
- Open a campaign, then select
Settingson the list of options.
 Recommended
Tip: To understand the campaign settings on the edit page, refer to Creating a campaign.