Design an Automation
The automation designer is a drag-and-drop designer used to visually build automations.
Automations are located inside a campaign and built with three elements: Triggers, Actions and Conditions. Collectively, these are called blocks in the Automation Designer.
- Triggers - blocks that start a workflow. For example, when a form is completed.
- Actions - blocks that do something. For example, send an email.
- Conditions - blocks that evaluate something. For example, was an email clicked.
An automation must be assigned to a campaign and must always start with a Trigger.
Below is an example of DailyStory's 14-day trial automation that drips a set of emails over time to people who start a trial:
 Recommended
Automations are always associated to a campaign, while triggers are always applied to leads within the campaign. For example, a trigger that starts when a pop-up is completed is associated with pop-ups within that campaign.
Drag-and-drop Blocks
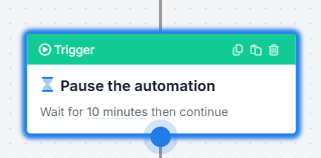
To add blocks to the design canvas, simply drag-and-drop them. When you mouse over a block, the mouse cursor will change to a move arrow:
Click and hold a block and drag it onto the design surface. When you drop a block, it can either be the first block — which can only be a trigger — or it can snap to a parent block.
When a block can snap to a parent block a blue dot will highlight this:
Releasing the mouse button will snap the blocks together.
RecommendedNote: Some blocks can only connect to other blocks. When this is the case you'll receive a message in the designer.
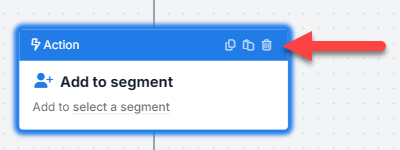
Remove a Block
To remove a Block, click the trash can icon on the block:
You will be asked to confirm that you wish to remove the block.
Copy / Paste Block
If you are working with many similar blocks, sometimes it's easier to copy/paste vs dragging/dropping. Use the icons next to the delete button to copy or paste a block. Pasted blocks will be added below the current block.
Replacing the Start Trigger Block
For some automations you may find that you want to change the start trigger for the automation. If you delete the start trigger you will see:
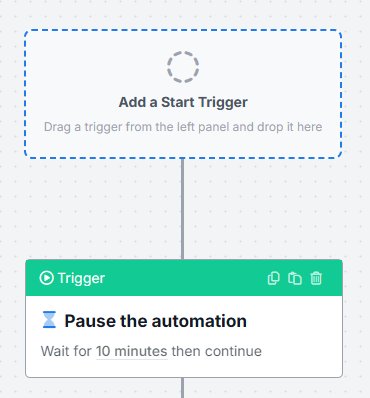
Simply drag and drop a new start trigger into the placeholder.
Block Properties
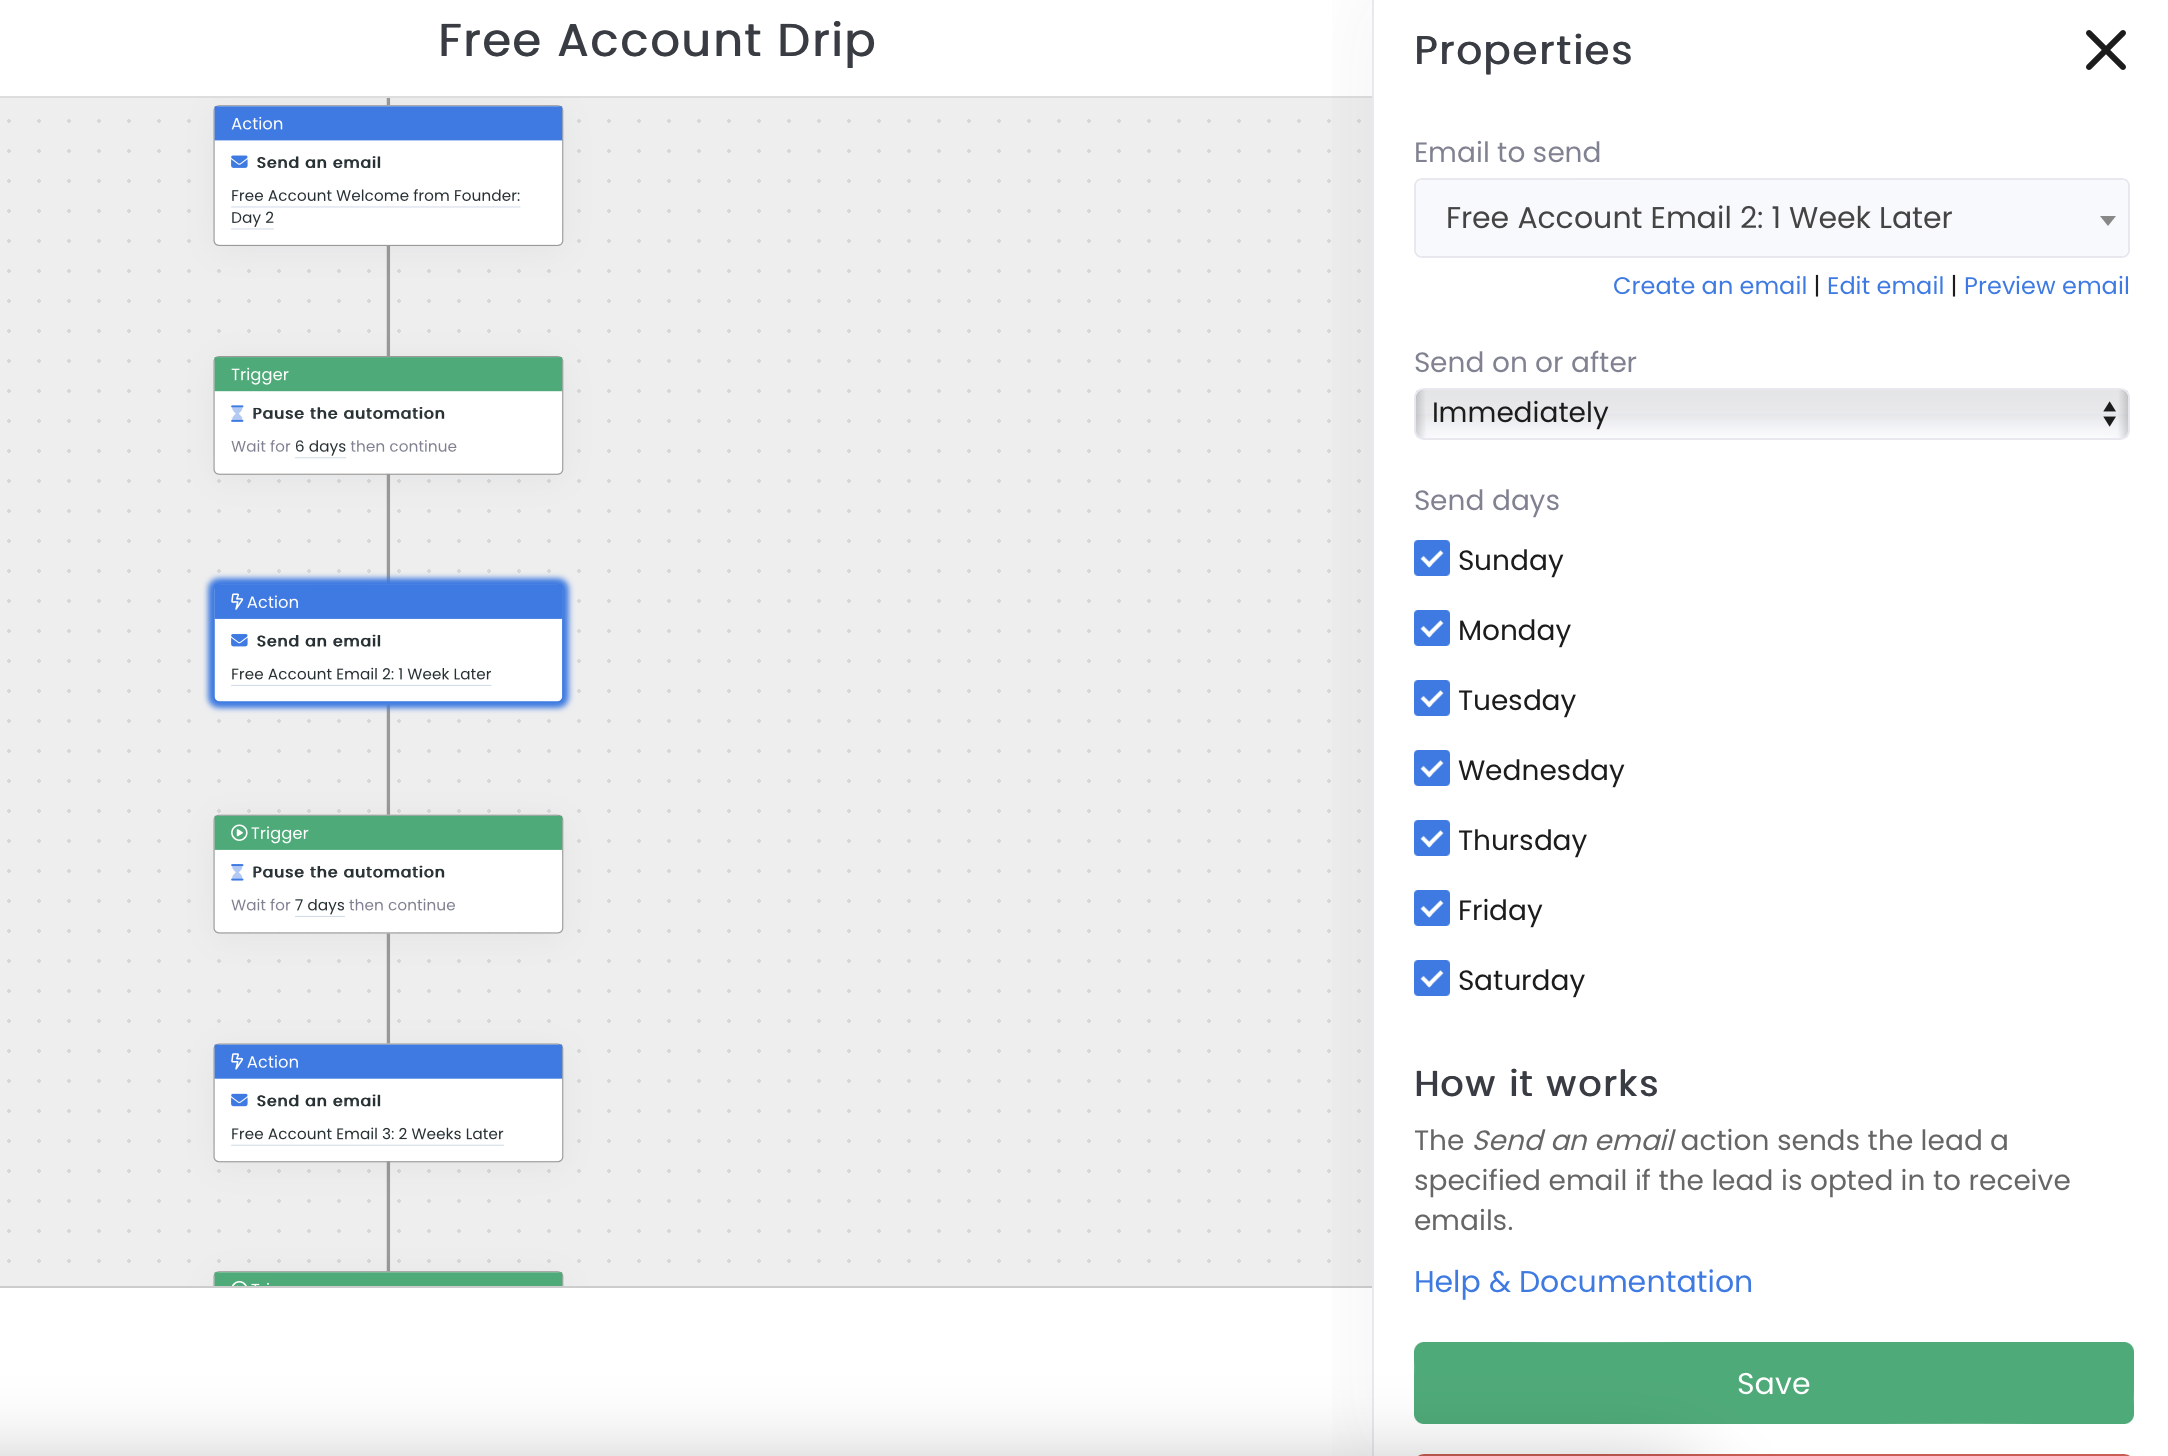
When a block is selected on the designer (outlined in blue), a menu on the right side of the screen will open with additional properties for that block.
Below the Send an Email block is clicked and properties relevant to this action can be configured:
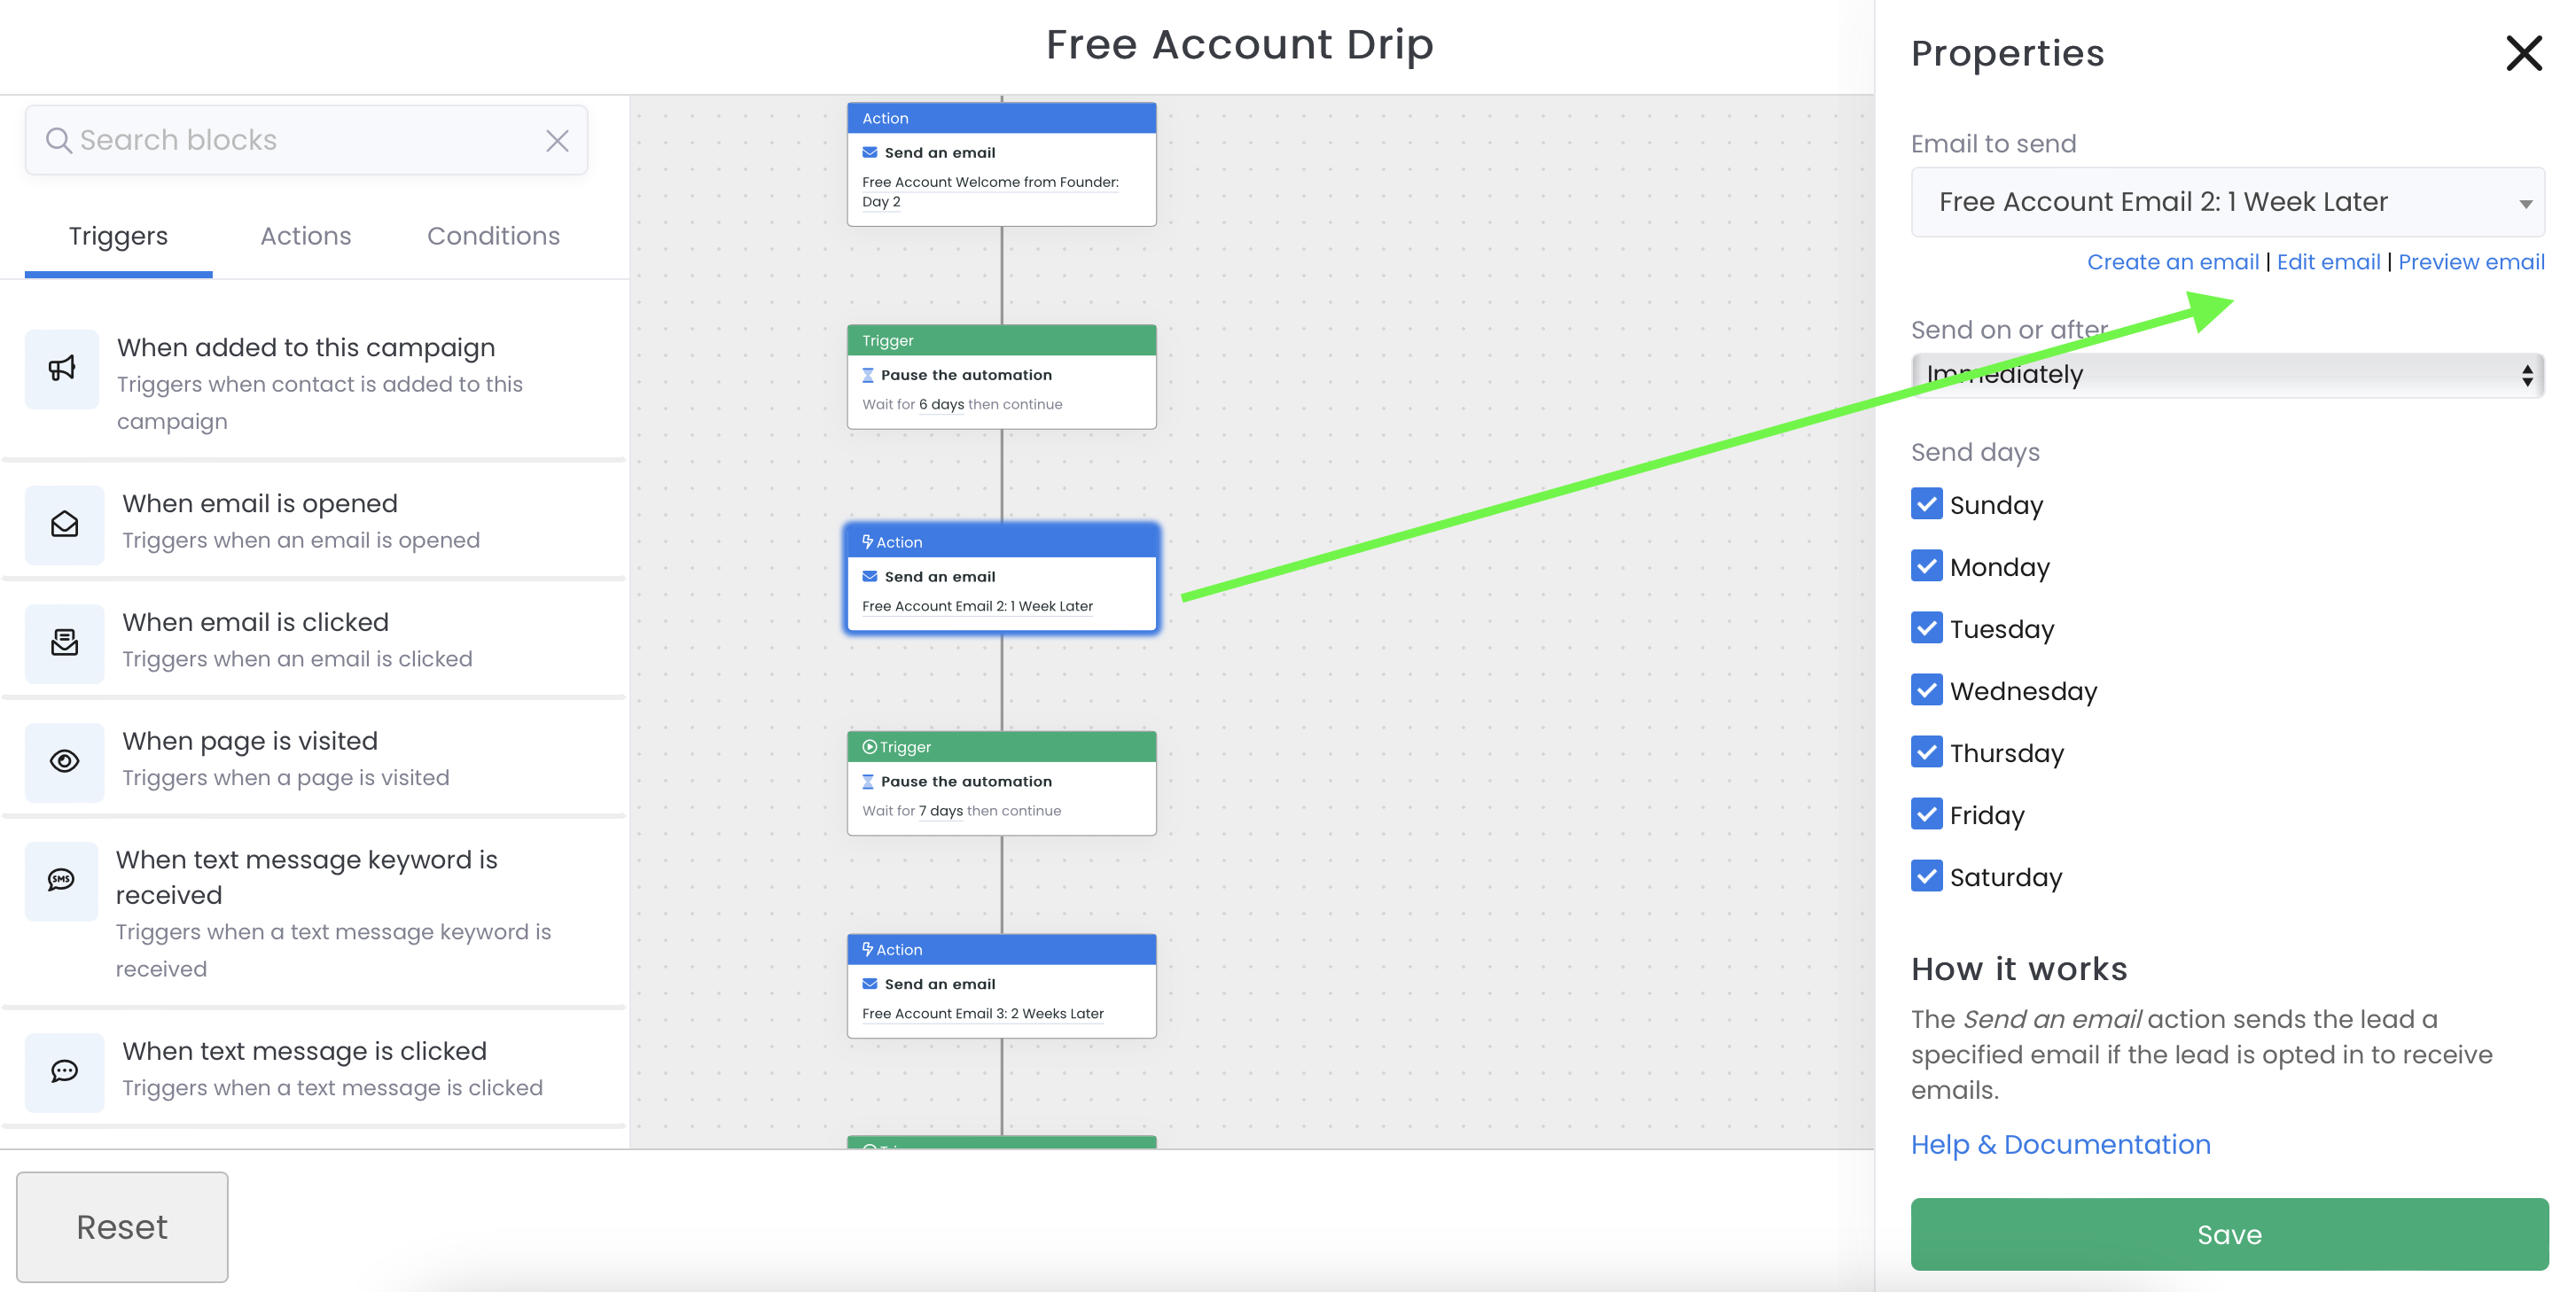
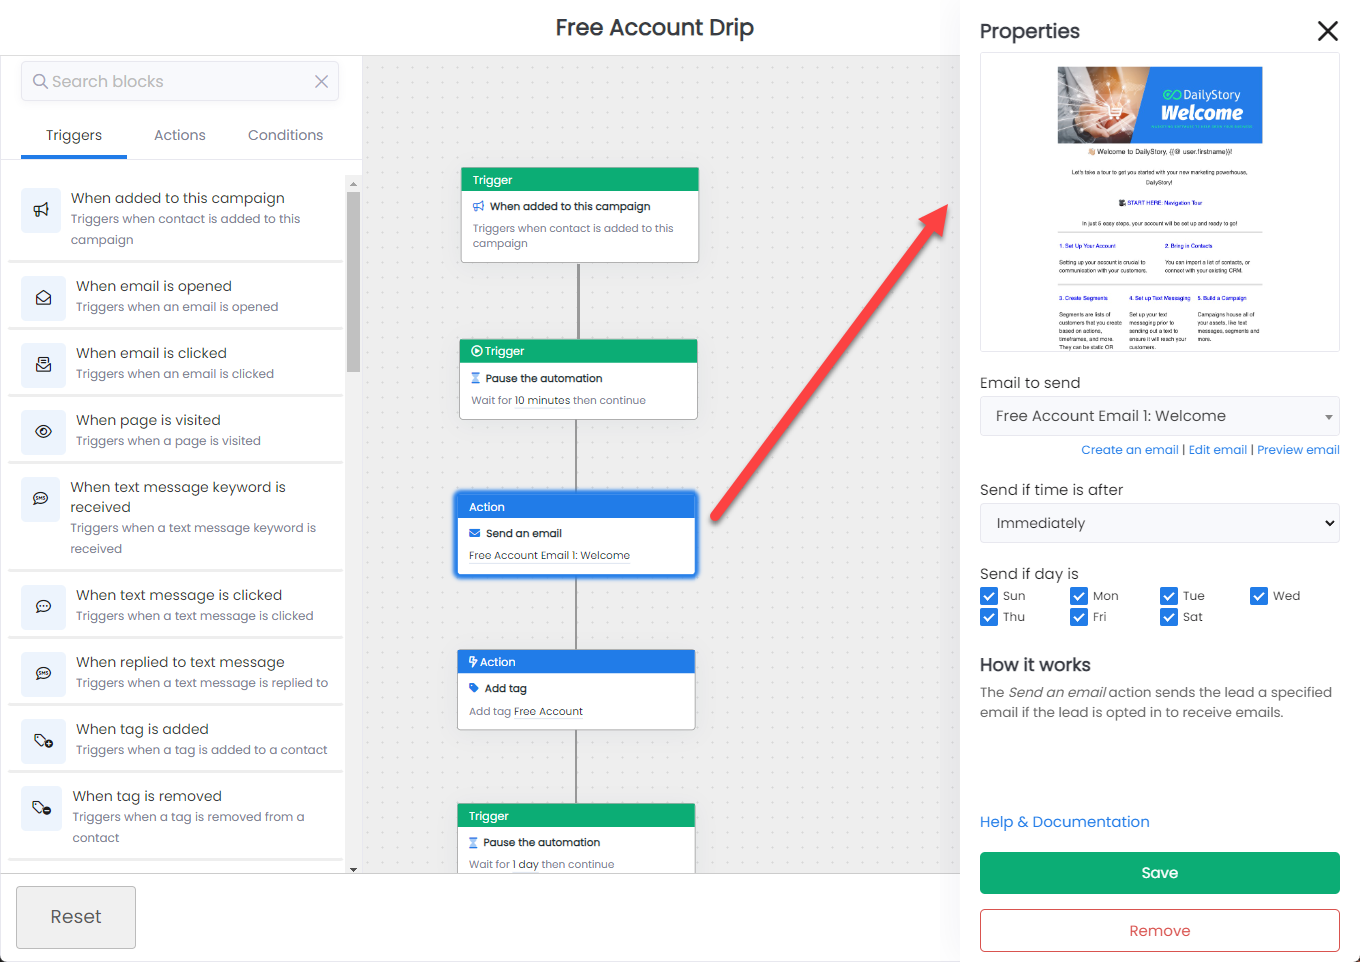
Preview an asset
Within the automation, you can create, edit or preview certain types of assets (such as email or SMS):
Save, Reset, or Delete
The buttons on the top right of the designer are used to save the current copy automation your are editing or to delete the automation. You can also reset the designer, which removes all the blocks.
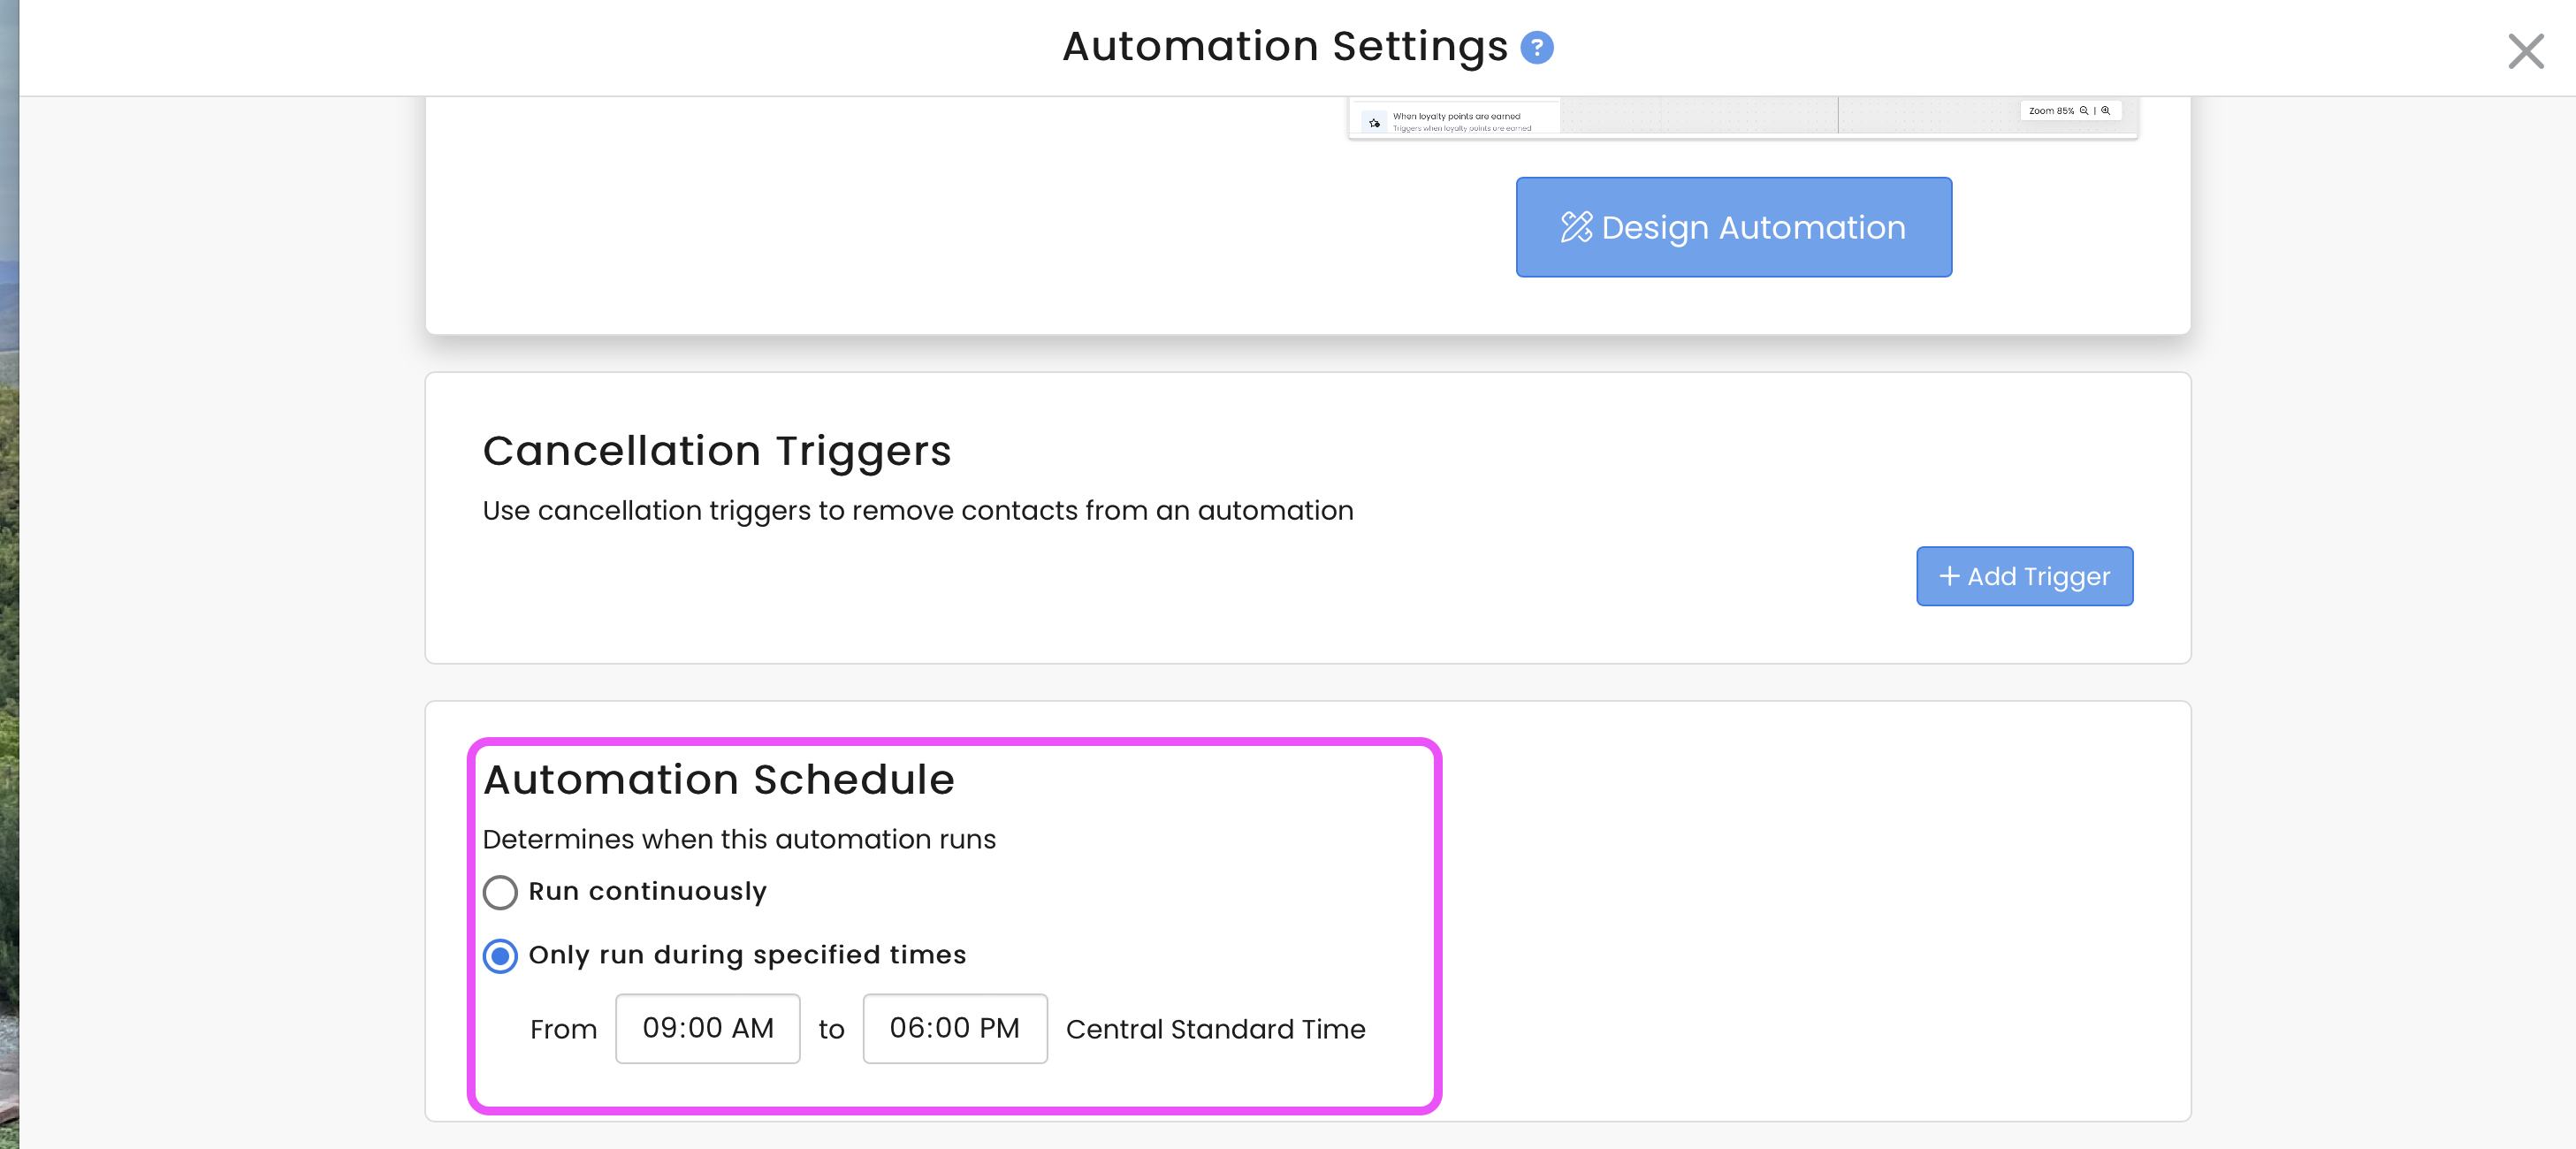
RecommendedNote: When a new automation is first created, it is disabled by default. You need to enable the automation to start using it, and we also encourage you to an Automation Schedule to avoid sending SMS messaging late at night or early in the morning.