Design a Web Form
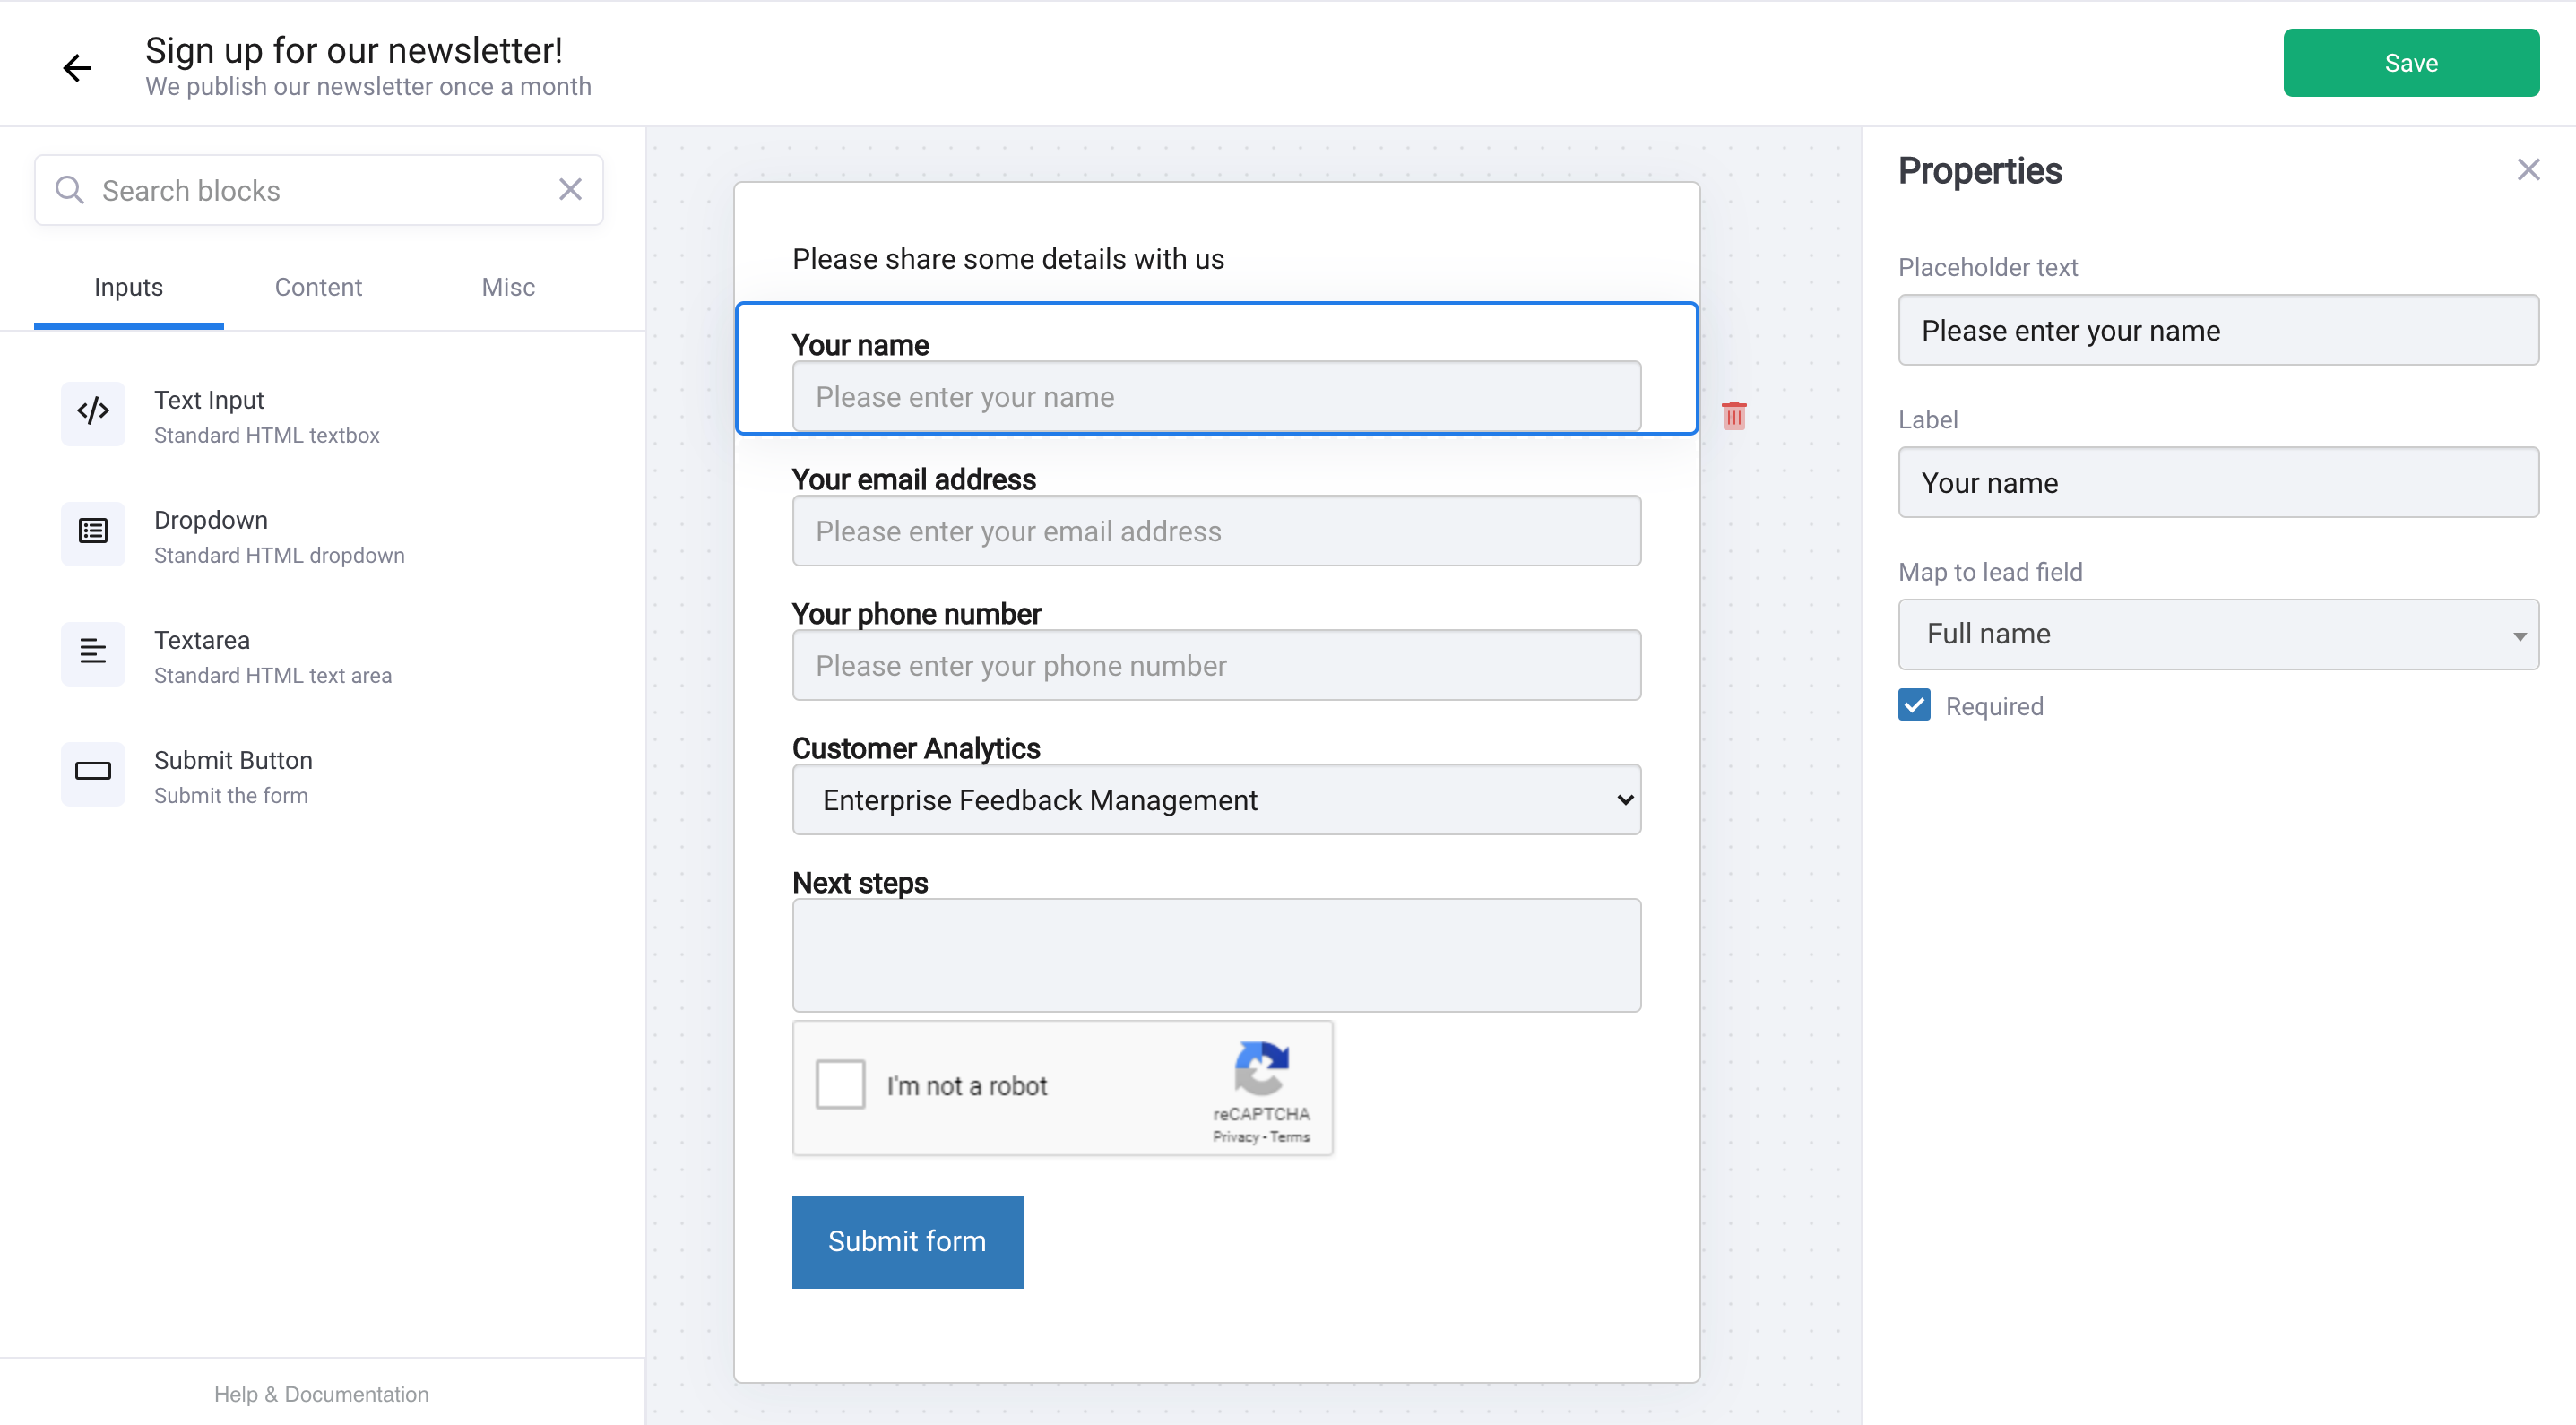
Building Web Forms with the DailyStory Web Form designer is simple. In the designer, a completed form may look something like this - with multiple text boxes, a reCAPTCHA and a submit button:
Adding items to the designer is as simple as dragging from the left options pane and dropping onto the design surface.
Drag-and-drop Form Items
Drag-and-drop form items onto the design surface:
Once added to the design surface, form elements can be selected and re-arranged by dragging them up or down.
RecommendedTo create a web form, you must have either an email address or mobile number field as part of the form. We must have one or the other to be used as the unique identifier for the contact record.
Re-arrange Form Item Order
Form elements can be selected and dragged to re-order then:

Form Items
There are 3 types of form items that can be added to the Web Form designer (with more planned):
- Inputs - text boxes, drop downs, checkboxes, and text areas.
- Content - HTML text and labels.
- Misc - reCAPTCHA
Input Form Items
Input form items are used to collect data, such as first name and email address.
Email address field
The email address field is a special field that automatically validates and maps to the contact's email address.
Text field
The text field gives the user the ability to enter information that is mapped to a contact record, such as their name. When an input form item is added to the designer, a menu on the right-side opens up with options. The screenshot below shows the options for Text Input:
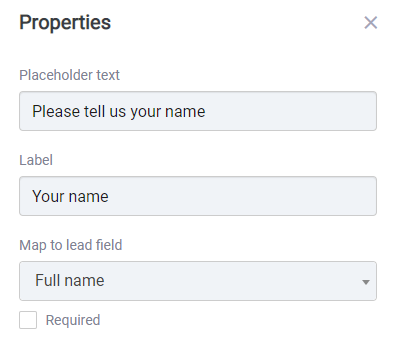
Use Placeholder text to set text in the text input. This enables people completing the form with additional detail on what information they need to enter.
Use Label to optionally set a label for the form.
Map to lead field (required) tells DailyStory how to handle this data when it is submitted. In the screenshot above the input text will populate a lead's Full name field.
Required checkbox indicates if the person completing this form is required to enter data for this field.
As you set options on the form items, those options are reflected in the designer:
 Recommended
When asking for contact information, it's always better to ask for a first name and last name separately versus the "full name".
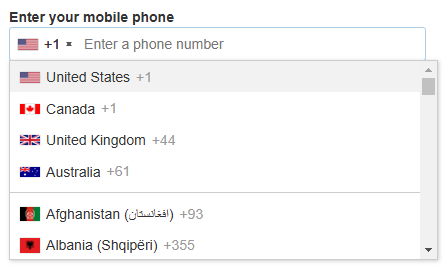
Phone number field
The phone number field is a special field used exclusively for entering phone numbers. The standard text field can also be used to collect phone numbers, but the difference is that the phone number field has a unique user experience which allows for selecting the country code:
Hidden Text field
The hidden text field gives the user the ability to enter information that is mapped to a contact record, but is hidden and not editable by the user.
Multi-line text field
The multi-line text (HTML textarea) field is similar to a text field, but allows for longer entries. For example, on a contact us form asking for more details.
Checkbox
Add an HTML checkbox field to your form.
Unlike other fields, the label of a checkbox is displayed inline and to the right of the checkbox:
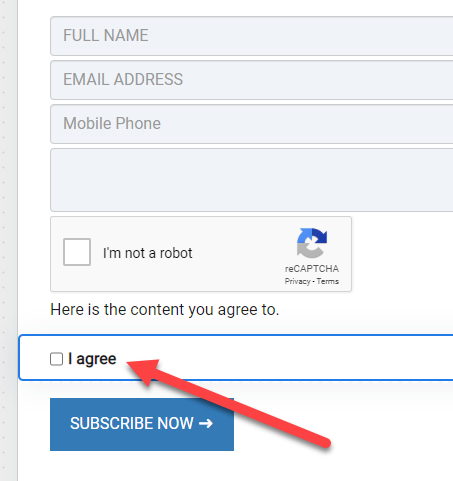
The checkbox field should be mapped to a custom field that is of type True/False or Yes/No.
Dropdown
The Dropdown contains a pre-populated list of values that is selected from.
The Dropdown form item has some additional options. Specifically, the ability to populate a list of options for the dropdown:
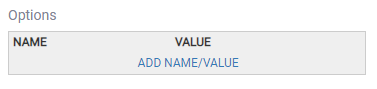
To add a name (displayed) and value (what is saved) click Add Name/Value. This will open a new window where you can add a name and a value.
RecommendedIf you've added several name/values you can rearrange the order by clicking and dragging.
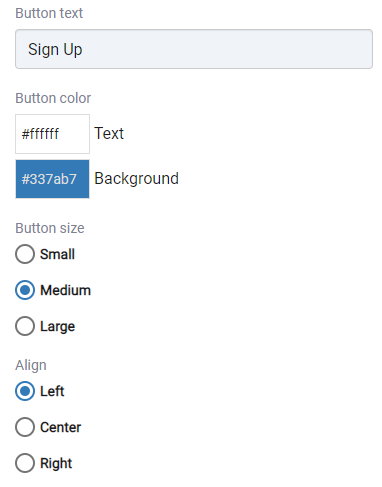
Submit button
Every form must contain a submit button. The submit button text can be set, along with a number of other options as shown below:
Content Form Items
Content form items enable you to easily add labels or HTML text onto your form.
RecommendedWhile labels are supported as content form items, it is better to use the label option on the form item itself.
Label
The Label is used to add an additional label to an area of your form. This is useful if you want to create a section for certain form elements.
Rich Content / HTML
The Rich Content / HTML is used to add any additional content (images, video, text) to your form.
Also remember that a form can additionally be embedded in a DailyStory landing page.
Misc Form Items
The Misc Form Items provides a list of additional items that may be added to your form.
- Share Buttons which allow this form to be shared with others.
- SMS Consent optains consent to send SMS marketing
- Email Consent optains consent to send email marketing
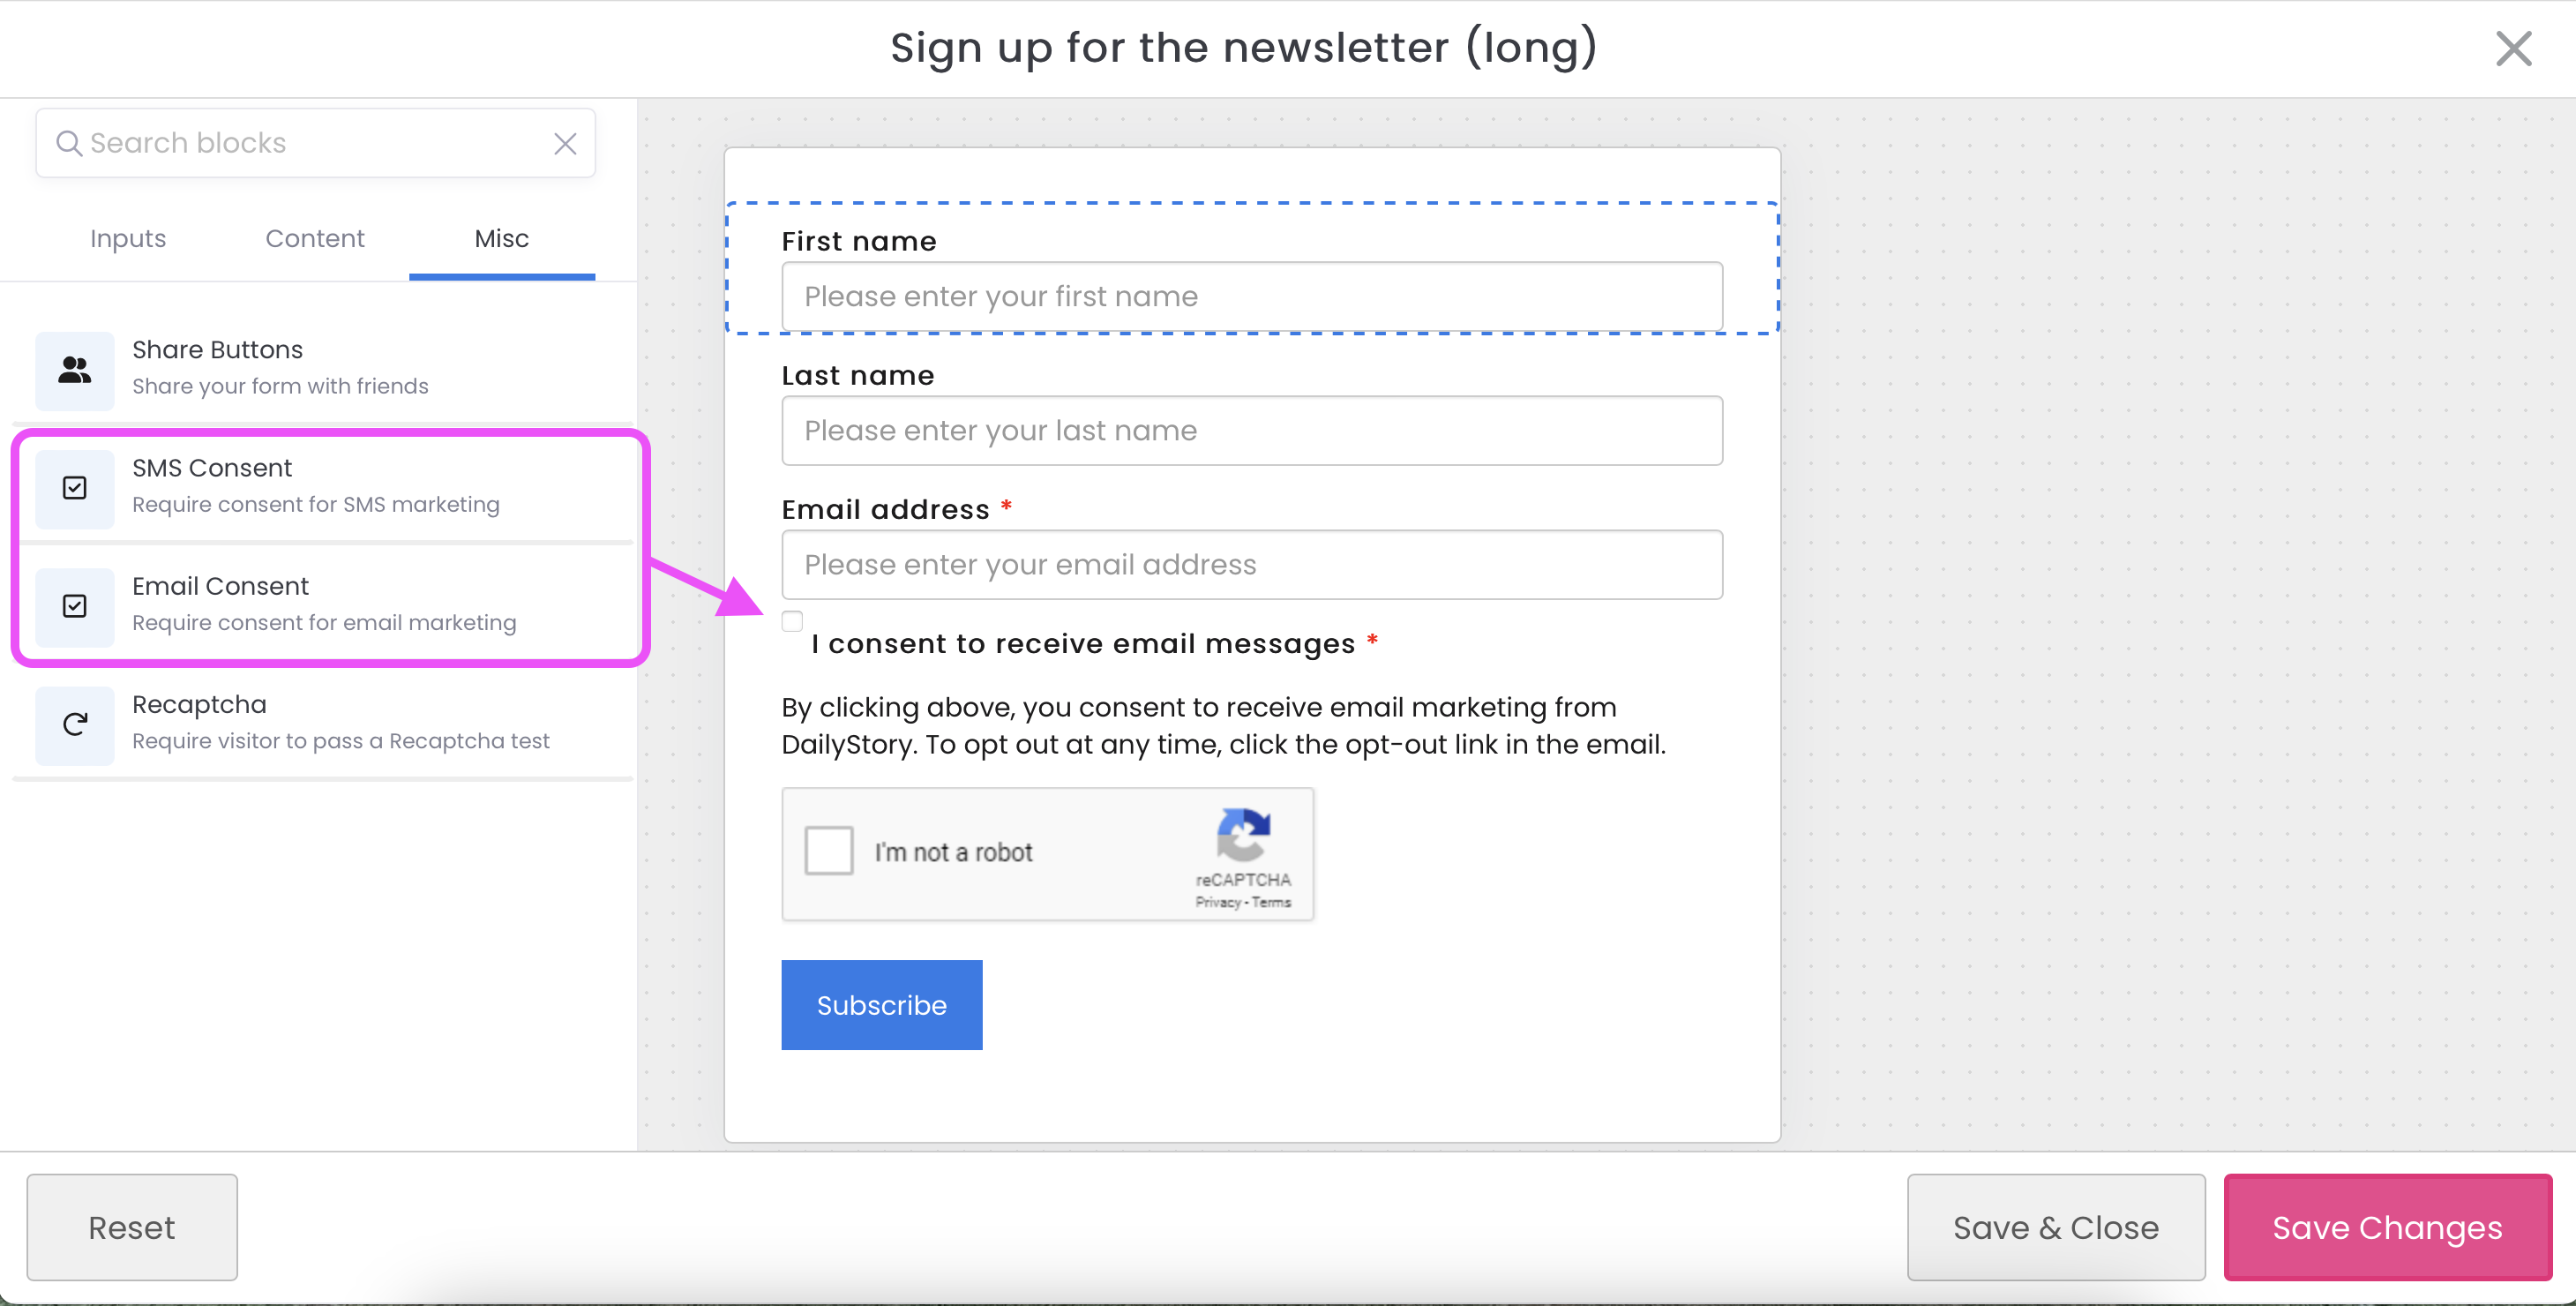
- reCAPTCHA which allows you to determine if a user is a bot or human.
If reCAPTCHA integration is configured you can add the reCAPTCHA widget to your form.
RecommendedProvided by Google, reCAPTCHA is a free service that protects your website from spam and abuse by adding a simple test to your web or mobile experience.