Twilio Integration
The DailyStory integration with Twilio enables you to use the power of DailyStory's marketing and automation tools with a powerful cloud communications platform: Twilio
When enabled, Twilio allows you to:
- Send text message campaigns and receive text message replies.
- Send push notifications to iOS and Android apps registered to your contacts.
The configuration for push notification requires Step 4 below which does not need to be done if you are only using text messages.
Configuring Twilio Integration
If you already have a Twilio account, you can skip to step 2.
- Create a Twilio Account
Visit Twilio and create an account.
You can create a free account that comes with enough credits for you to experiment with DailyStory's Twilio integration, but we recommend upgrading to a paid account as quickly as possible. You can start with as low as $20 as a credit on your Twilio account.
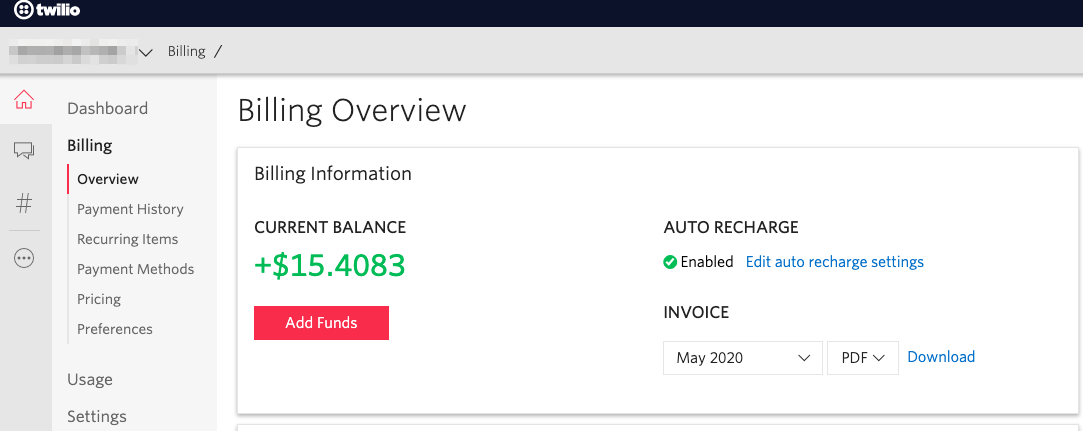
We also strongly encourage enabling "Auto Recharge" when you setup Twilio your billing information. This will automatically refill your account so that your balance never goes to zero.
WarningIf you don't enable Twilio's auto recharge feature so that Twilio can auto-bill your credit card you risk messages not getting delivered if your balance goes to zero.
- Twilio API Credentials
After creating your account, you are ready for the first setup to connect Twilio to DailyStory.
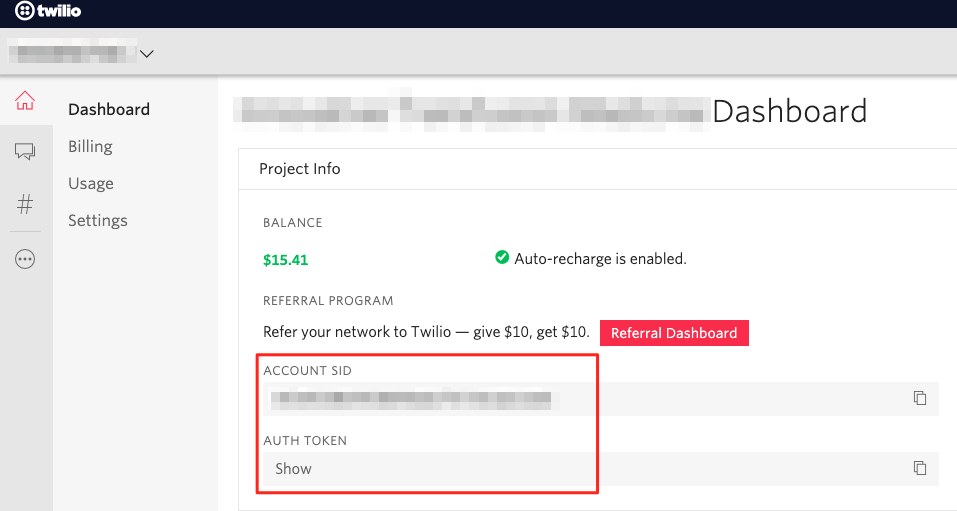
When you are logged in to your Twilio account, navigate to your Dashboard for your API Credentials. Copy the Account SID and Auth Token. You will need these values in step 8.
- Purchase a Twilio Phone Number (required for Text Messages)
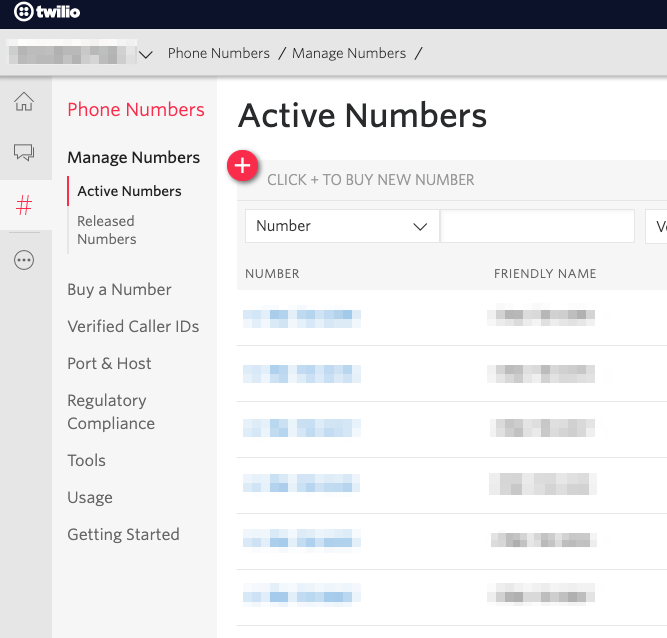
To enable DailyStory to send Text Messages, you need to configure a phone number in Twilio. Navigate to Phone Numbers > Buy a Number. You can search for an area code and number closest to your business number. Once you have created a phone number in Twilio, you can find it in your Twilio console as <Active Numbers>.
If you anticipate sending a high volume text messages we strongly recommend purchasing multiple numbers. We recommend 1 number for every 5,000 contacts you anticipate sending to. For example, if you plan to send up to 50,000 contacts we would recommend a minimum of 10 numbers.
 Recommended
Copy purchased phone number as you will need it in Step 8.
- Twilio Notify (required for Push Notifications)
To send Push Notifications you need to enable the Twilio Notify Service and provide a Service Id to DailyStory.
Push Notifications will only be sent to Contacts that opted in to receive Push Notifications on their iOS or Android device and the App registers the device id with DailyStory.
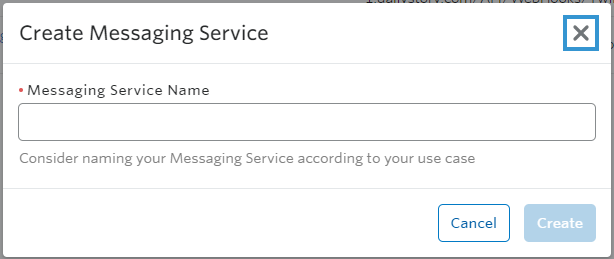
Once added to your account, click the blue button "Create Messaging Service" or select and existing messaging service.
 Recommended
Note, there are additional steps required to configure Twilio for Apple Push Notification and Android Notifications. Please see Twilio's documentation for further configuration steps.
- Configure SMS Messaging Service
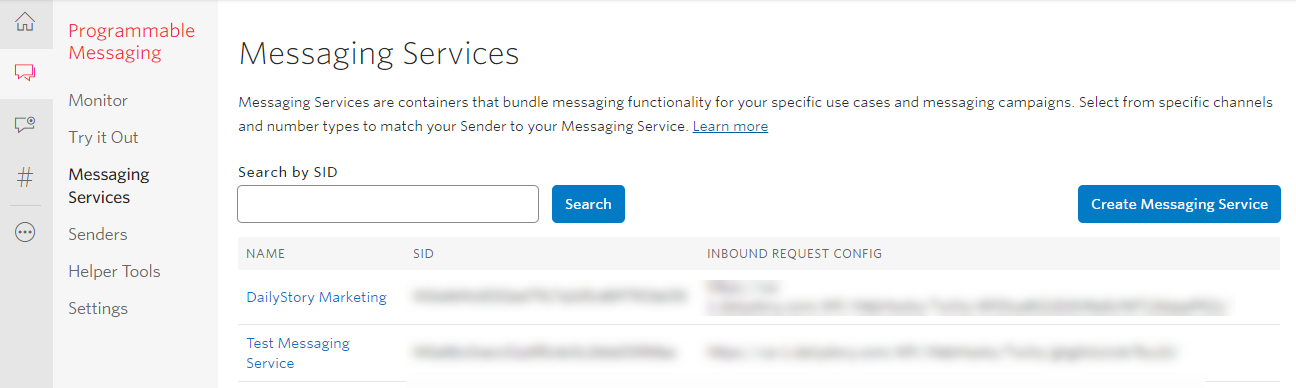
Navigate to Programmable > SMS to create a new SMS Messaging Service in Twilio. This messaging service will give DailyStory access to numerous Twilio features and manage delivery of your text messages.
Create a new Messaging Service by clicking the blue plus button. This will open a popup window. Give your messaging service a friendly name and select "Marketing, 2-Way":
- Configure the new messaging service:
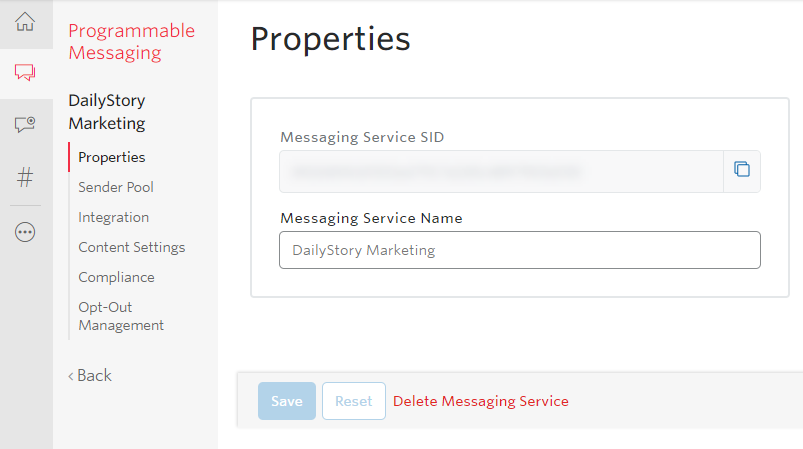 Recommended
Copy the SERVICE SID value as you will need it in Step 6.
Select the option to "Send an incoming_message webhook" this will allow DailyStory to receive replies to your text messages.
In DailyStory navigate to Admin > Integrations > Twilio and copy the Inbound Webhook URL (right click and copy URL):
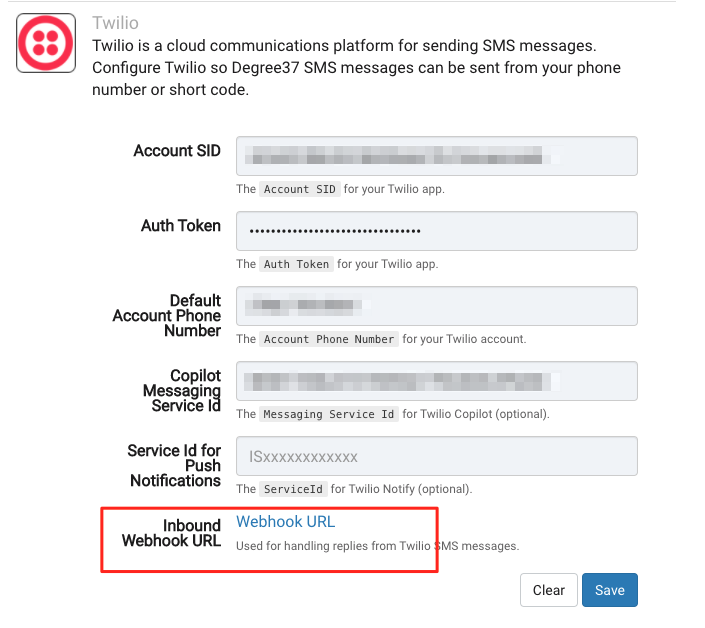
Enter this value in the message service Request URL.
- Add phone numbers
The last step in Twilio is to add your phone numbers to your new messaging service. Just click the blue plus button to add numbers you already purchased. From the Programmable SMS page, select Sender Pool.
Here you will find any number associated with your account. To add a number you purchased to your sender pool, click the Add Senders button.
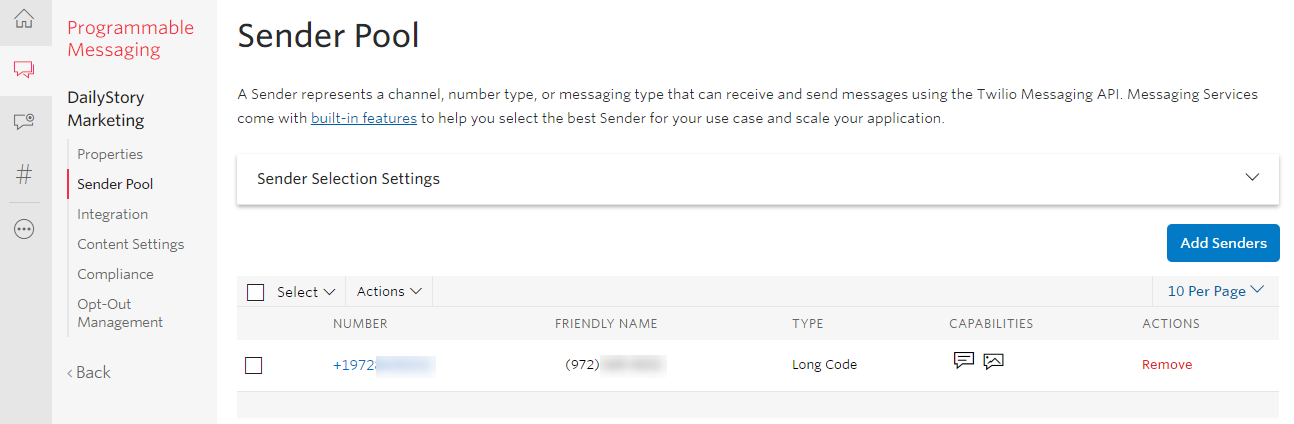 Recommended
If you purchased more than 1 number, make sure all the numbers are added to your sender pool.
- Configure DailyStory
In DailyStory navigate to Admin > Integrations > Twilio and select the Twilio integration:
- Enter the Account SID and Auth Token from step 2.
- Enter one of the purchased phone numbers (this will be your primary number) from step 3.
- Enter the Message Service ID from step 6.
- Optionally enter the Service ID for Push Notifications from step 4.
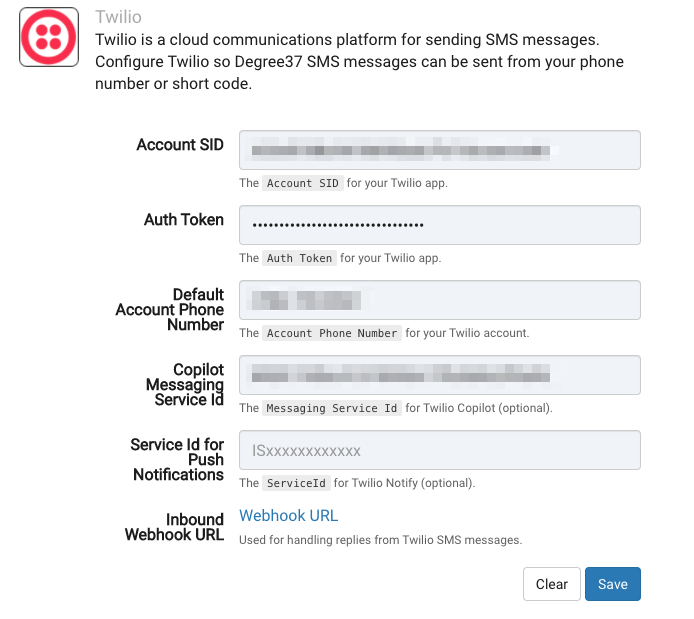
Next, click Save.
DailyStory will attempt to send a test SMS to the phone number you configured for DailyStory. This text message is sent to verify the integration is properly setup.
Troubleshooting
If you received an error when saving your Twilio credentials it means that something is misconfigured with Twilio.
First, we recommend double-checking the Account SID and Auth Token to ensure that the values are the same as the values provided in Twilio. This is the most common problem.
Next, double-check that the mobile phone number used by DailyStory is a valid and working. The mobile phone can be found in Admin > Personal Settings.
Frequently Asked Questions
Do I have to setup Twilio integration to send SMS/Text Messages?
Yes, if you want to send SMS/Text Messages to your customers as part of a campaign you must configure Twilio or another communication platform partner, such as Plivo.
Do I have to setup a Notify Service to send SMS/Text Messages?
No, only setup a Notify Service (and set a Service Id in DailyStory) if you have an iOS or Android app that you would like DailyStory to integrate with.
Do you support other communication platforms?
Yes, we additionally support Plivo for SMS marketing.