Scheduling an Email
Scheduling an email is the easiest way to send an email to your contacts.
Schedule an Email to Select Segments
RecommendedReview how to schedule an email with our video tutorial (below) or keep scrolling for step-by-step instructions!
WarningBe sure you have added contacts to your campaign prior to attempting to schedule an email.
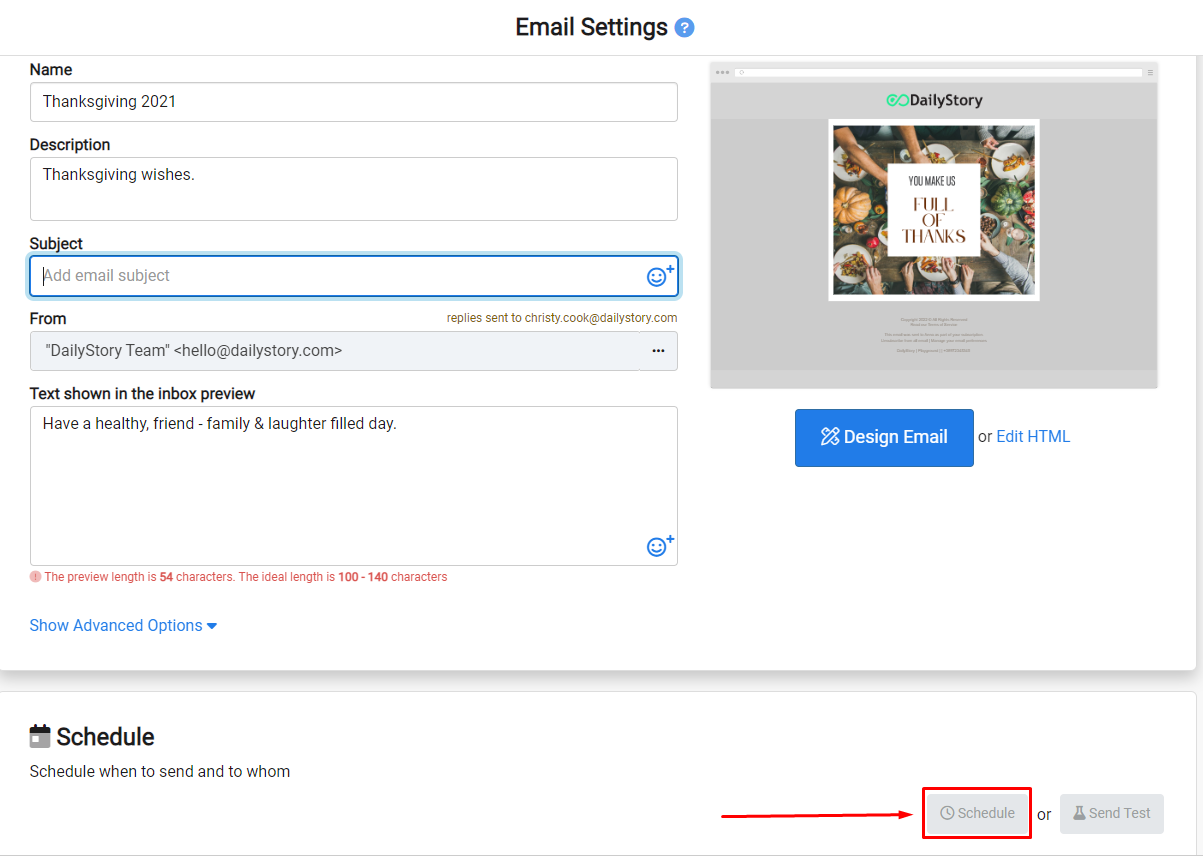
From the Email Settings, click Schedule to open the message scheduler:
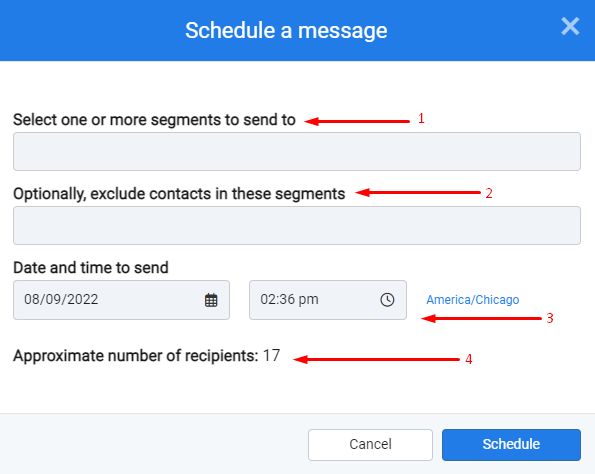
- Select one or more segments to send to: The segments available in this list will be all of the segments you assigned to the campaign. "Everyone in this campaign" includes all of the Leads in the campaign, regardless of whether or not they belong to a segment. If a contact is in multiple segments selected, we ensure they will only receive the message once.
- Optionally, you can choose to exclude a segment: All segments are available in this option, regardless if you assigned them to the campaign. An example would be if you want to send to all of the people in the campaign but you want to exclude your staff.
- Set the date and time to send: The date will default to the current day and the time will be shown for the account's time zone settings in the account settings.
- Double-check the approximate number of recipients to make sure it looks correct. If the number doesn't match up, be sure to make sure the campaign has leads and/or you assigned segments to the campaign.
If a contact is opted out, it will not be included in the send-to number, even if it is a lead in the campaign.
- Click
Schedule
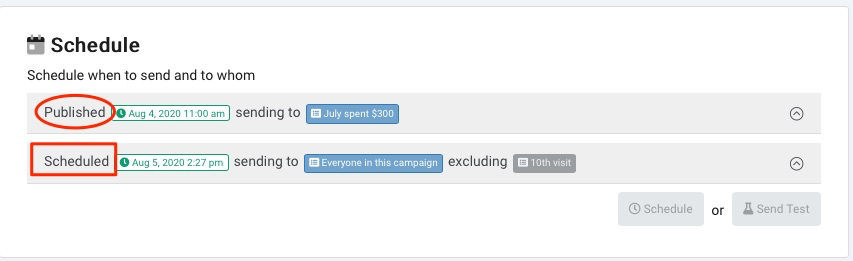
Once you click the schedule button, you will see the asset's Published and Scheduled list. You can still edit or delete a scheduled time that has not been published. You can also see an asset's schedule status in the campaign's Schedule tab or across all campaigns from the top navigation bar Campaigns > Campaign Calendar.
To resend a previously scheduled/sent email, you will need to make a copy and resend it.
RecommendedThe message scheduler is the same for sending emails, text messages, push notifications, social media posts and more.
RecommendedThe scheduling information is removed 90 days after the send date.