Sending and Scheduling Emails
After previewing and testing your email, you are ready to schedule an email to send if you have set up your email DNS.
There are 3 ways you can send emails to your contacts:
- Schedule an email
- Send a published email to a contact
- Send as part of an automation
You can review how to schedule an email video tutorial (below) or keep scrolling for step-by-step instructions!
But first, you need to make sure you have added the necessary contacts to your Campaign.
Add Your Segments to a Campaign
- Go to Campaigns
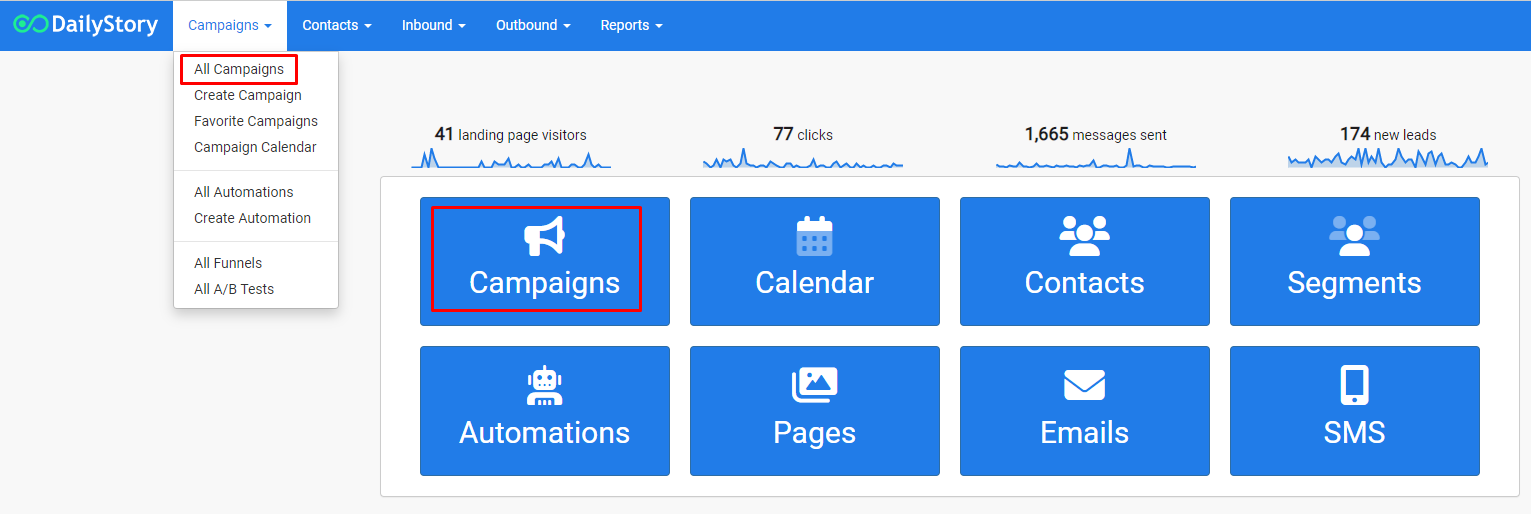
- Select the campaign your assets are housed in.
- Go to Campaign Settings
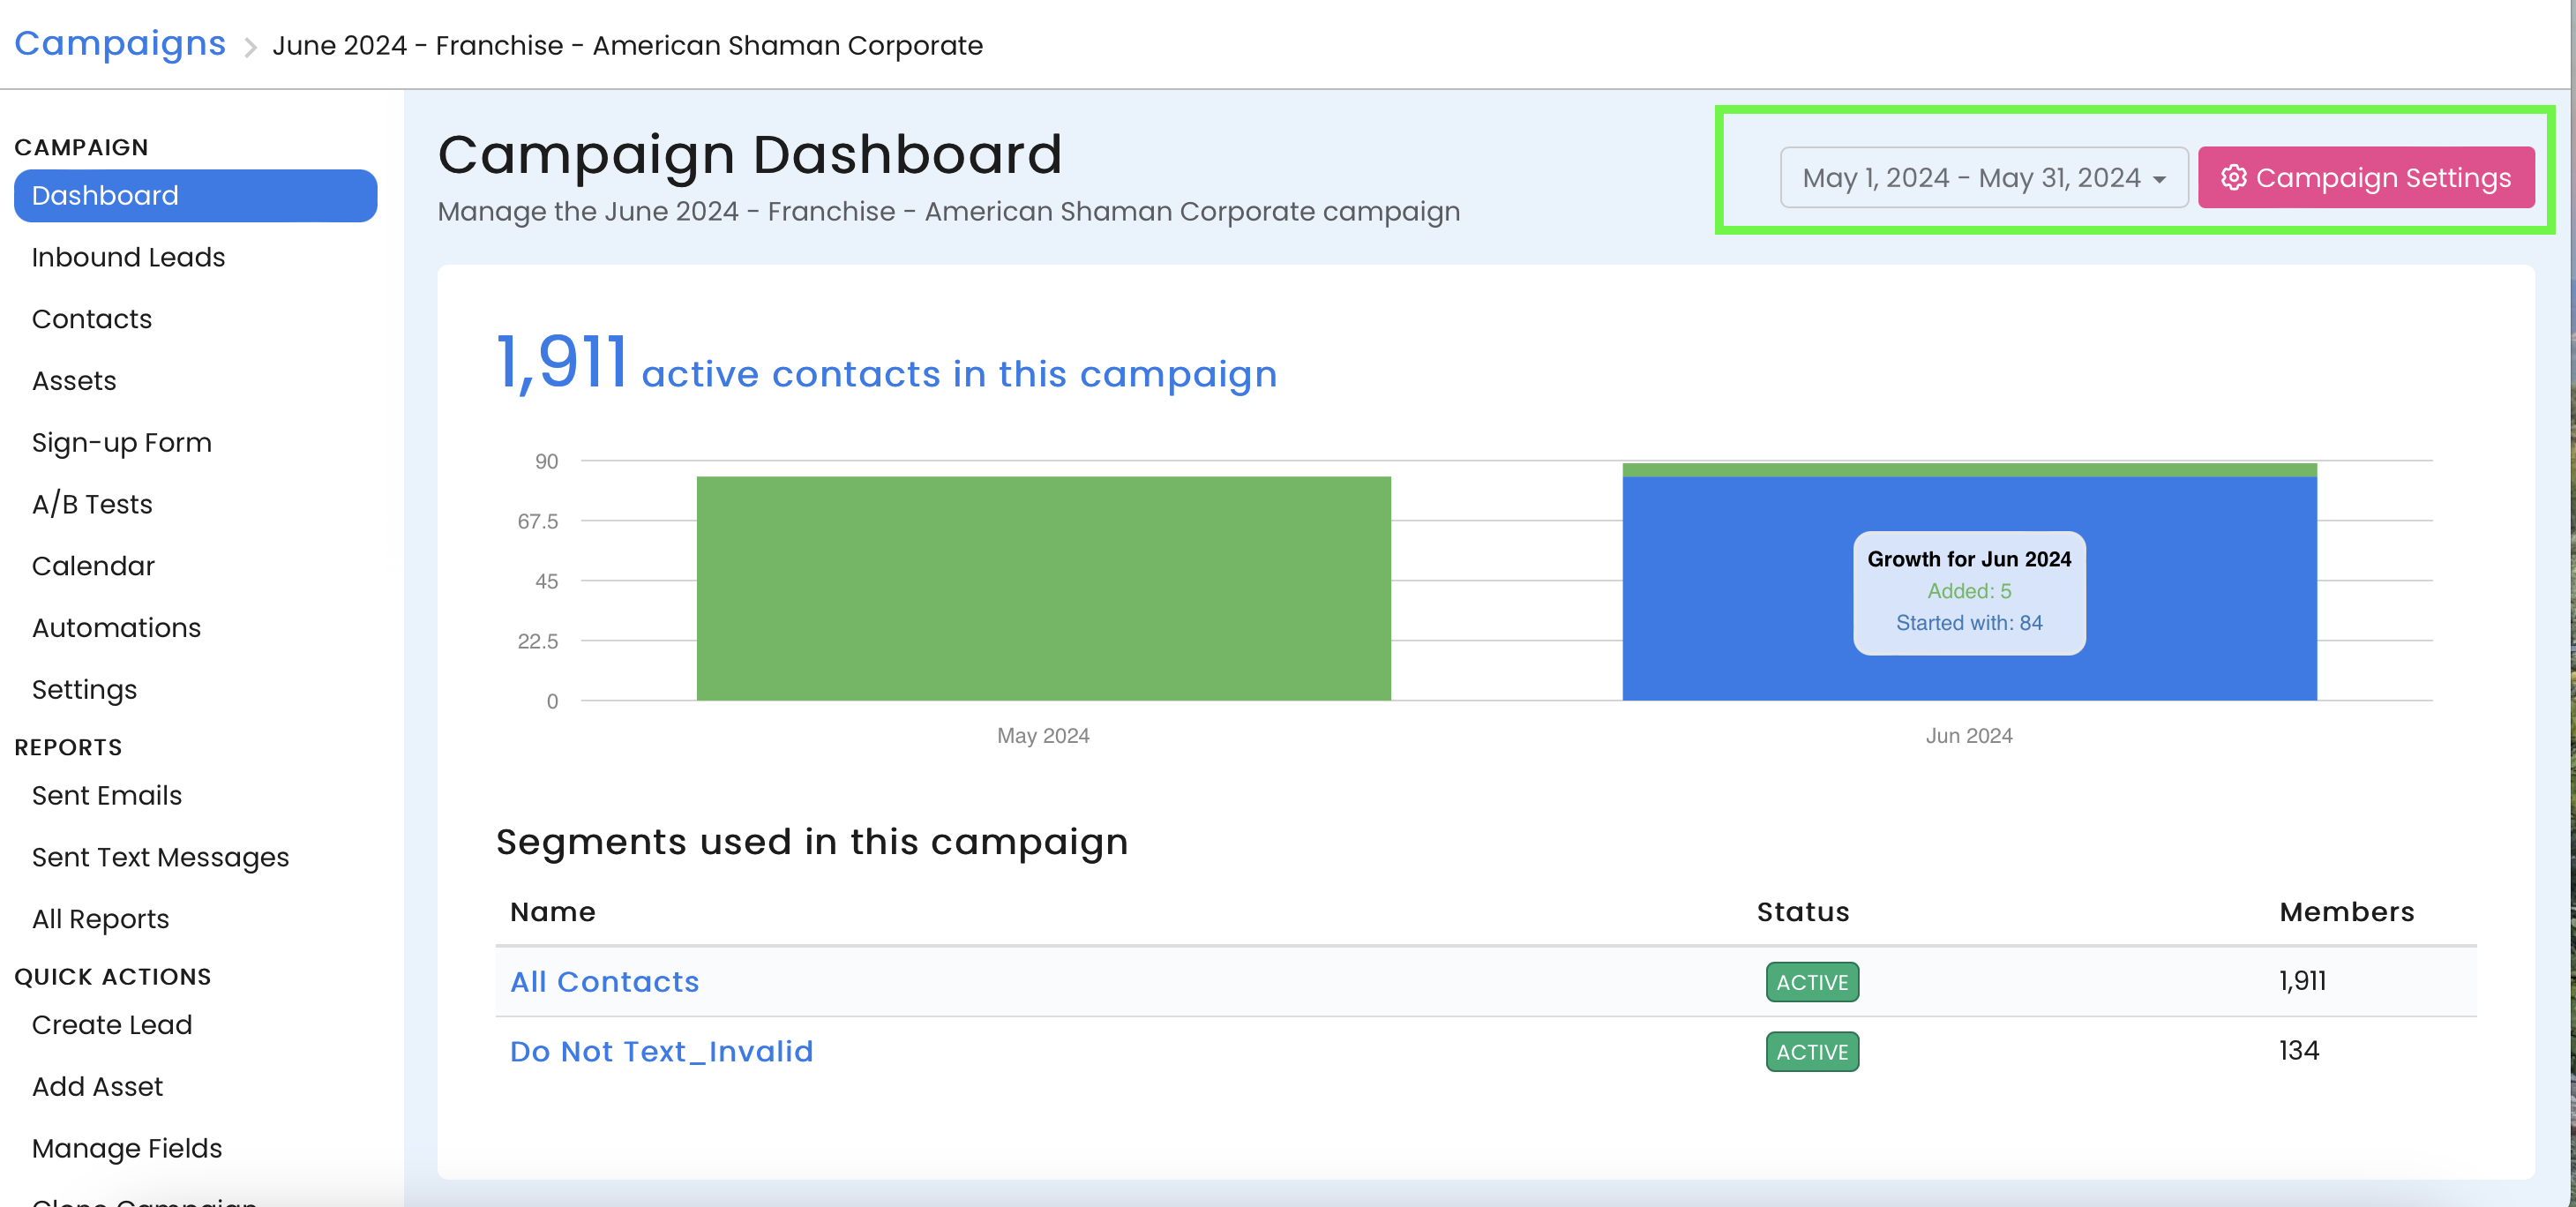
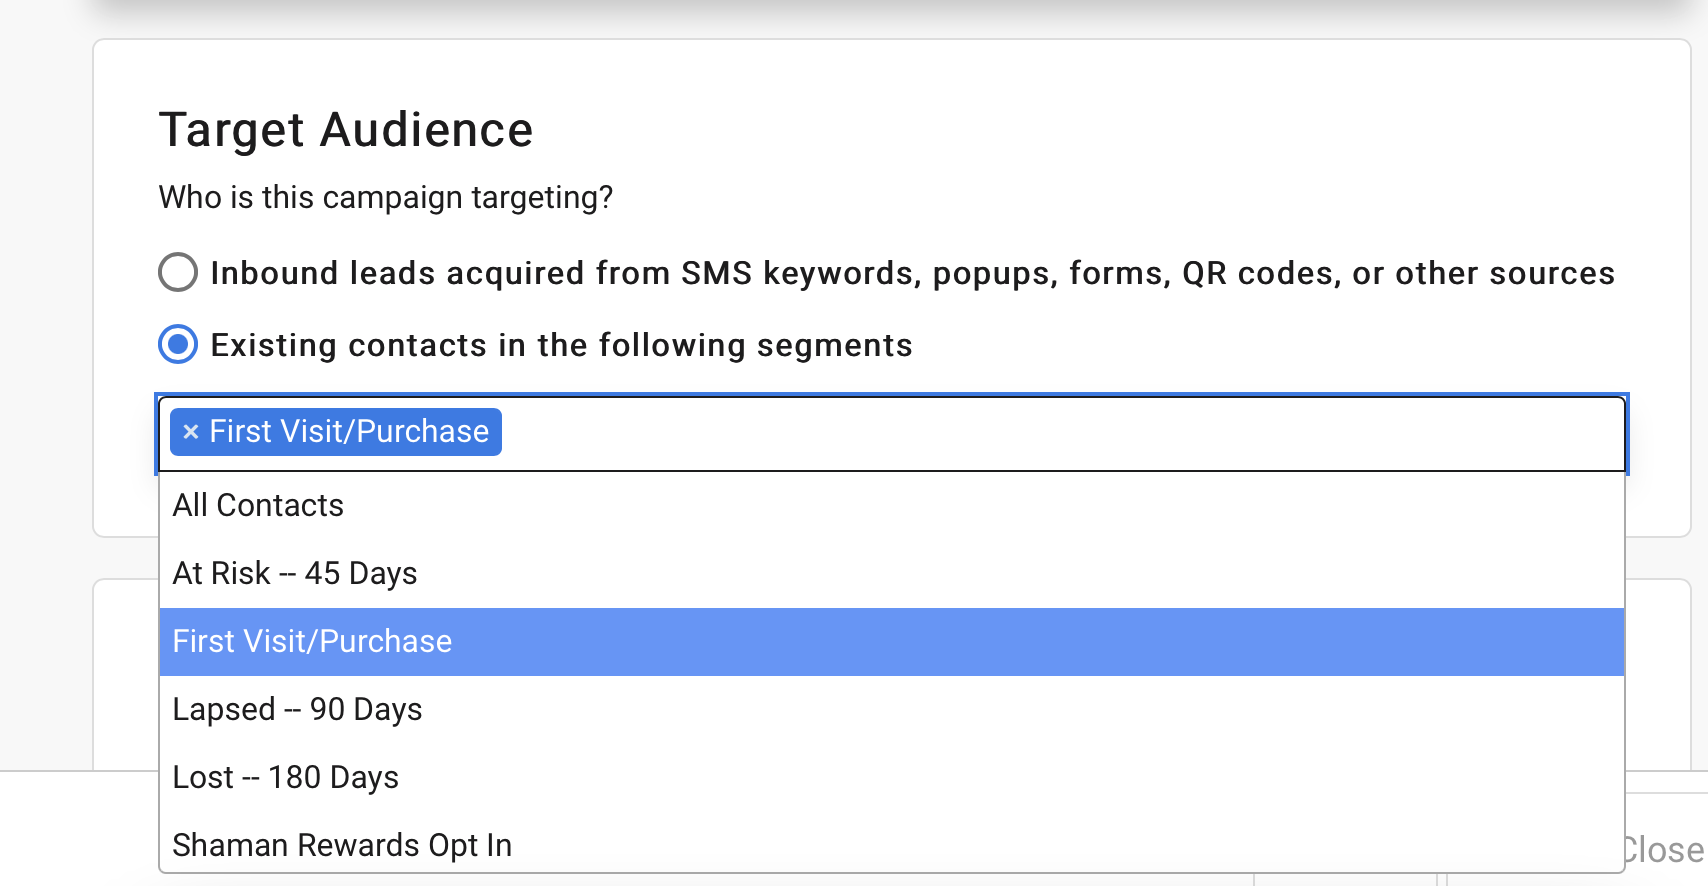
- Look for Target Audience, and add your segments here.
Schedule an Email
Scheduling an email is the easiest way to send an email to your contacts. From either the Email Designer's options or the Email Settings click Schedule to open the message scheduler:
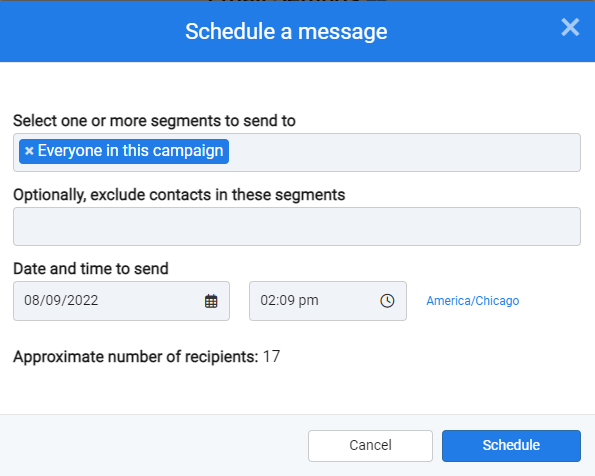
The message scheduler is the same for sending emails, text messages, push notifications, social media posts and more.
Send a Published Email to a Contact
To send a single email to a contact without scheduling the email and to bypass sending rules navigate to All Emails and browse the list of all published emails.
- Click on the options menu of the email to send:
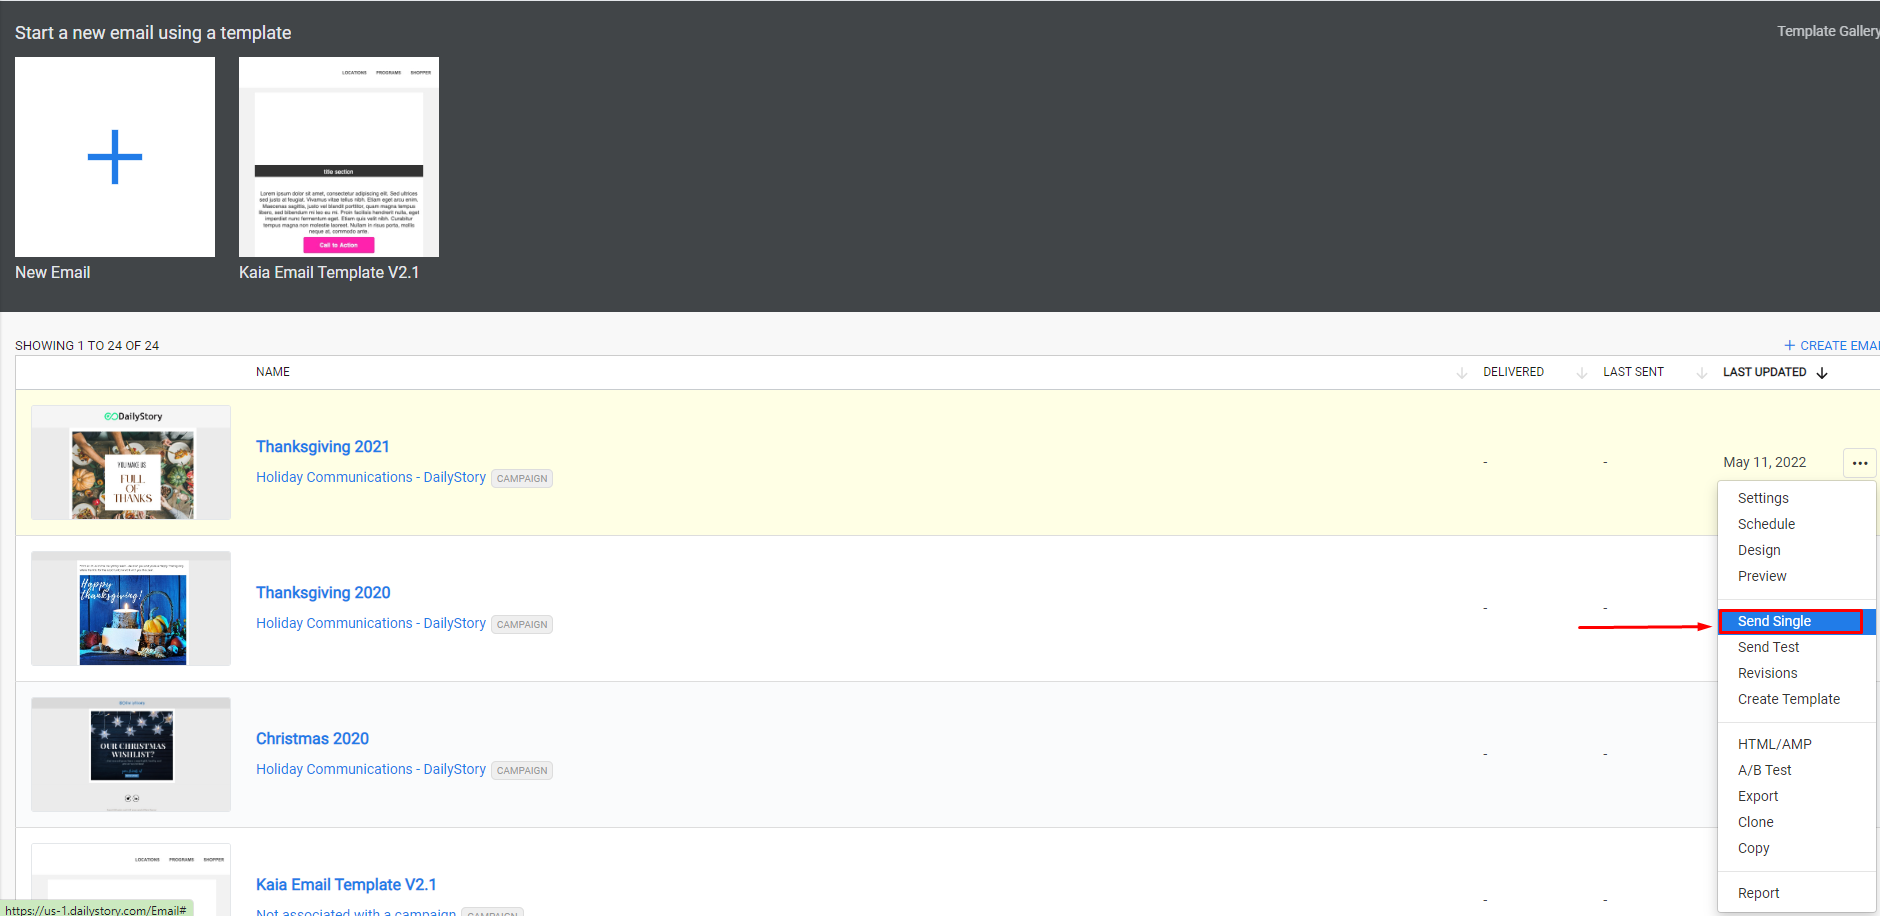
- Select Send Email.

This will open a popup. Select the contact to send the email to and click send.
RecommendedIf the selected contact is not in the campaign they will be automatically added to the campaign.
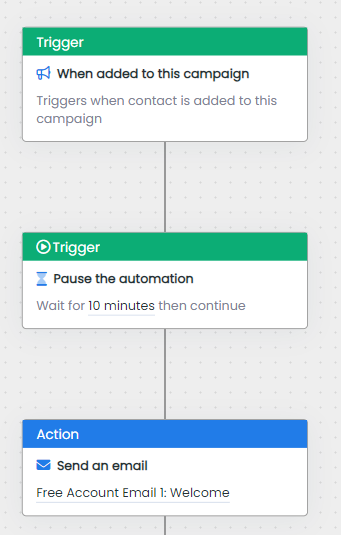
Send using automation
To send an email using a campaign's automation. Add an email send action and select the email to send: