Happy Birthday Campaign
Building loyalty with your customers is often as simple as celebrating milestones with them. The pre-build Happy Birthday campaign enables you to automatically send a birthday email and SMS offer to contacts on their birthday.
Requirements for using the Happy birthday campaign
In order to utilize this campaign you need to have contacts with a valid birthday field. Many of the built in integration for DailyStory include this data.
Email marketing and/or SMS marketing must also be setup.
Install the Happy Birthday campaign
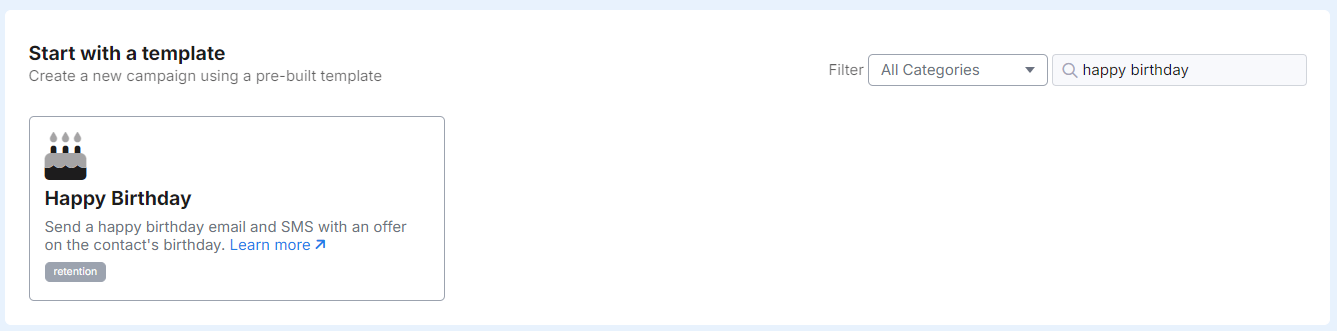
To install the Happy Birthday campaign navigate to All Campaigns. On the left menu click on the Templates option to bring up the campaign templates.
Next, use the filter and type: happy birthday:
What's included in the campaign
The campaign includes emails, an SMS, an automation and a relies on a single segment.
Today's birthdays segment
The campaign's automation runs when contacts are added to the "Today's birthdays" segment. This is a dynamic segment that adds people when their birthday is today.
Happy birthday automation
The campaign's automation, Happy birthday automation, runs when contacts are added to the Today's birthdays segment. Once added they are sent an email and an SMS. The automation is then configured to restart so that they will receive the email and SMS again on their next birthday.
Email and SMS
The campaign includes 2 emails and 1 SMS. One email is provided as an alternative, but the email that includes a coupon is used in the automation.