Create or Edit an Email
There are two main ways to create a new email:
Create an Email from within a Campaign
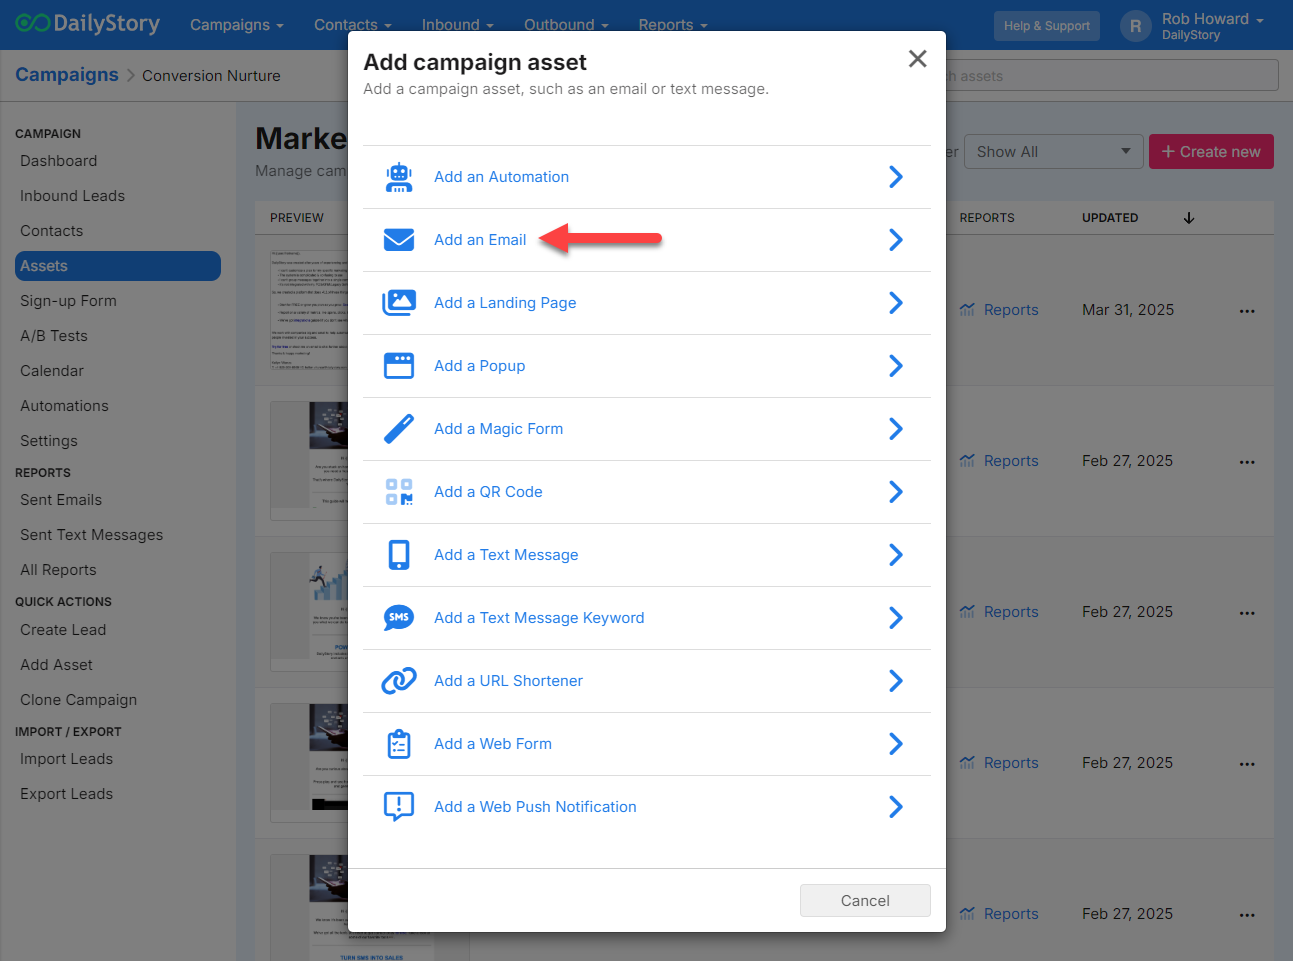
From within a campaign in the Assets tab. Click on + Create new and select Add an email:
Create an Email from main menu
Navigate to Outbound > Emails or click on the "Emails" button from your DailyStory Dashboard.
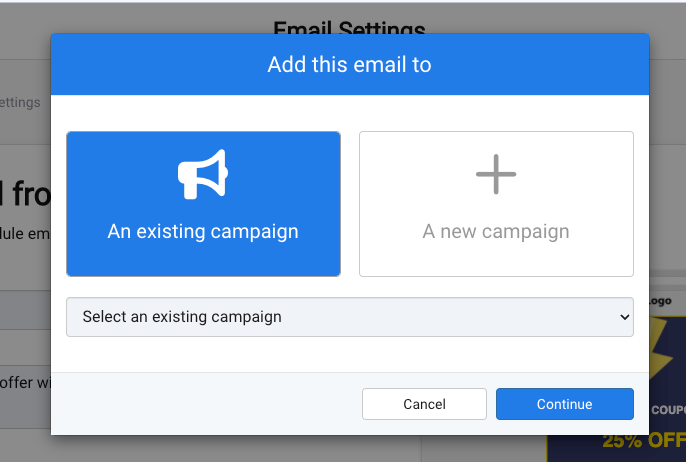
Once you've created a new email, you will be asked to assign it to an existing campaign or you can create a new one.
Campaigns are a cornerstone of DailyStory and the central hub for each specific marketing them you want to run.
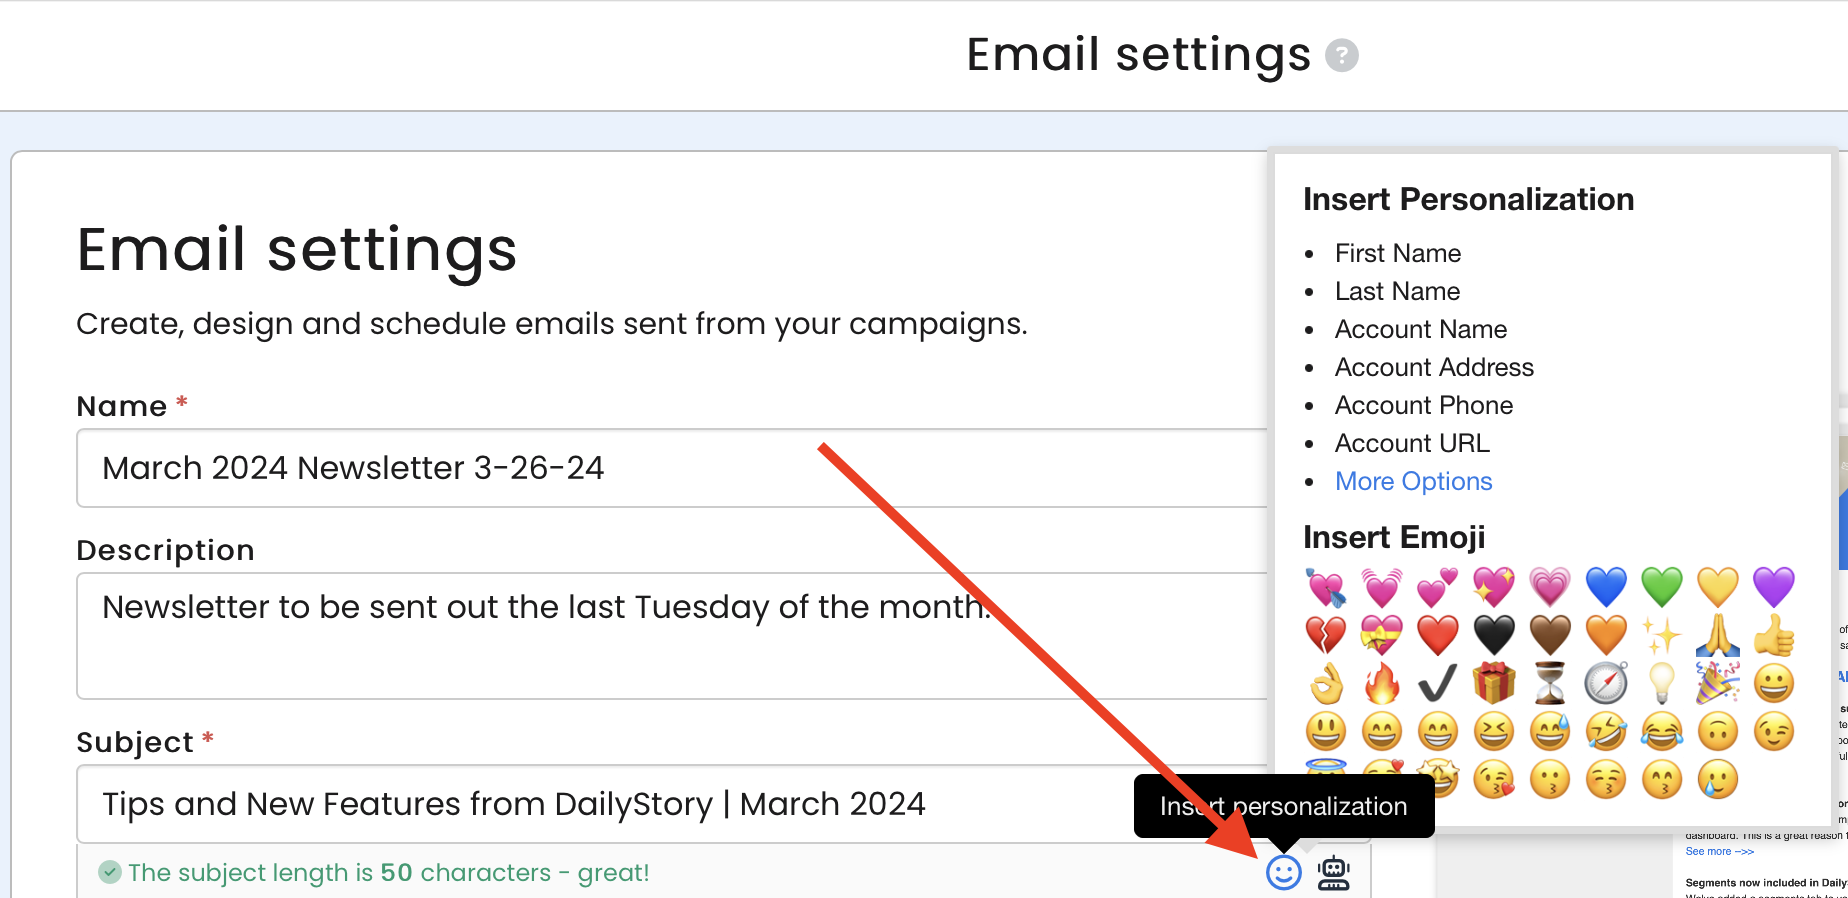
Next you'll need to complete some basic email settings. The mandatory fields to create an email are Name, Subject and From (sender). The description and inbox preview text are optional (although we highly encourage you to utilize the inbox preview text).
- Name - The name of your email within DailyStory (recipients will not see this).
- Description - The description of your email within DailyStory (recipients will not see this).
- Subject - The subject of your email your recipients will see.
- From - The from address of your email your recipients will see.
- Preview - The preview text of your email the recipients will see in their inbox.

The Subject of your email is a descriptive introduction to the body of your email message. The subject may contain emojis and personalization tags and scripts.
The From address must be a valid email address. Examples:
- "Renew your membership" <sales@example.com>
- "Rob Howard" <rob@dailystory.com>
- hello@dailystory.com
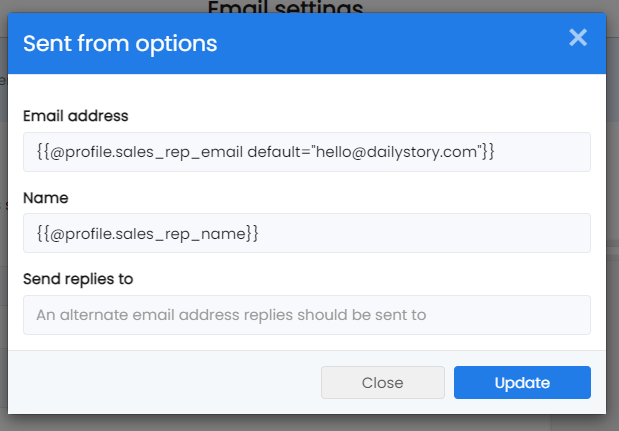
Clicking the more options dots to the right of the From address will open a popup. From this popup edit the friendly name, email address and where replies should be sent to:
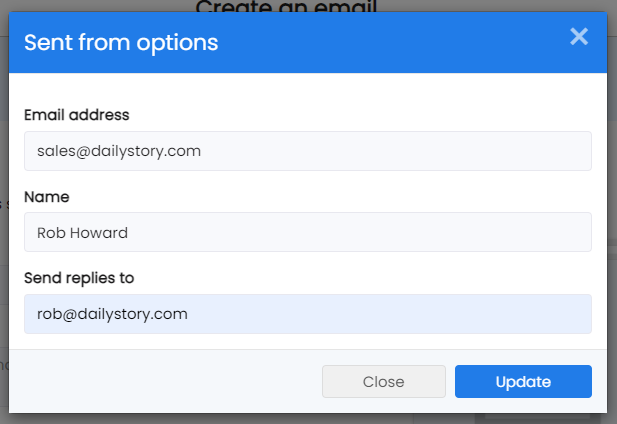
Only the email address is required, but it is recommended to also set a name.
RecommendedSet a "Send replies to" email address if you want replies to be sent to someone other than who the email came from. This sets a special "reply-to" header in the email.
If you frequently send from the same addresses, you can enter a list of those addresses using Manage Senders.
Use Inbox Preview to optionally write content shown when the email is previewed in your recipient's inbox.
This enables you to control exactly what is seen when someone is previewing your email. The preview may contain emojis and personalization tags and scripts.
RecommendedPreview is optional, but we strongly recommend always utilizing the preview text feature to override the mail client deferring to the first few lines of your email.
Once the required fields (Name, Subject and From) are complete, click the "Create Email" button to save the new email.
Next, you can either edit the HTML of the email or use the Email Designer to build a new email.
Personalizing the From Address
For some cases, you may want to use personalization for setting the from address of an email. For example, if the recipient is assigned to a known contact at your organization.
WarningUsing personalized from address is an advanced concept and should be used with caution.
Use of this capability requires that personalization fields exist for the contact. For example these could be:
- Sales representative name with API value
sales_rep_name - Sales representative email with the API value
sales_rep_email
It is recommended to use a default for the email to ensure a from email address is set if, for any reason, the contact's profile does not contain this profile value.
Calendar Events
While creating an email you can now include auto-generated calendar email attachment.
This is useful for sending appointments, webinars reminders or any other event.
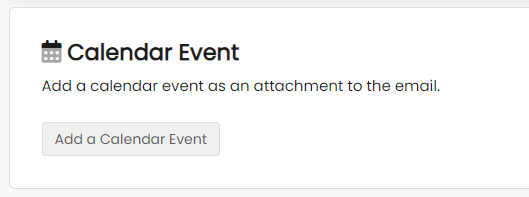
Adding a Calendar Event
Click the Add a Calendar Event button. This opens a popup.
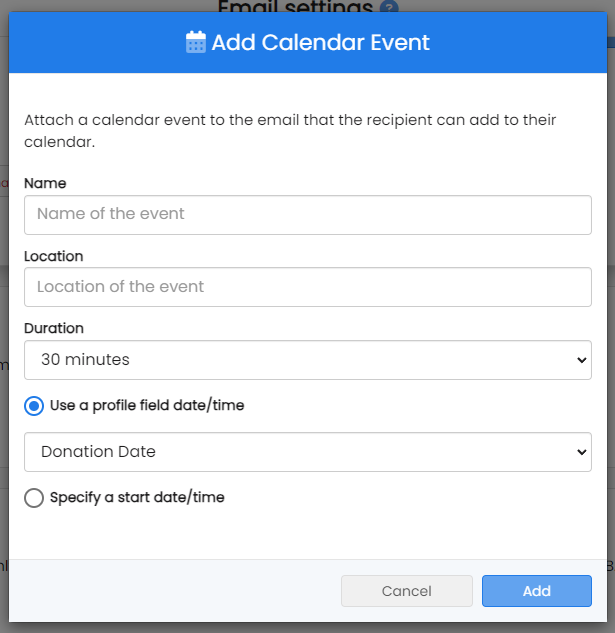
Set the name of the event, the location, and the duration. The name and location fields support personalization. For example, the name could be set to:
{{user.firstname}} this event is for you!
Next, set when the event occurs.
Dynamic Date and Time
You can specify a contact's profile property for the event date.
For example, if the contact has an "Appointment Date" in their profile this is used as the event date and time.
Then when a campaign is run, each contact's appointment date is used. This ensures that each recipient gets a unique invitation that matches their appointment date and time.
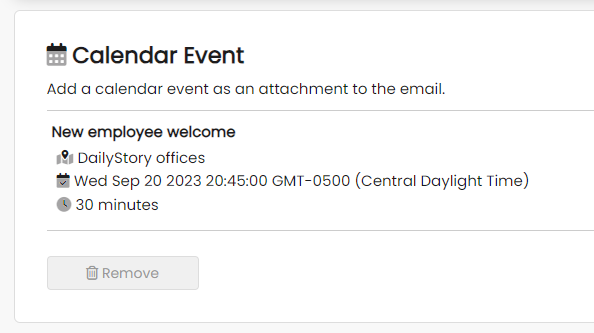
Fixed Date and Time
You can also specify a fixed date and time, such as for an upcoming webinar.
When a campaign is run, each contact will get an invitation for the same date and time.
Below is an example of a scheduled event with a fixed date and time.
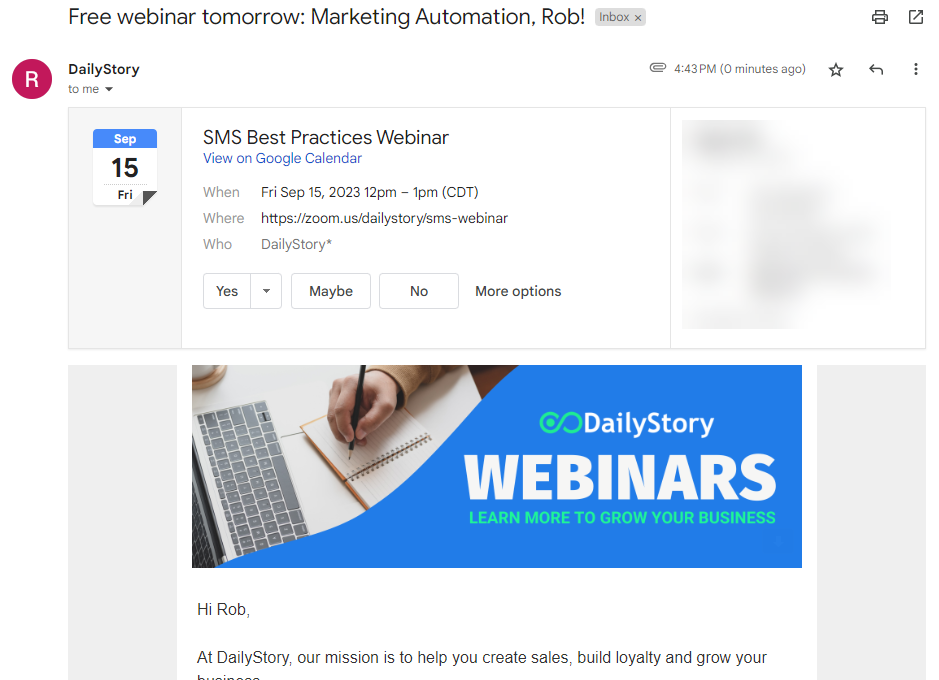
Calendar Events in the inbox
Once sent, the email will contain an attachment. The attachment may be clicked on to add to the recipients calendar.
It also has been optimized to show as an invite for Gmail recipients with Gmail's calendar preview:
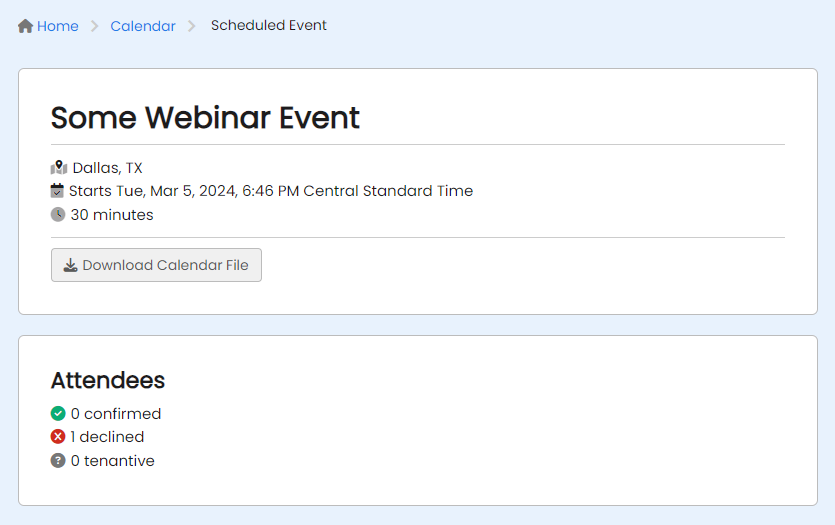
Calendar Attendee Status
When recipients of calendar events accept, decline, or tentatively accept your calendar invite, the status is shown on the calendar event.
Navigate to Campaign > Calendar and select the event. You can see the total number of accepts, declines, and tentative accepts.
Email Attachment
DailyStory does support email attachments. However, we strongly encourage use of a link instead of attaching a file to your email.
RecommendedEmail attachments are not enabled by default. Please contact customer support if you want Email Attachments enabled.

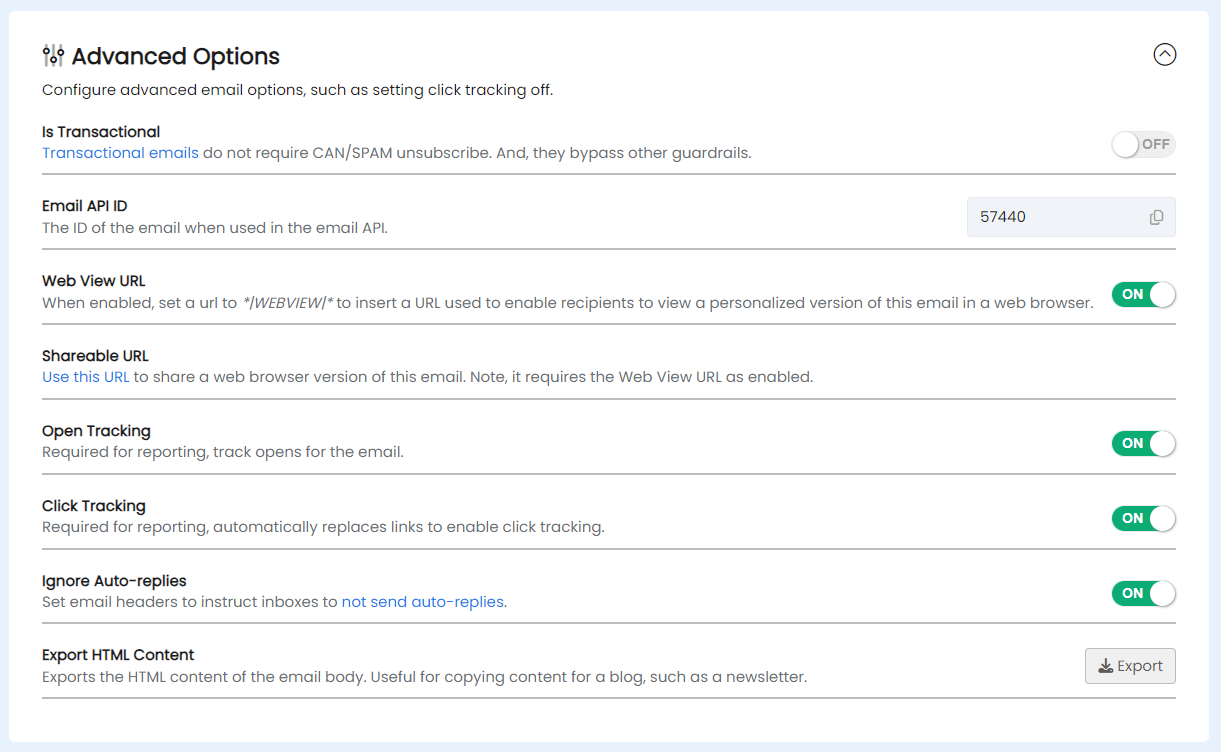
Advanced email options
Click Advanced Options... to configure advanced options for your email.
Is Web View Enabled
A web view of your email enables people to click a link in your email and view the email in a web browser.
WarningBy default web view is disabled and no web view is available for your email. When web view is enabled anyone with the URL can view the contents of the email.
To enable a web view of your email first enable the web view by clicked the toggle button in Advanced Options:
Next, use the *|WEBVIEW|* merge tag to include a link in your email.
Note, the *|WEBVIEW|* merge tag only inserts the URL. You need to use it in a link.
Optionally use the preview link next to the web view toggle button to preview what the web view of your email looks like. It will be personalized using the Test Contact.
The web view of the email is unique to each recipient. If personalization or merge tags are used in the email people who view the link will see the personalized view.
Shareable URL
A Shareable URL is a URL you can use to share a version of your email, such as on Facebook.
RecommendedNote, Is Web View Enabled must be on for the Shareable URL to work.
Is Transactional
An email that is flagged as transactional will by-pass the email guardrails built into the system, including opt-out preferences. Times when the transactional setting might be used is when a person requests a specific action like downloading a PDF, an email is an order confirmation email or if they've filled out a support form.
WarningBe default, transactional is disabled and should be used with caution. A transactional email should be reserved for when a person requests a specific action.
Is Open Tracking Enabled
By default DailyStory inserts a small transparent image into the HTML body of your email. When an email client displays your email this image is loaded an indicates to DailyStory that the email was opened and which contact opened the email.
You can disable open tracking by toggling this option to OFF, but do so with caution as automations and reporting are impacted.
WarningWarning disabling open tracking impacts automations that depend on open tracking and reports no longer reflect open details for your email.
Is Click Tracking Enabled
By default DailyStory replaces the links in your email with tracking links. This enables DailyStory to track when links are clicked and which contact clicked the link.
You can disable open tracking by toggling this option to OFF, but do so with caution as automations and reporting are impacted.
WarningWarning disabling click tracking impacts automations that depend on click tracking and reports no longer reflect click details for your email.
Ignore Auto-replies
Ignore auto-replies is on by default. When enabled DailyStory will send special email headers along with the email to instruct email providers to not send auto-replies, such as an out of office message.
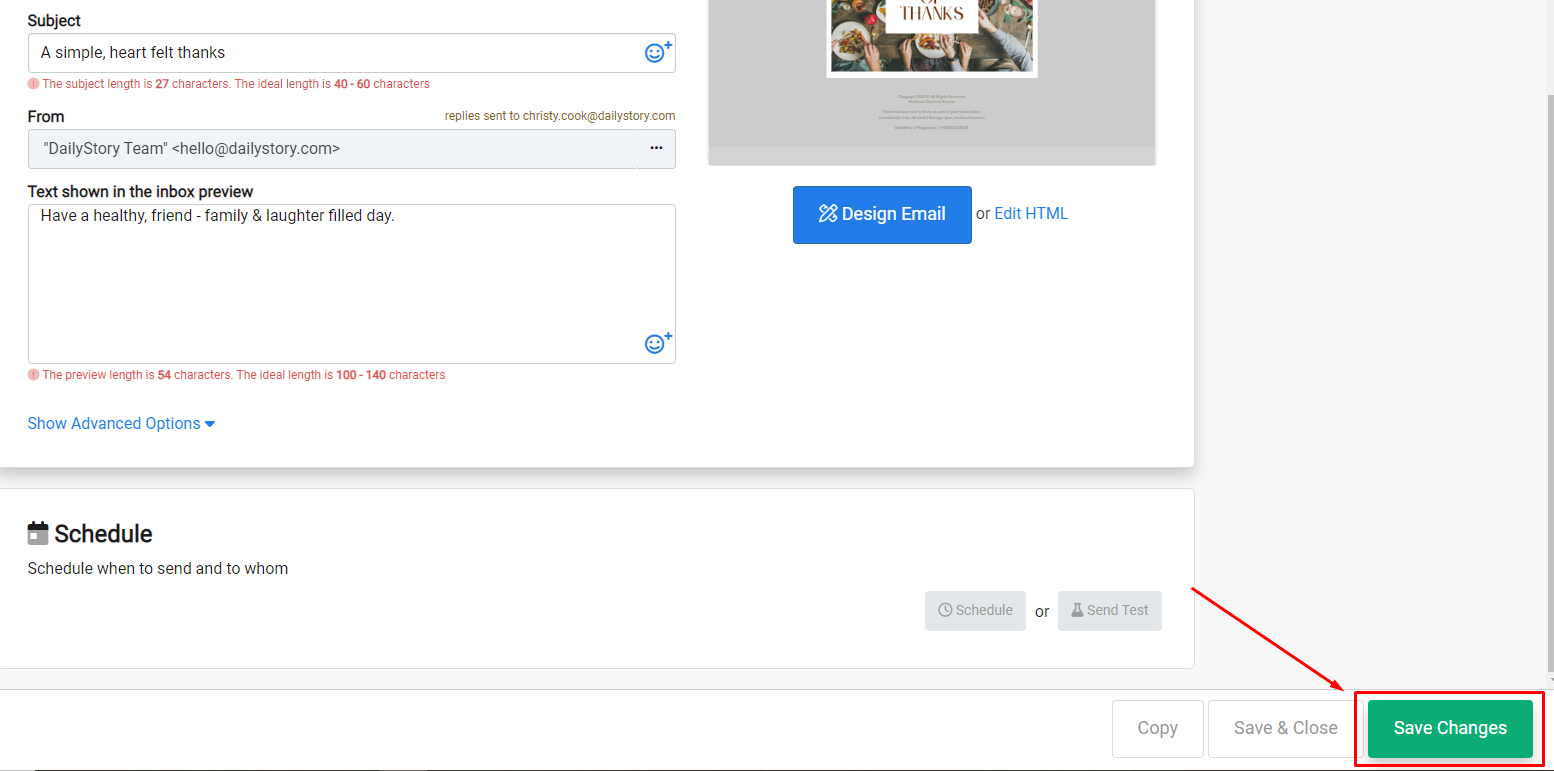
Save, Delete or Copy an email
At the bottom of the settings screen are buttons to Delete, Copy or Save the email. The Delete button will move the email to the trash. The Copy button will create a copy of the email and allow you to place it within another campaign.
Edit an Email's Settings
When an email is selected from the All Emails list, the default action is to navigate to the Email Designer.
To edit settings, such as the From address and Subject of the email click on the more options button to the right of an email. This will open a list of actions available for this email.