Creating a Popup Using a Canva Image
A DailyStory Popup lets you display a popup window in a web or mobile experience. Popups have multiple options for how and when you show them:
- They can be shown on specific pages
- Configured to show after a certain amount of time has passed
- Can be shown when the visitor first arrives
- Or, when the visitor is leaving the site.
You can use DailyStory's standard designer and image placement, which can use images already in your file manager, uploaded from your desktop, or from one of our image integrations like Canva or Unsplash.
Canva is an online design platform software used to create graphics and other visual content. They have free and paid versions. This article walks you through how to use an image created in Canva with or without our native integration.
 Recommended
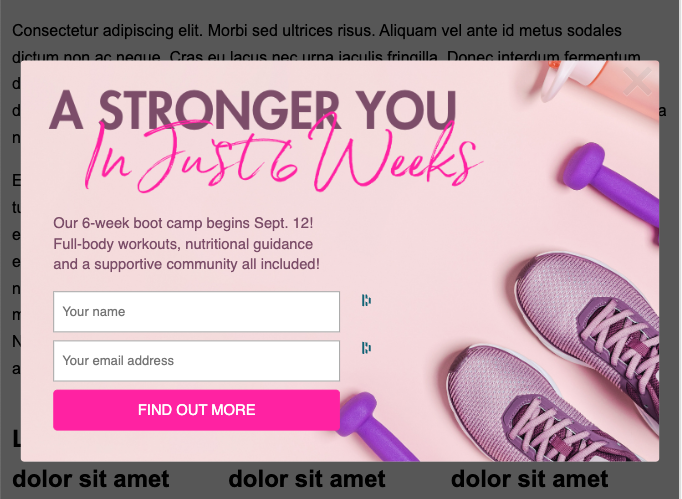
Create your image in Canva first, sized appropriately for width of 780 and height to 480. You'll want to leave enough blank space to format the submission buttons and/or added text. Please reference the above image for inspiration.
Using Canva images from the Canva integration
First, make sure you have linked your Canva account. See this step-by-step article for setting up the Canva integration.
Once your Canva account is linked, create a popup from within a campaign or from the Popups dashboard.
From within a campaign
- Click on the Assets tab on the left-side menu.
- Click on the pink
+ Create Newbutton in the top right. - Select
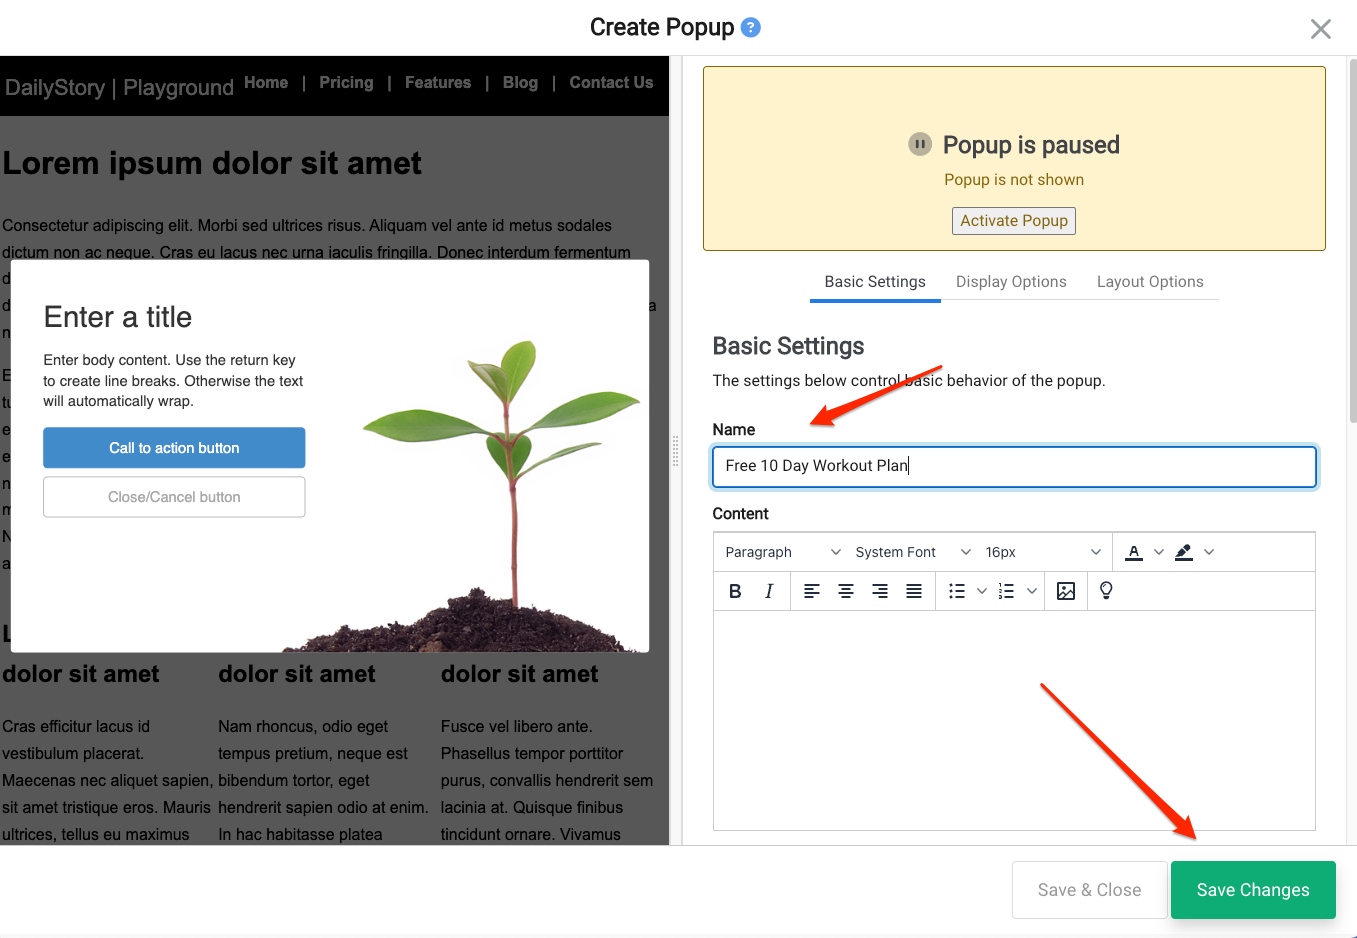
Add a Popupfrom the popup menu. - Next, you will be taken to the Popup Editor to begin designing your popup. The popup editor provides a live preview of your popup as you begin to design it. Start with giving your popup a Name and clicking on
Save Changes. (The name is only for internal use) - From the popup editor, select the tab Display Options.
- Display Options: Choose Display as popup (fades out the background) or Display as cover (blacks out the background).
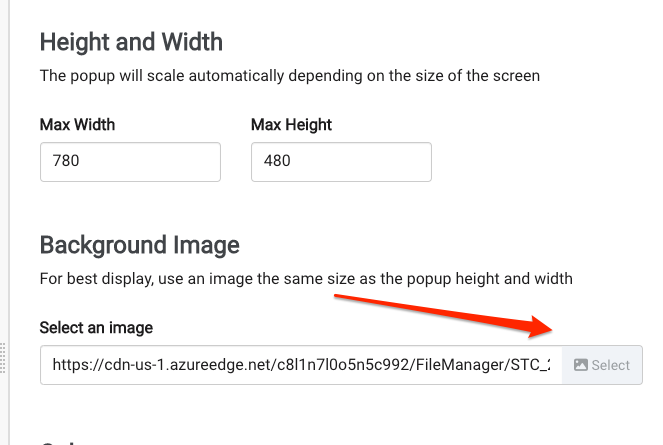
- Height and Width: Set Max Width to 780 and set the Max Height to 480.
- Background Image: Click the
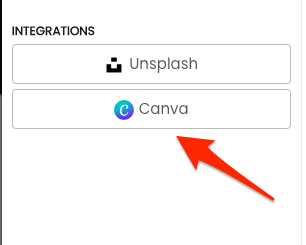
Selectbutton. - Click on the
Canvabutton to display your created Canva images from your Canva account.
- Select the image you'd like to use and then click the pink
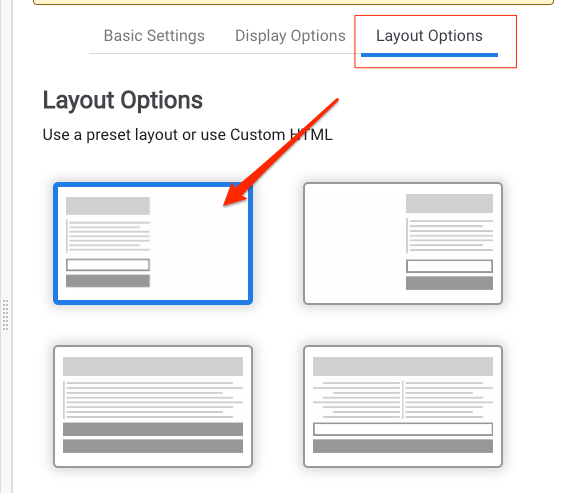
Selectbutton. - From the popup editor, select the tab Layout Options.
- Based on our example where we created our blank space for text on the left, we'll select the first option where the text is on the left.
13. Click Save Changes to save your changes.
From the Popup Forms page
- Navigate to
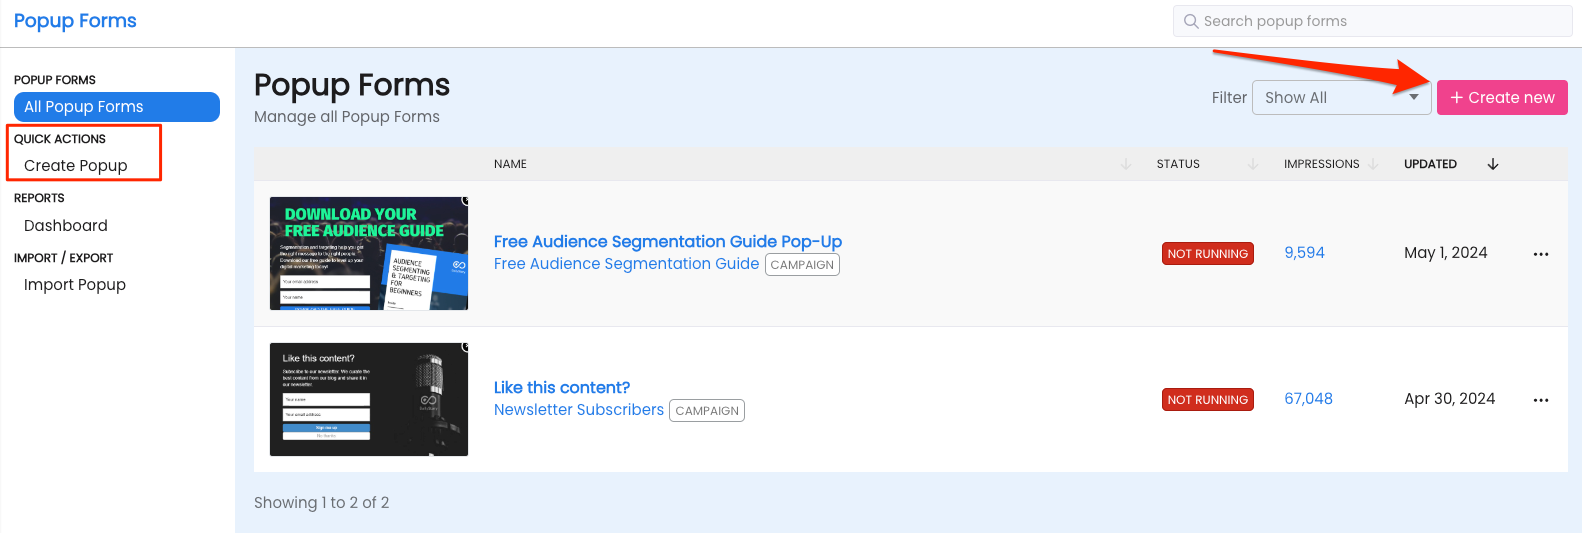
Inbound > Popup Formsfrom the navigation menu at the top of your screen. - This will show you a list of all the existing popups. To create a new popup, click the
+Create Newbutton orCreate Popupfrom the Quick Actions menu on the left.
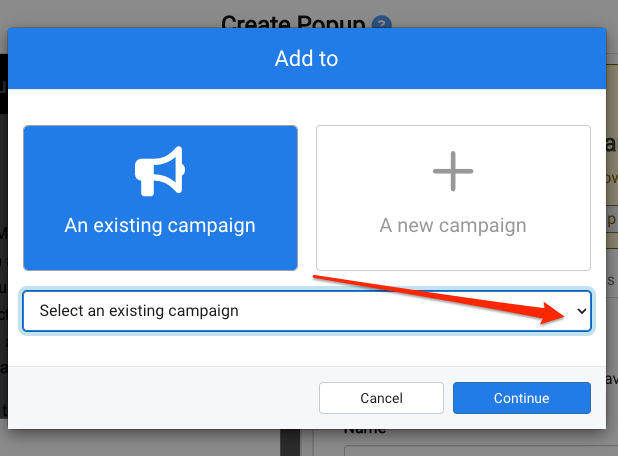
- You will be asked to assign the popup to an existing campaign or create a new campaign.
- Next, you will be taken to the Popup Editor to begin designing your popup. The popup editor provides a live preview of your popup as you begin to design it. Start with giving your popup a Name and clicking on
Save Changes. (The name is only for internal use)
- From the popup editor, select the tab Layout Options.
- Based on our example where we created our blank space for text on the left, we'll select the first option where the text is on the left.
- Border and Padding: we'll use Round as our style with no width or color, 50 Pixels for the top/bottom and 40 pixels for the right/left. You can play around with the look you want and click on Advanced Display Options for more customizable options.
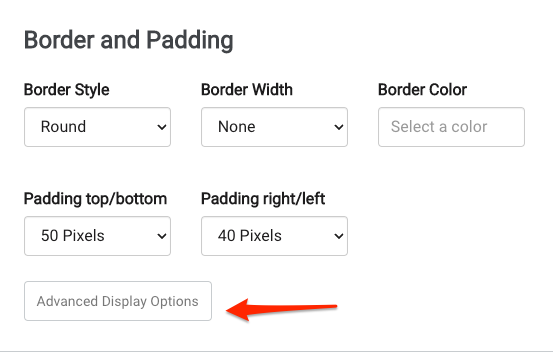
- Click on
Save Changes. - From the popup editor, select the tab Display Options.
- Display Options: Choose Display as popup (fades out the background) or Display as cover (blacks out the background).
- Height and Width: Set Max Width to 780 and set the Max Height to 480.
Before you can complete the next steps and select your created Canva image, create the image in Canva and save it to your desktop.
- Background Image: Click the
Selectbutton and find the image in your File Manager that was saved earlier.
- Click
Save Changesto save your changes.
Add text and form fields in basic settings
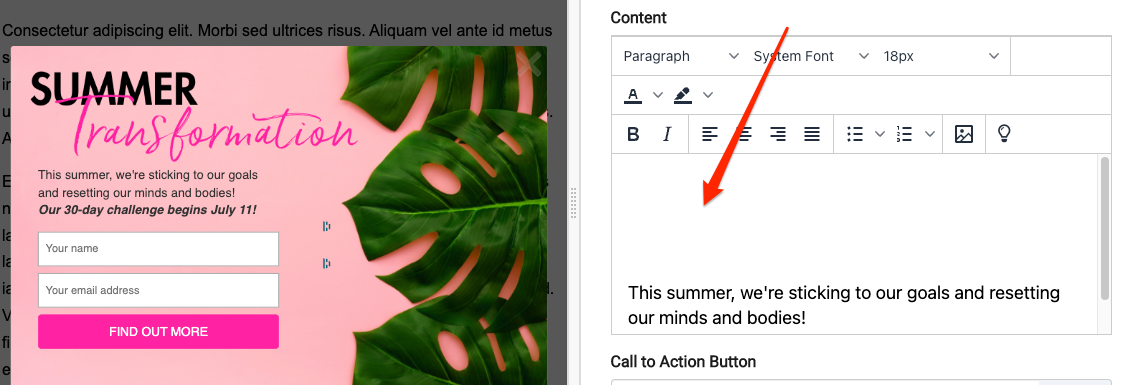
- Click on the Basic Settings tab.
- Content: Add several blank lines and then fill in your content. Based on the amount of content you have and the form fields you want, you will need to play around with how many lines to skip and the font size for the best fit.
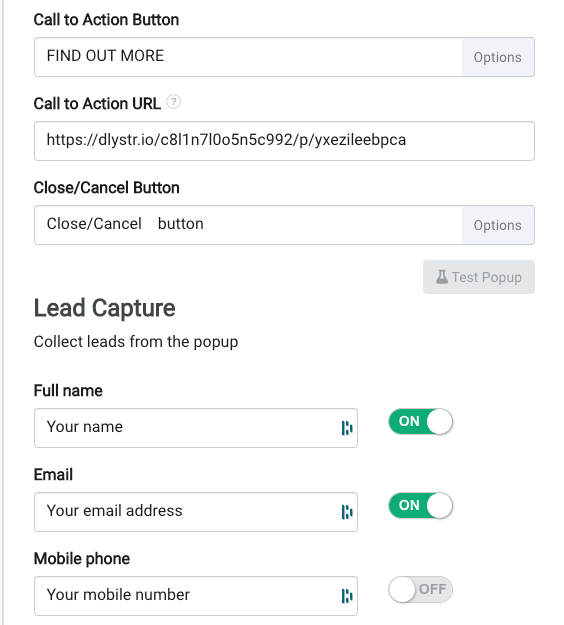
- Call to Action Button: Choose what you want your CTA button to say.
- Call to Action URL: insert the website URL your lead will go once they submit your popup.
- Lead Capture: Select the form fields you want to capture (name, email, mobile phone)
 Recommended
Click on the Options buttons for the applicable sections for more customizable options.
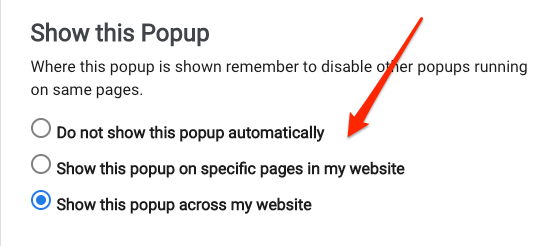
- Show this Popup: select where you want the popup shown (single pages, across website, etc.)
- Click on
Save Changesor Save & Close if you are finished designing your popup.
Activate your popup
Once you are finished designing your popup, we suggest the following steps:
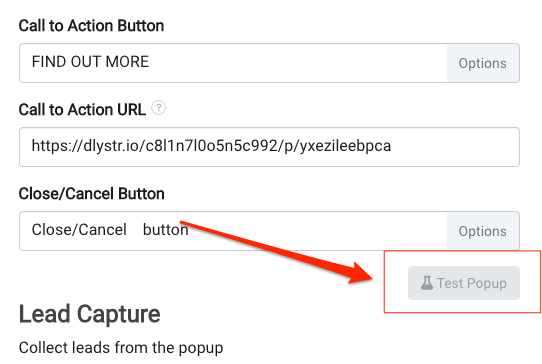
- Test your popup: you can do this on the Basic Settings tab by clicking on the
Test Popupbutton.
- Confirm where your popup is running: double check your "Show this Popup" settings on the Basic Settings tab and that you have selected pages or across website.
- Deactivate other popups: make sure you don't have any other popups running on the same pages you have selected for this popup.
- Activate popup: click the
Activate Popupbutton to activate your popup.
