Step 3: Create Customer Segments
You've imported your contacts and now you want to create lists.
Building lists in DailyStory is easy. We call these lists segments. You can create and manually manage lists (Static Segments) or have the system update and manage your list automatically for you (Dynamic Segments).
Why create segments?
- Segments help you categorize and target specific customers.
- Segments are used to tell a campaign what contacts in the system should be included.
- When you schedule an email or text message, you have to select the segment you are sending to.
For more details around segments and the type of segments, see our Segments Guide.
Create a segment
- Navigate to
Contacts > Create Segment. - Choose which type of segment you want to create.
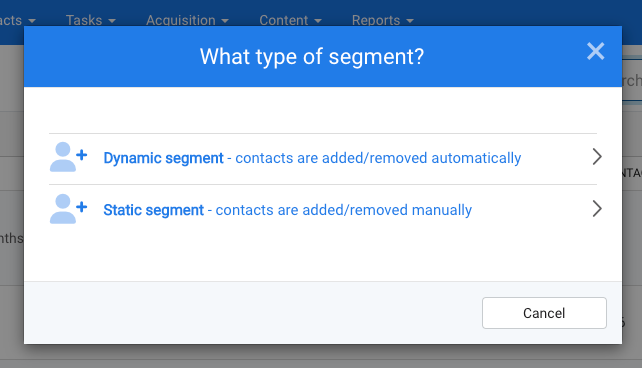
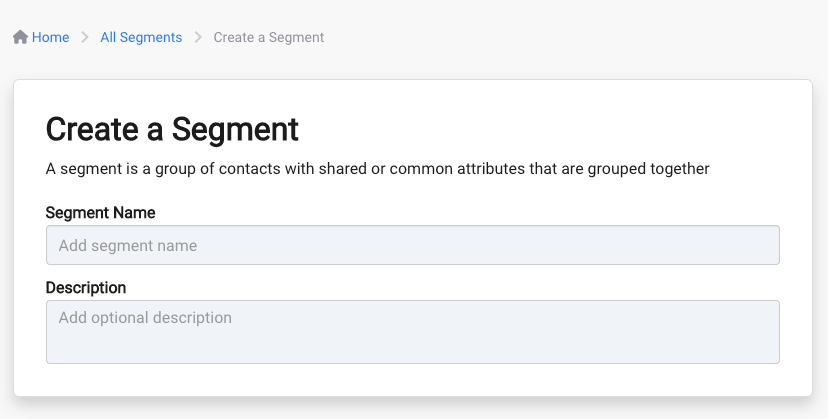
If you choose Static Segment, you will be taken to a screen to name it, optionally describe it and then to +Create Segment. Once saved, you can begin adding and removing contacts to your segment.
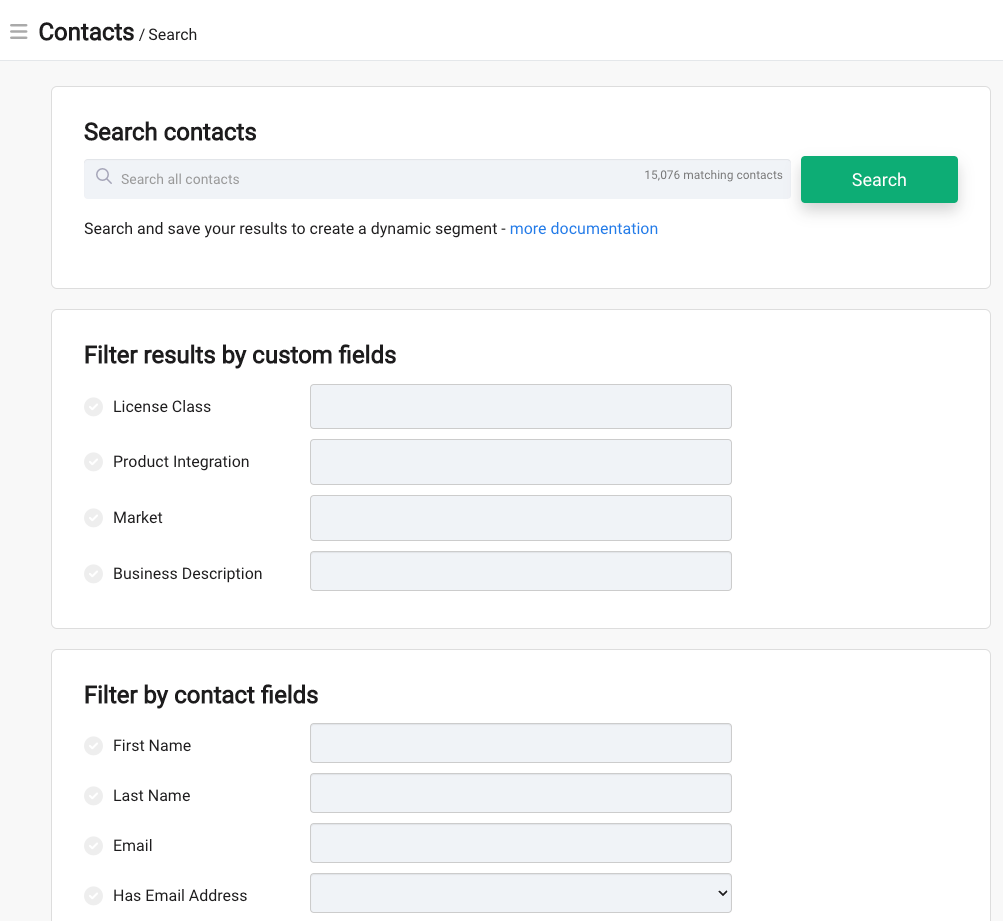
If you choose Dynamic Segment, you will be taken to the Contact Search screen to choose the criteria you want your dynamic segment to be based on. Once you enter the criteria fields, click Search and then +Create Segment from the results screen.
Assign segments to campaigns
Once you've created all of your saved lists (segments), you can find them by clicking on the Segments button on the main dashboard, or navigate to Contacts > Segments.
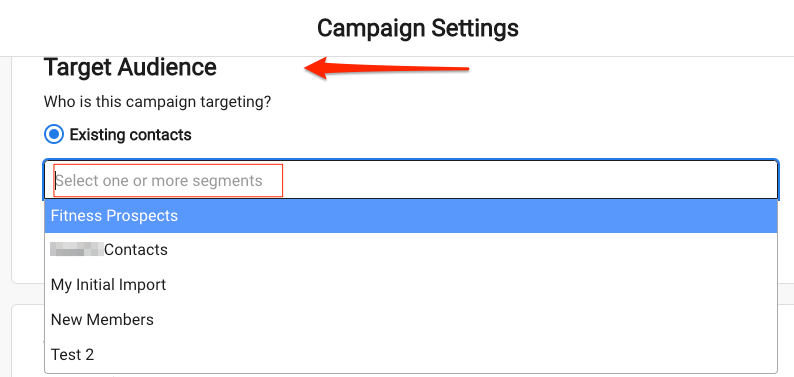
To add segments to a campaign, click the drop down arrow in the Target Audience > Existing Contacts section in the Campaign Settings. You can select one or multiple segments to be a part of the campaign. For more on campaigns, see our Campaigns Guide.
This is how your contacts get added to the campaign. Once contacts are added to the campaign we call those contacts Leads and you can find them find them in the Leads tab inside the campaign.