Second Purchase Promo Campaign
Encourage quick repeat business and show your customers you appreciate their loyalty with a Second Purchase Promo campaign. We'll walk you through an easy way to set up an automation so you can 'set it and forget it!'
RecommendedIn order to utilize this campaign and dynamic segment, you need to be integrated with your point-of-sale or CRM system. The segment relies on up-to-date purchase or visits records. See our Integrations Guide for help with connecting with other apps.
Steps we'll guide you through:
- Creating a dynamic segment
- Creating a campaign
- Creating a text or email
- Creating an automation
STEP 1: Create a dynamic segment
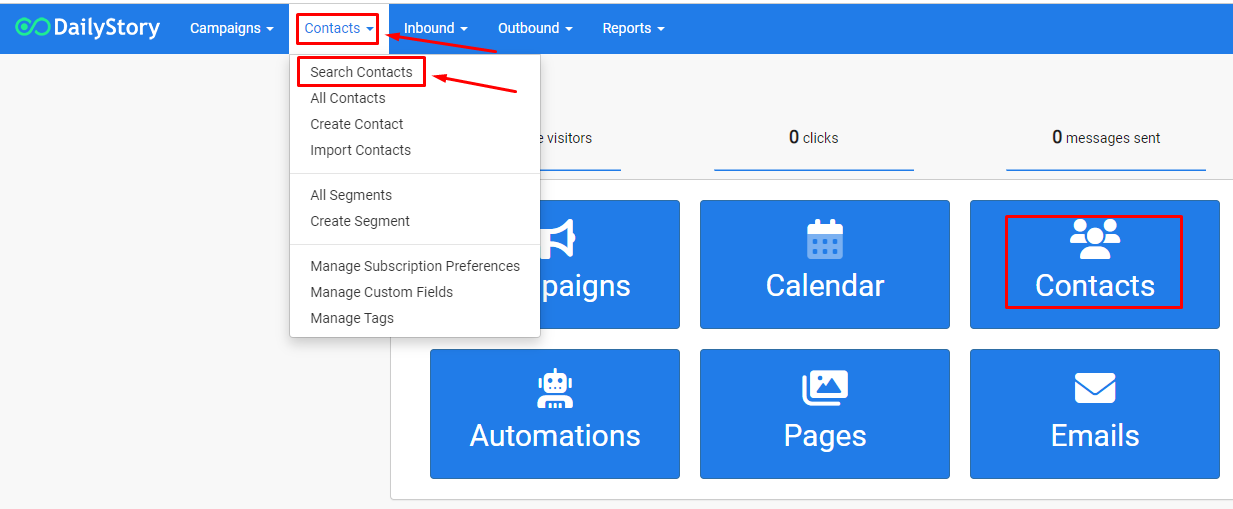
- Create a dynamic segment for your Campaign. Navigate to
Contacts > Search Contacts.
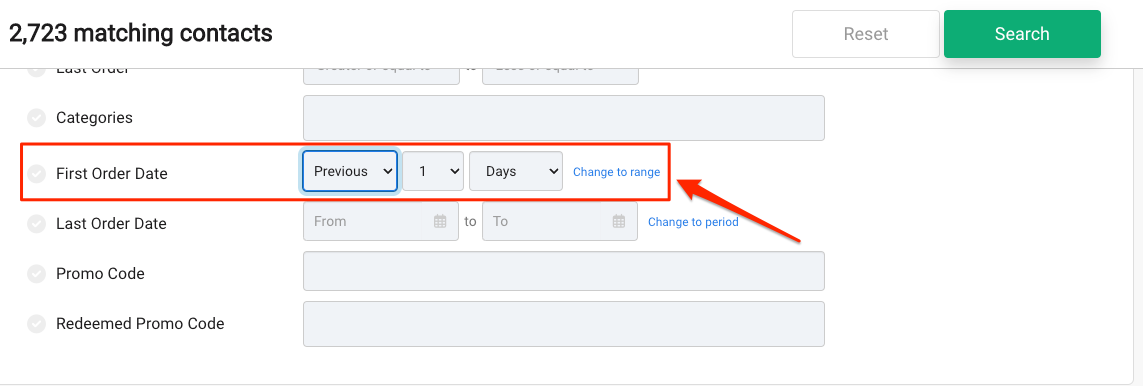
- Look for the filter search field you want to filter on, like First Order Date, and change from Range to
Period. We recommend In the Previous 1 Day. Once selected, click on the greenSearchbutton to return your results
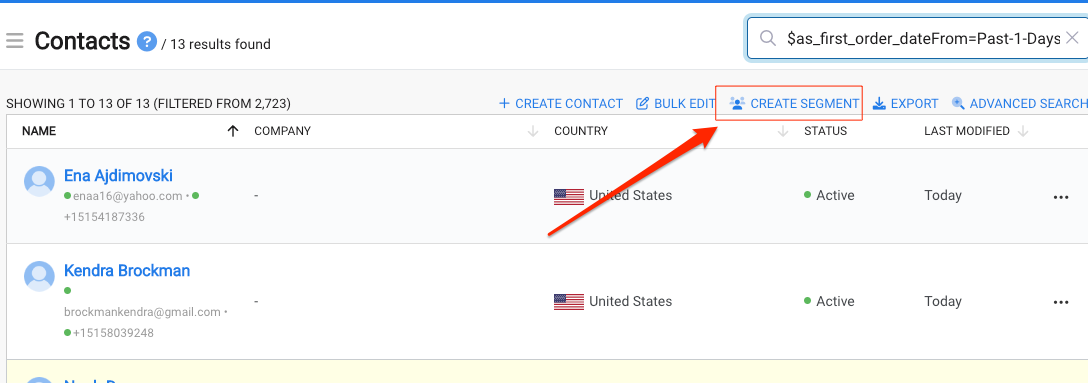
- Make sure the results look like what you were expecting and then click
Create Segment.
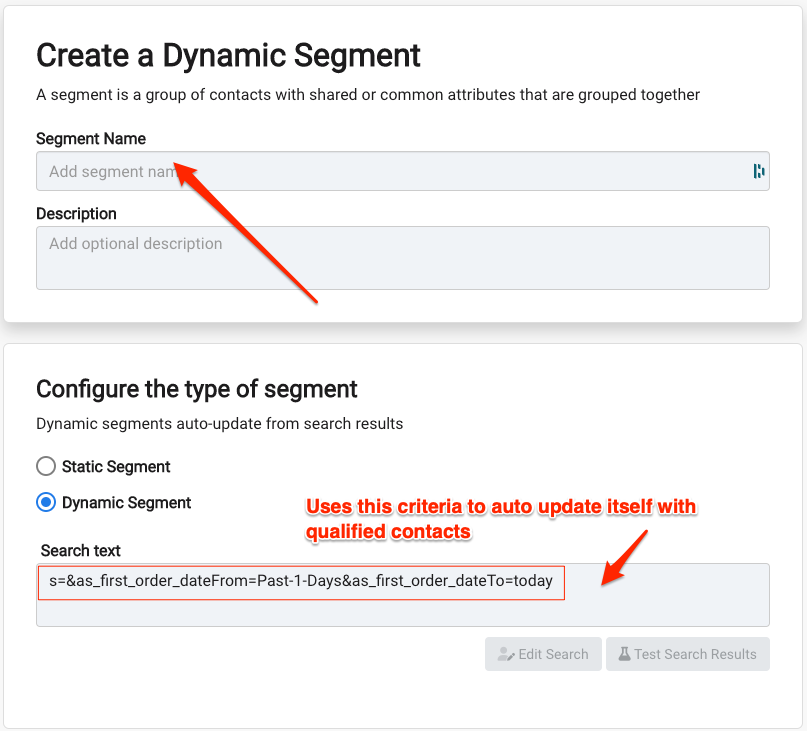
- Because you created the segment from a search, it is a dynamic segment and will automatically update itself. Give it a name and optional description and then hit the
Create Segmentbutton. Once created, you will be able to find it in your Segments dashboard list.
Click here for more help with creating and working with dynamic segments.
STEP 2: Create a campaign
- Navigate to
Campaigns > Create Campaign.
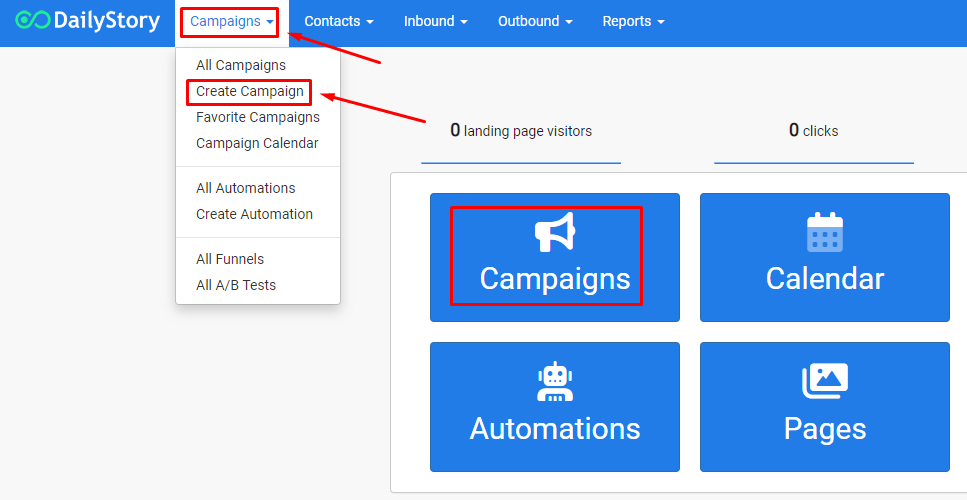
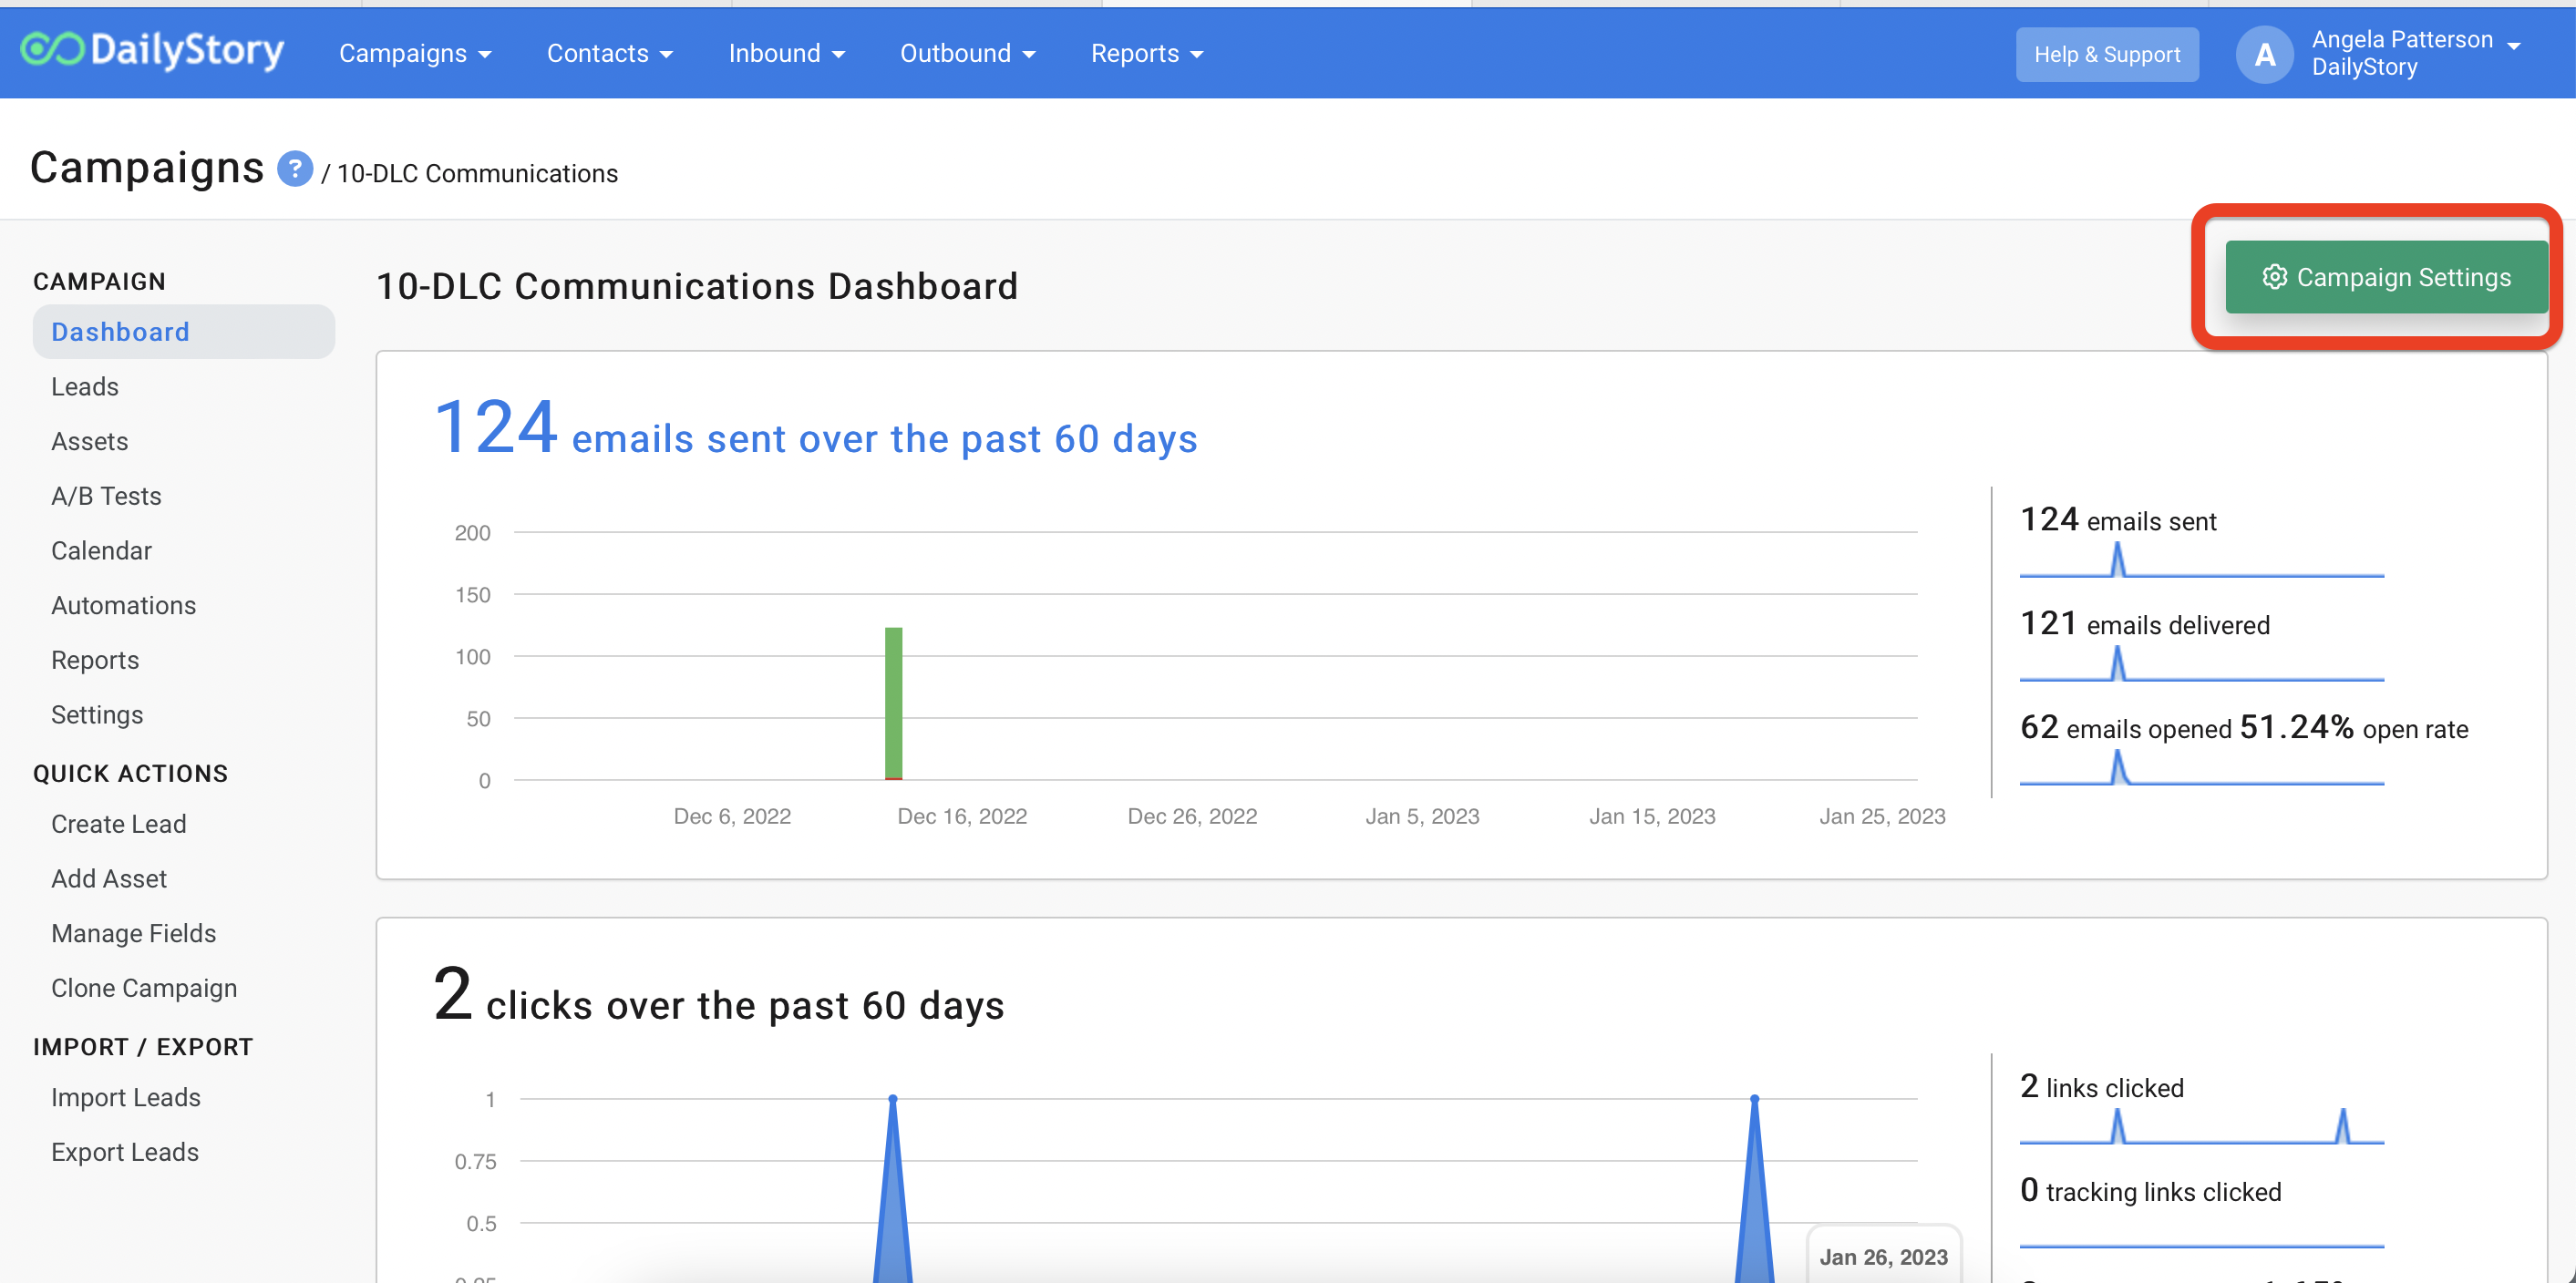
- Name the campaign Second Purchase Promo and give it an optional description. Go to
Campaign Settings
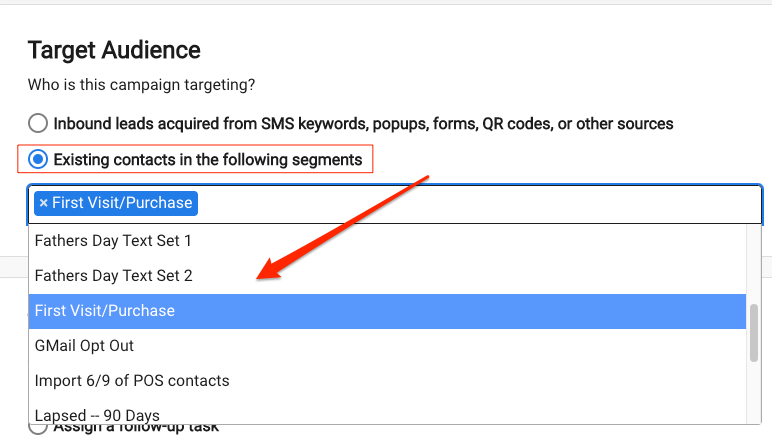
- Select
Existing contacts in the following segmentsas your Target Audience and then select the segment you just created, Second Purchase Promo, from the drop-down list.
- Click
Save & Close.
Click here for more help with creating and working with Campaigns.
STEP 3: Create an automated response email or text message
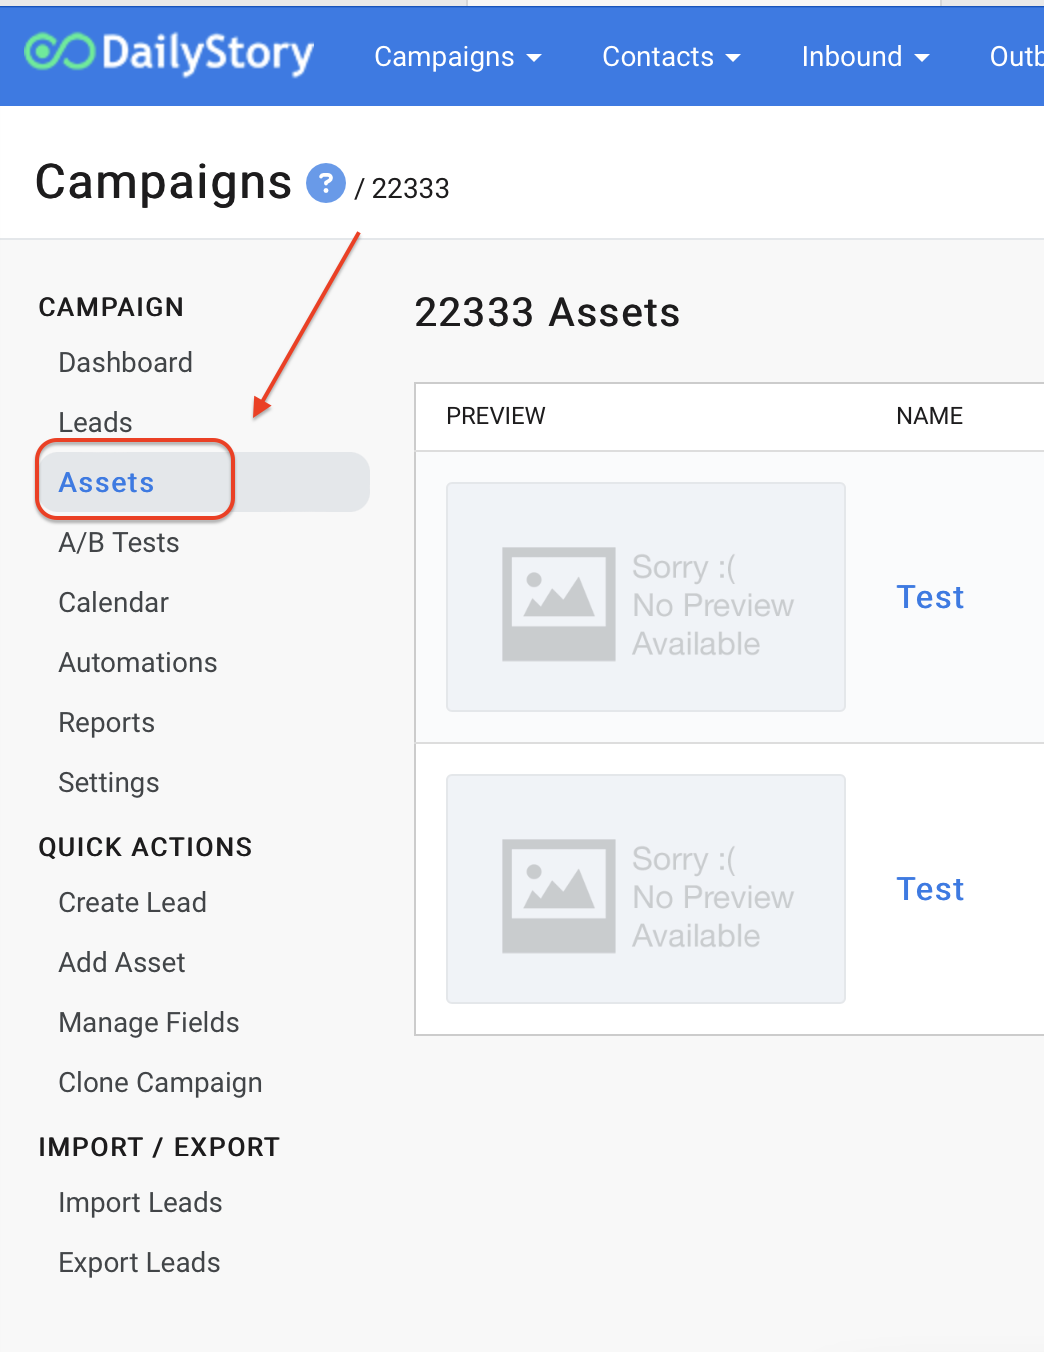
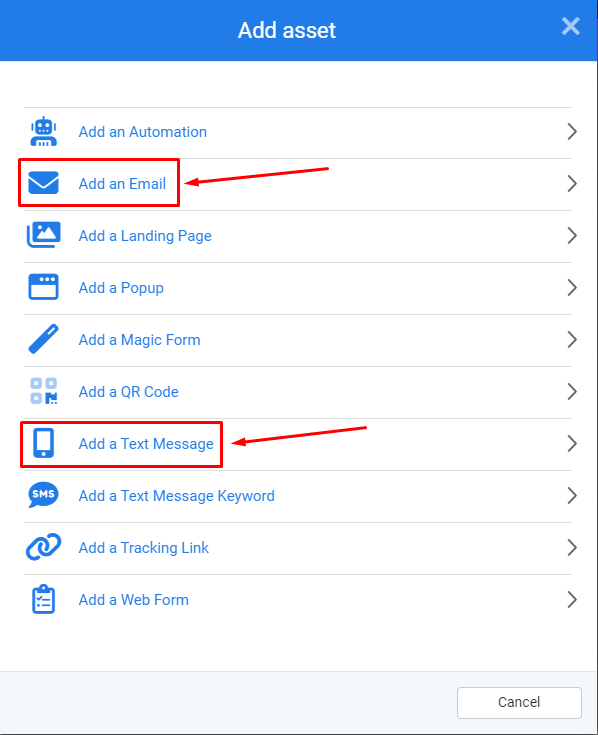
- From within the campaign, select the Assets tab and then click
+ Add Asset.
- Select
Add an EmailorAdd a Text Messagefrom the popup window.
- Fill out the required information to create the message and then hit the green
Next ->button. Design your email or text message and clickSave & Close. We'd recommend a discount amount or free gift offer with their second purchase.
Click here for more help with creating text messages or creating an email with the email designer.
STEP 4: Create an automation
- From within the campaign, select the Automations tab and then click
+ Add Automation.

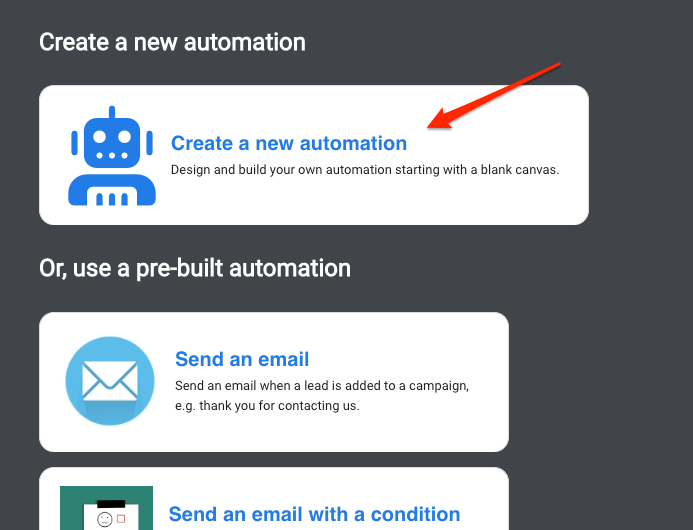
- Select
Create a new automation
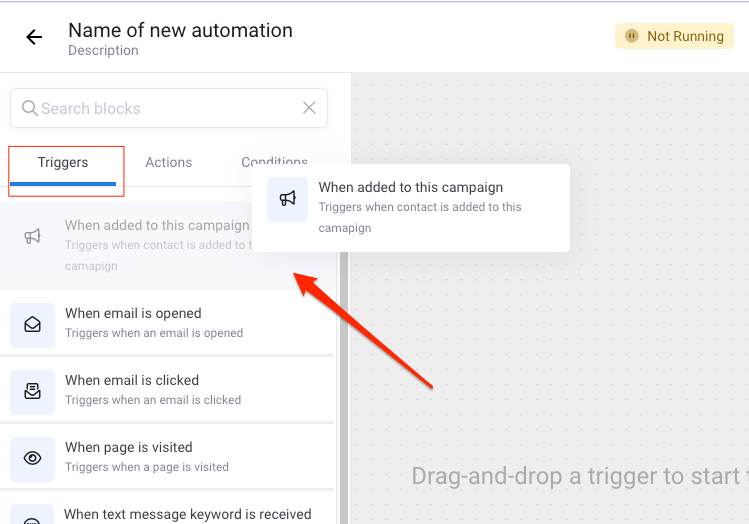
- From the Triggers tab, drag and drop the trigger
When added to this campaignonto the canvas.
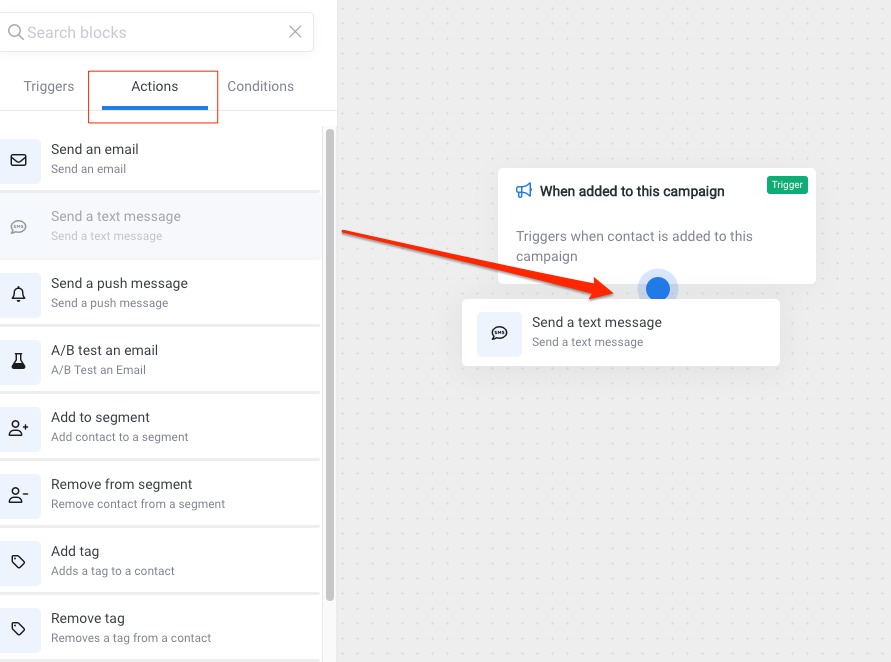
- From the Actions tab, drag and drop the action
Send a text messageorSend an emailonto the canvas overlapping the previous step so it will drop into place. You will see a blue dot when you can drop the image.
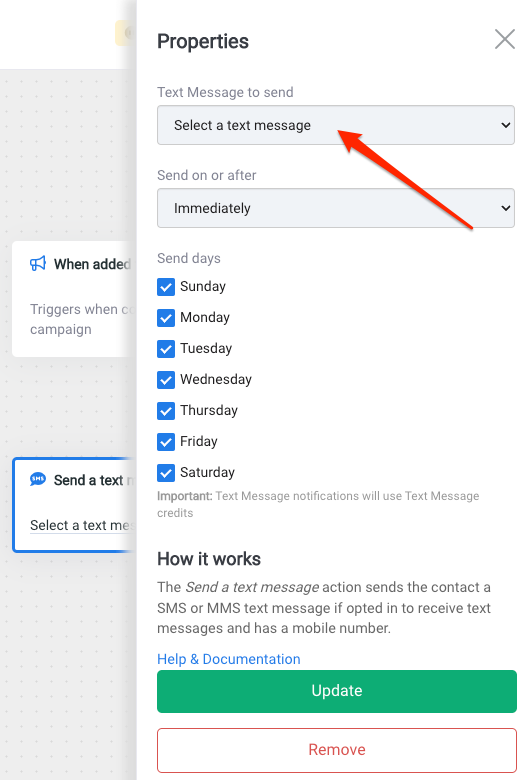
- From the Properties window for the selected action, choose the text message or email to send and any sending preferences. Once selected, click
Update.
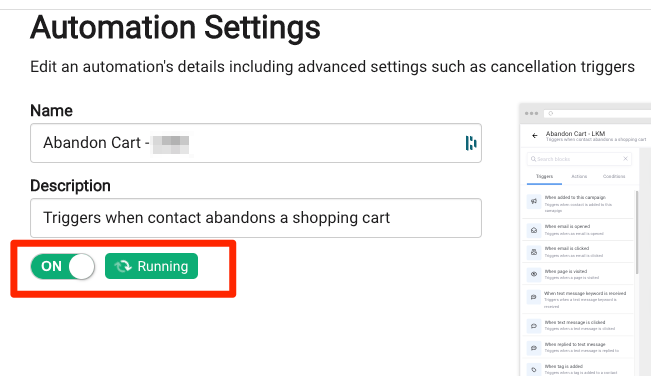
- Your automation is ready, so your final steps are to save it, name it and turn it on. You can name the automation Second Purchase Promo and as a description describe what will happen. For example "Send text message when added to campaign".
- After you click the Save button and name your automation, click the back arrow
<--to return to the automation settings.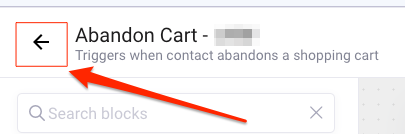
- You can slide the automation to
ONfrom the settings screen and clickSave & Close, or you can always turn automations off or on from the tab in your campaign.
Click here for more help with creating automations.
You're all set!
As soon as new customers are added to the segment (1 day after their first purchase), they will automatically populate as Leads in the campaign and run through the automation to receive your Second Purchase Promo message.