Abandoned Cart Campaign
Get your customers back after they have abandoned their cart. We'll walk you through an easy way to set up an automation so you can 'set it and forget it!'
RecommendedIn order to utilize this campaign and dynamic segment, you need to be integrated with your point-of-sale or ecommerce system. The segment relies on up-to-date online cart records. See our Integrations Guide for help with connecting with other apps.
Steps we'll guide you through:
- Creating a dynamic segment
- Creating a campaign
- Creating a text or email
- Creating an automation
STEP 1: Create a dynamic segment
- From the main navigation bar, navigate to
Contacts > Search Contacts.
If you're integrated with Shopify, this segment is auto-generated, so no need to create one!
- Look for Cart Abandoned, and change it to
Period. Choose the period of time you want your search to focus on. We recommend some time in the previous 24 hours. Once selected, click on the greenSearchbutton to return your results.
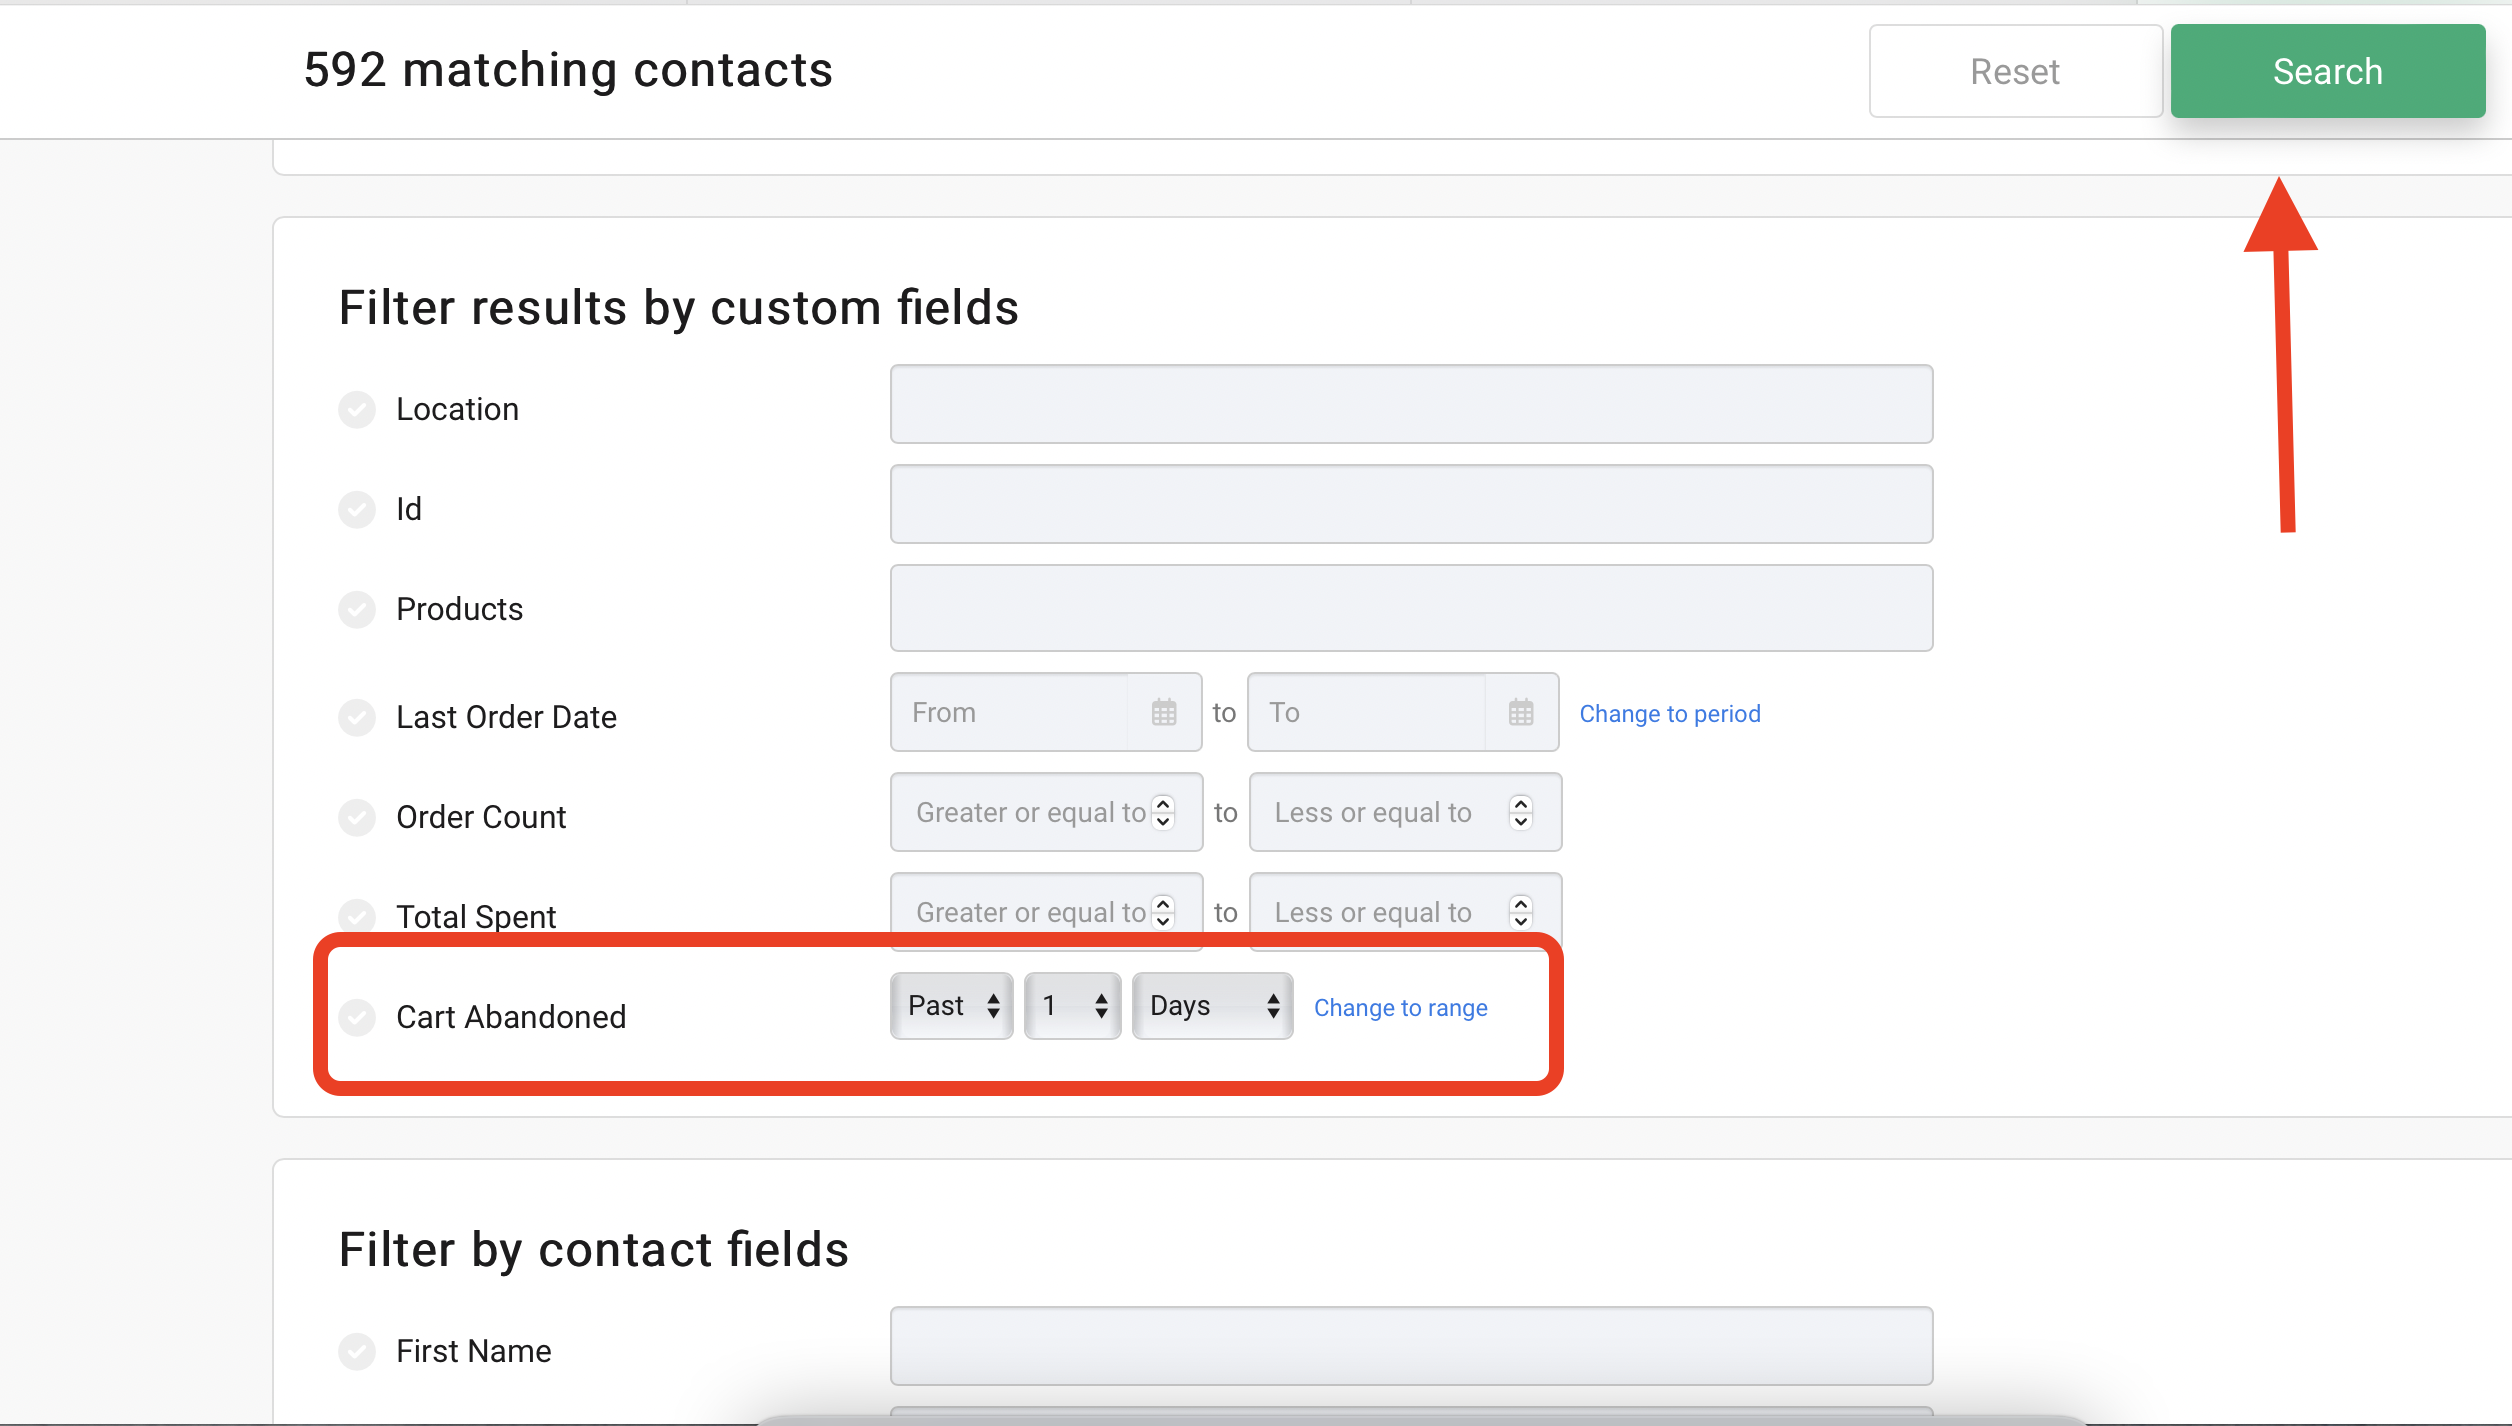
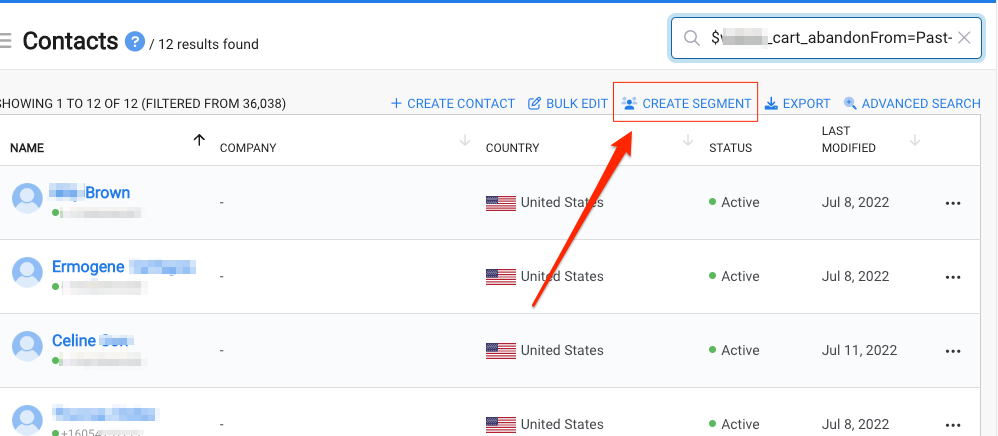
- Review the results to make sure they return what you were expecting and then click on
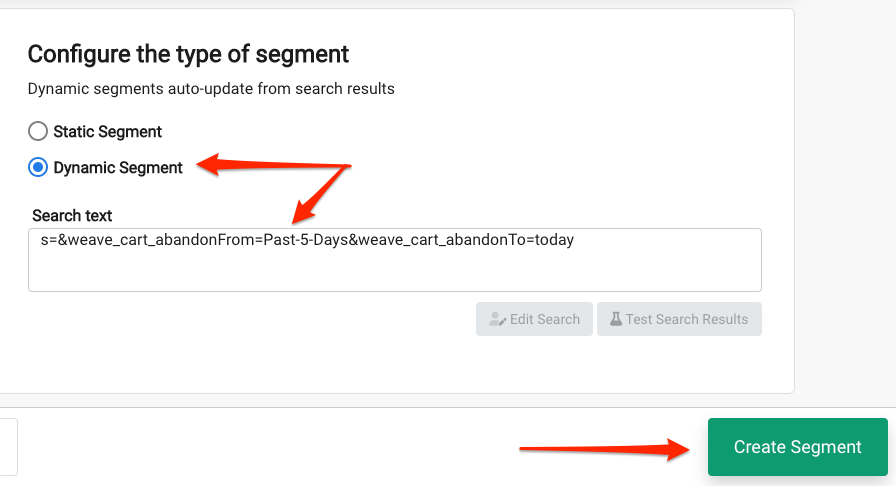
Create Segment. You’ll see it automatically becomes a Dynamic Segment since it was created via search and the system will automatically add the search string needed. Name your segment, something like Abandoned Cart, and give it an optional description.
- You’ll see it automatically becomes a Dynamic Segment since it was created via search and the system will automatically add the search string needed. Name your segment, something like Abandoned Cart and give it an optional description. Next click
Create Segment.
- Click
Save & Closeto finish creating your new dynamic segment.
Click here for more help with creating and working with dynamic segments.
STEP 2: Create a campaign
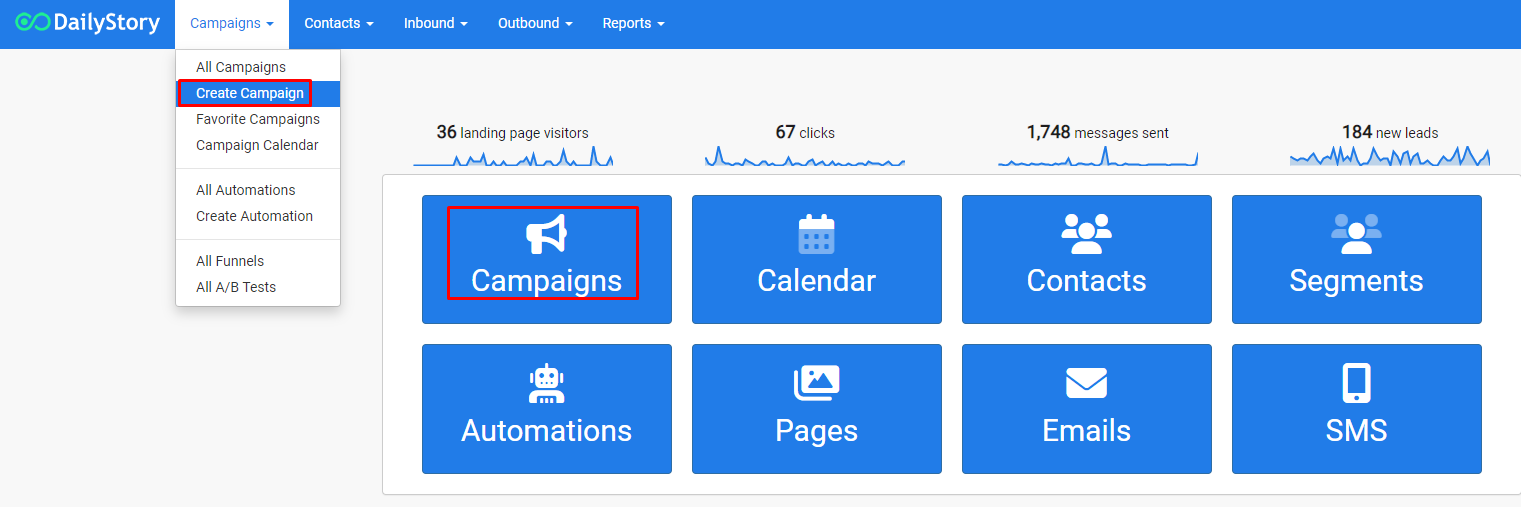
- Navigate to
Campaigns > Create Campaign - Name the campaign Abandoned Cart.
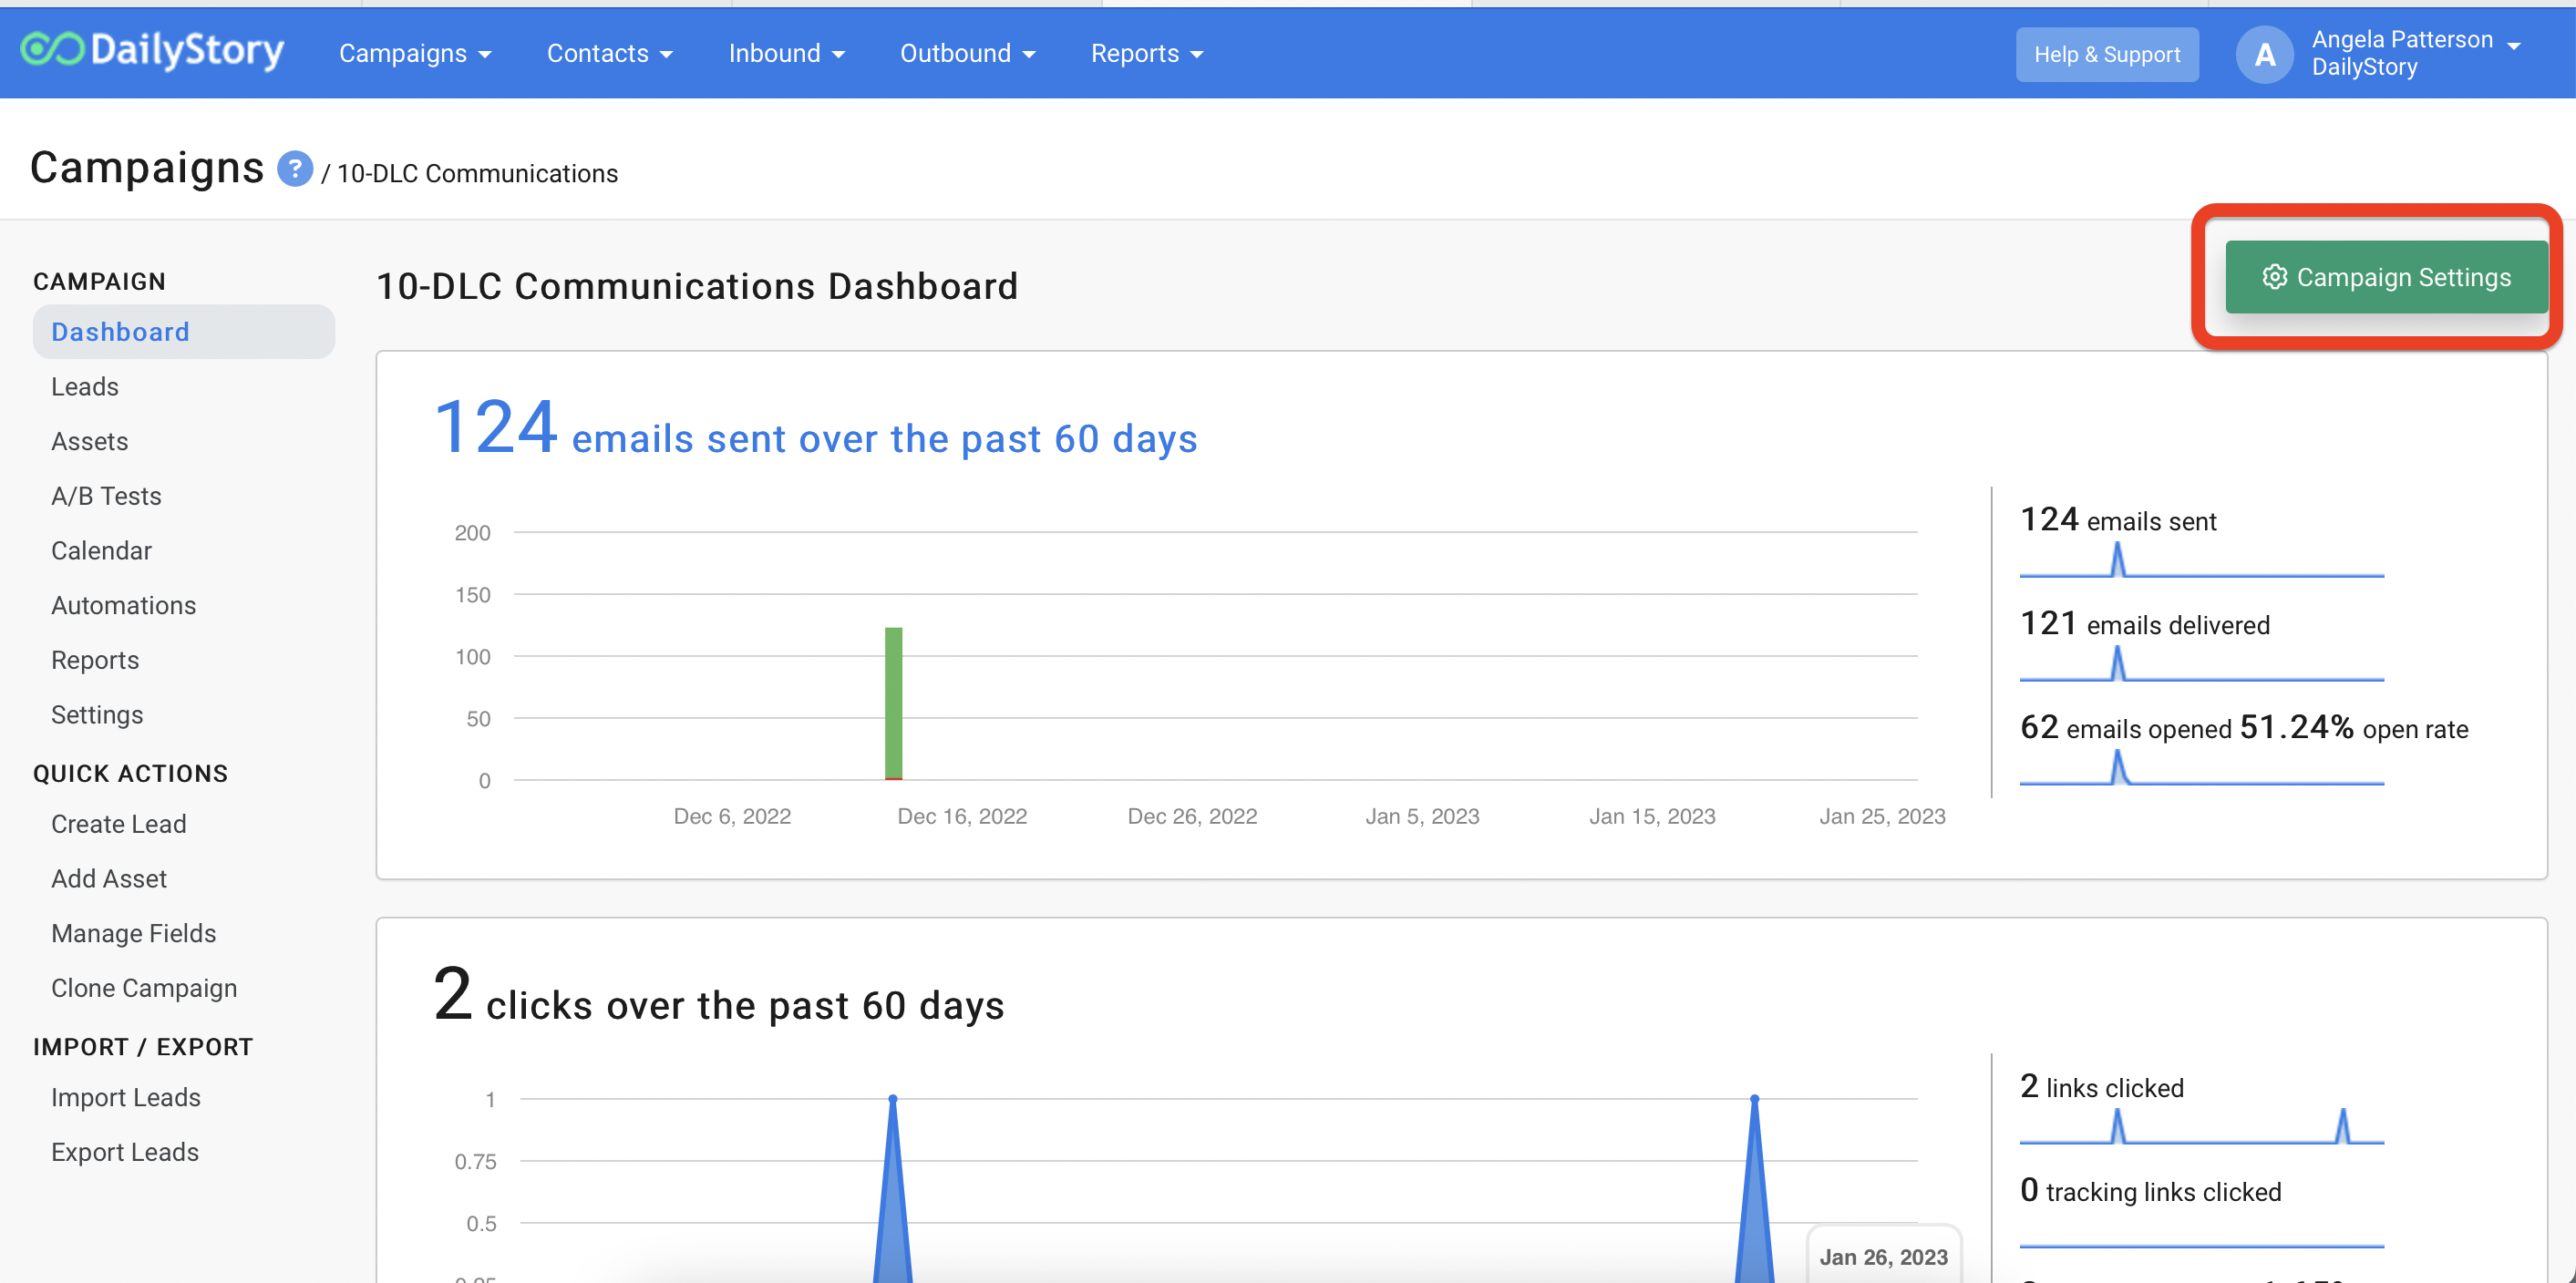
- Open up
Campaign Settingsto assign contacts.
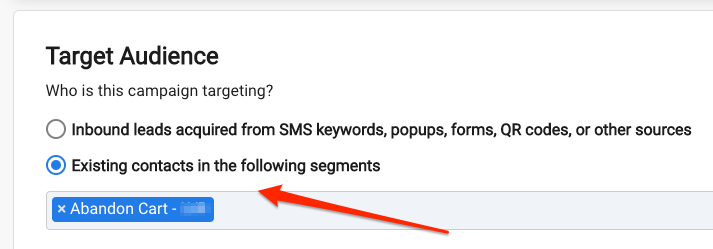
- Next, choose
Existing contacts in the following segmentsfor your Target Audience and then select the segment you just created, Abandoned Cart, from the drop-down list.
- Click
Save & Closeto finish creating your campaign.
Click here for more help with creating and working with Campaigns.
STEP 3: Create response email(s) or text message(s)
- From within the campaign, select the Assets tab and then click
+ Add Asset. - Select
Create an emailorCreate text messagefrom the pop-up window and complete the next steps of naming and designing your messages. These will be the messages your customers receive after they have abandoned their cart.
These drip messages are usually text messages. 1-2 messages are typically recommended where the first message is just a reminder with no offer and the second message has an offer to complete purchase a or so later.
Sample Message #1:
Hello from ____! You left something behind..
You're so close to a new you!
Finish your checkout: {{profile.shopify_abandoned_url}}
Sample Message #2:
Hi again from ____! We hope you love our products and want to show you some love back.
Use this code for 10% off to complete your purchase {{profile.shopify_abandoned_url}}
- Once you've designed your messages, click
Save & Closeand repeat these steps for as many messages as you would like in your drip automation.
Click here for more help with creating text messages or creating an email with the email designer.
STEP 4: Create an automation
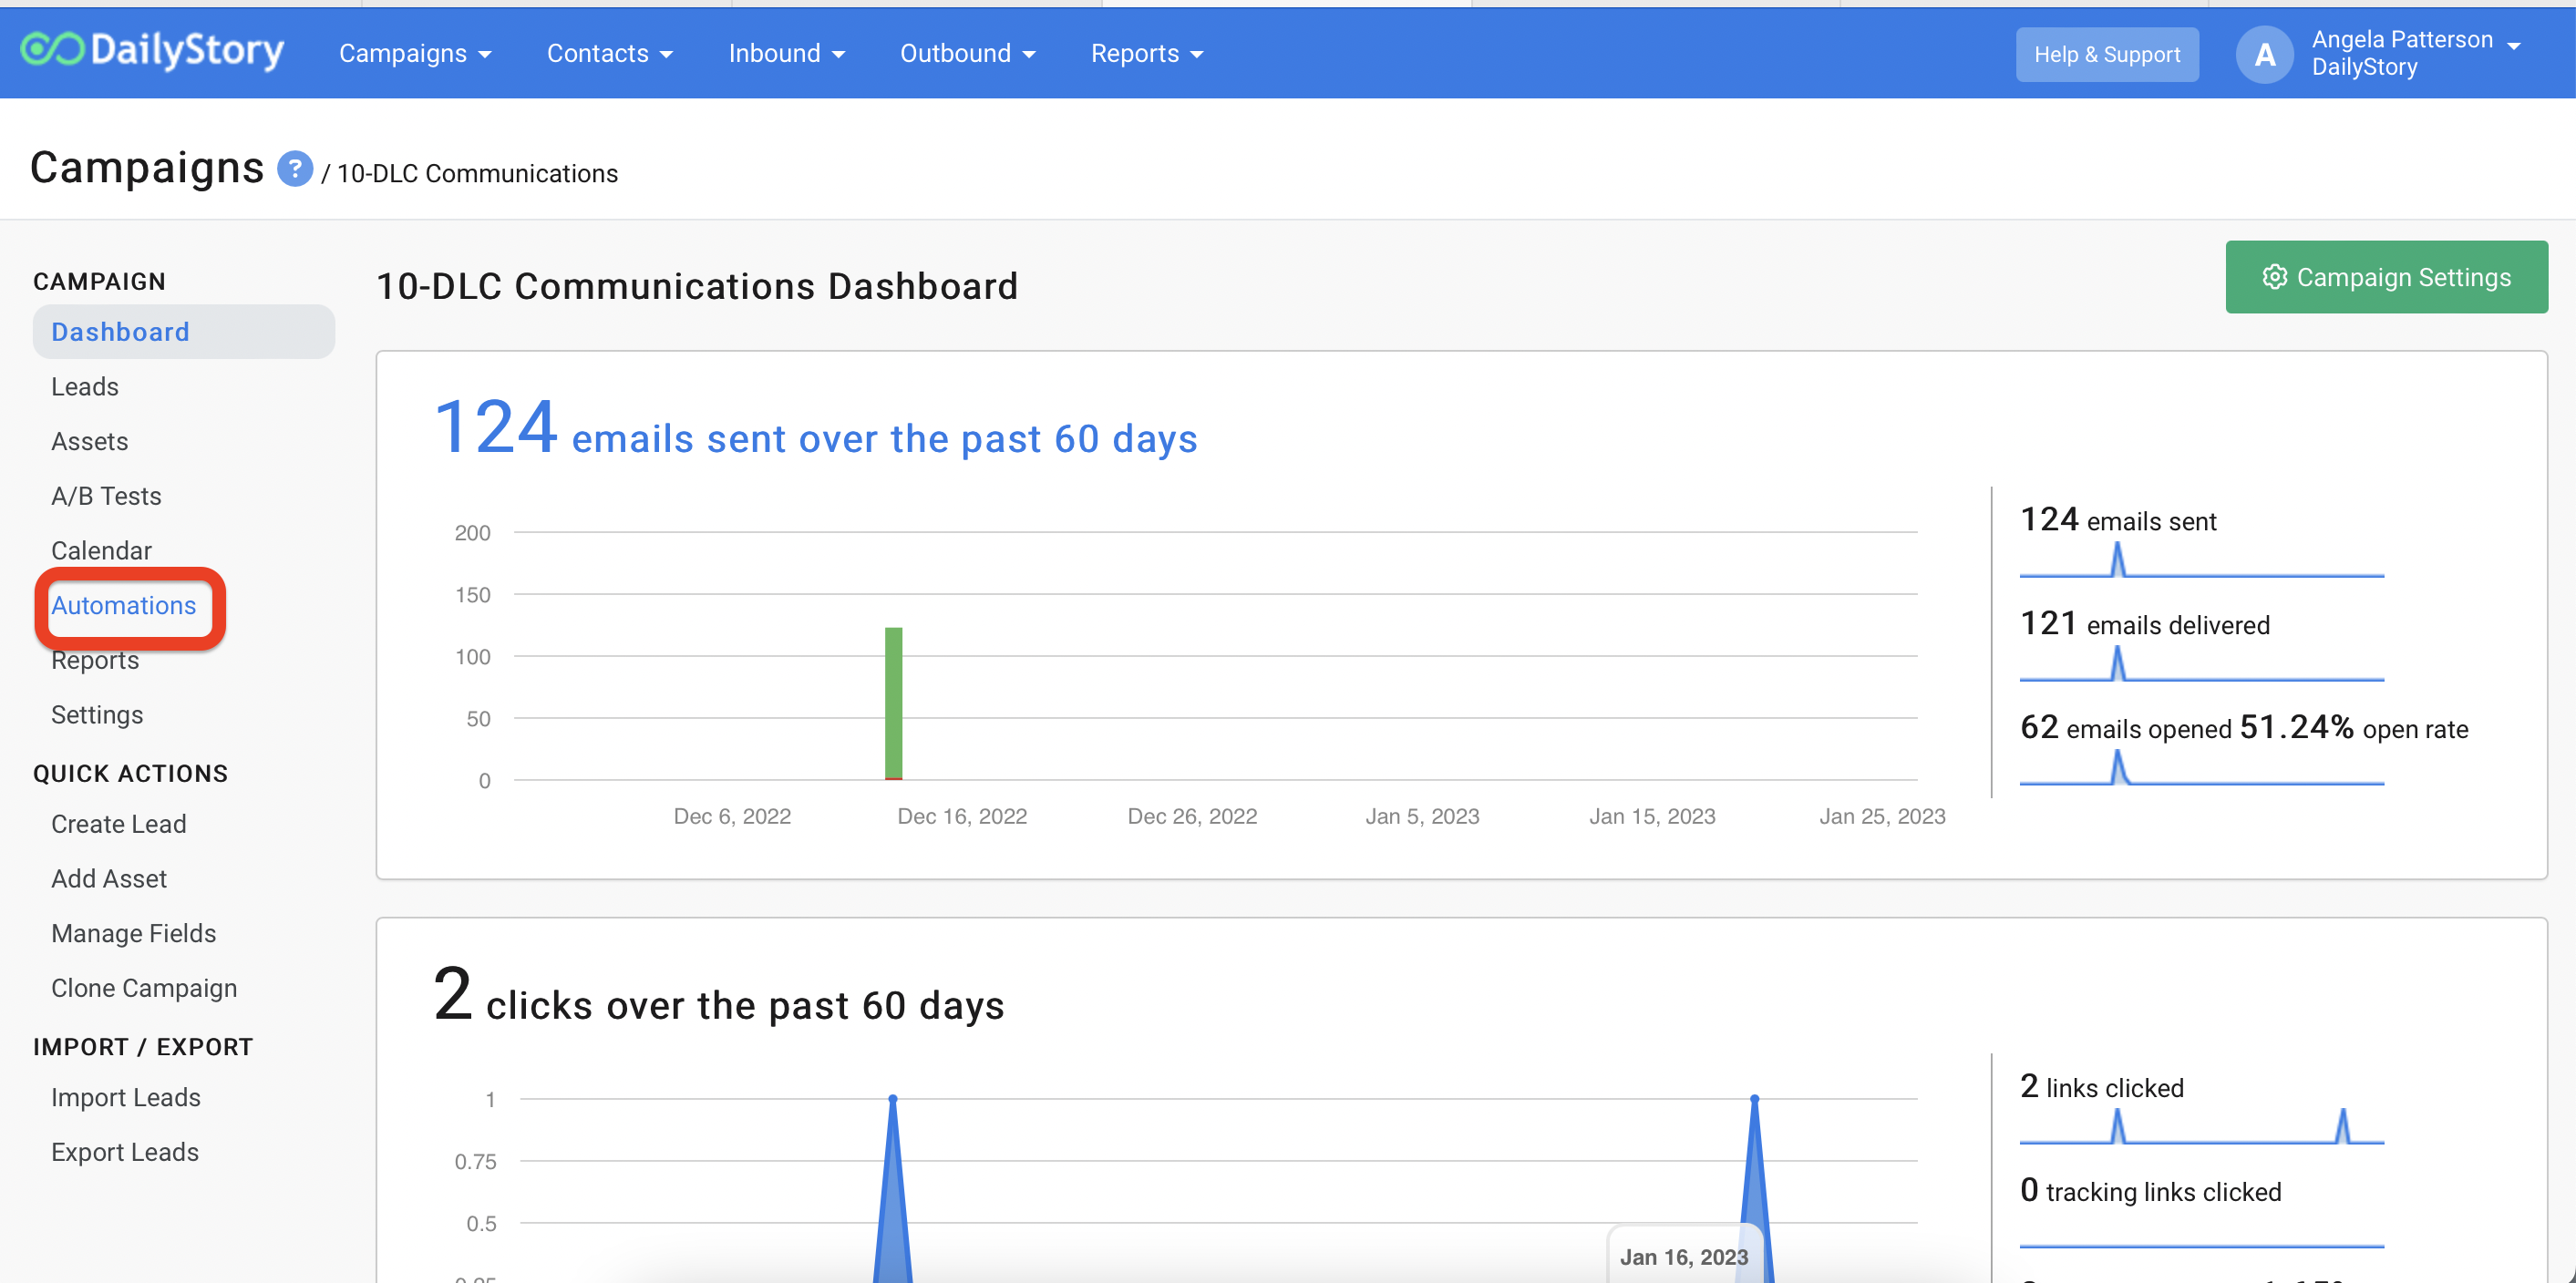
- From within the campaign, select the Automations tab and then click
+ Add Automation.
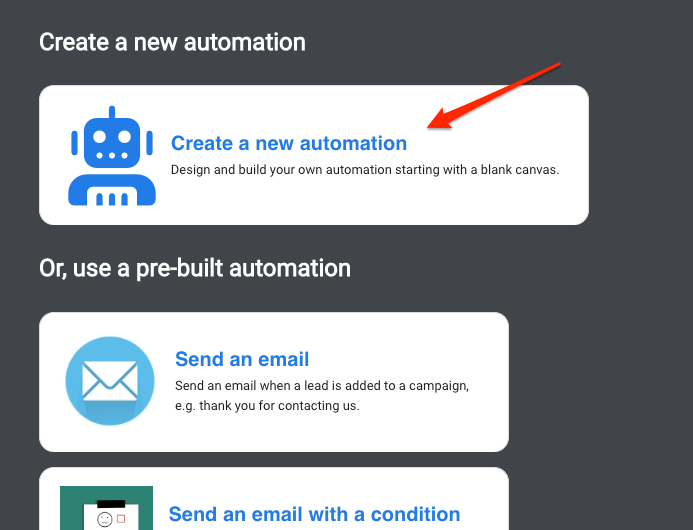
- Select
Create a new automation.
- From the Triggers tab, drag and drop the trigger
When added to segmentonto the canvas.
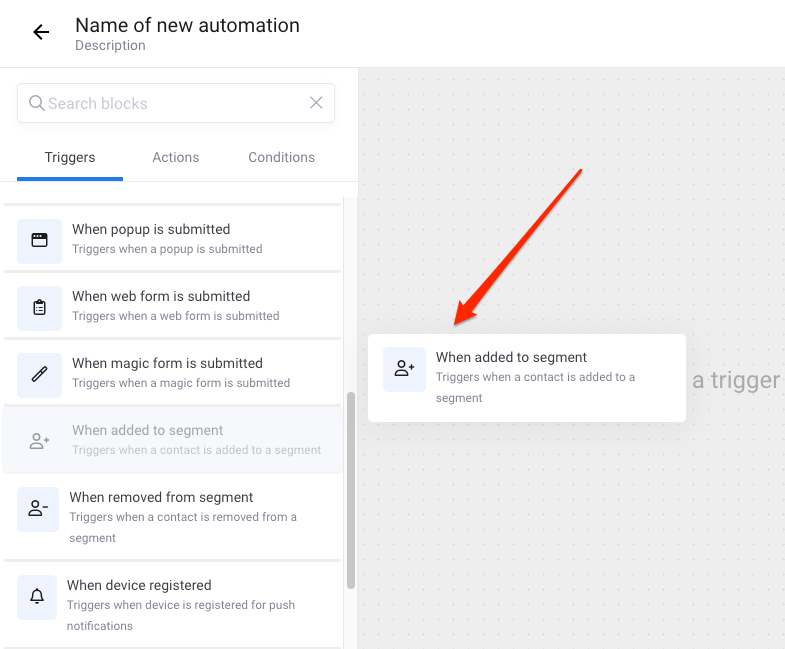
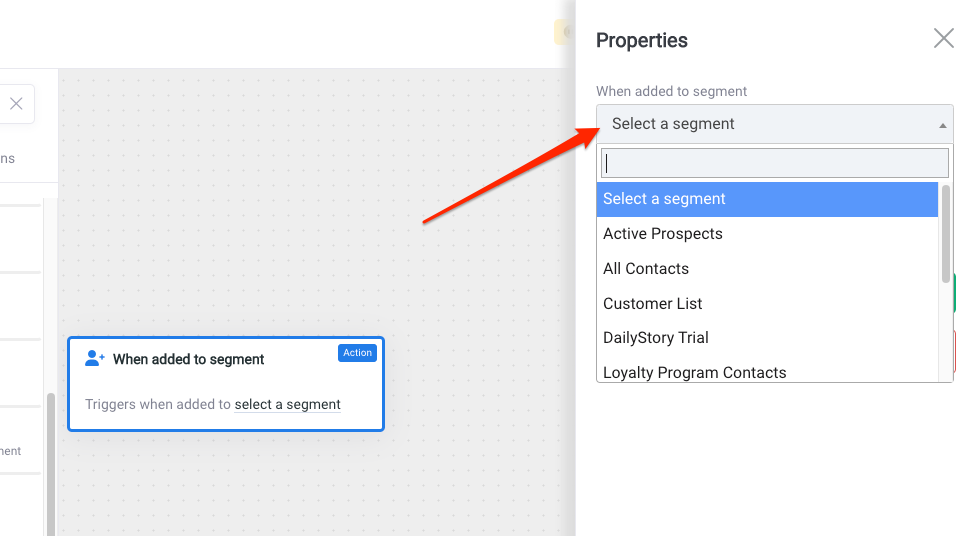
- Select the trigger once dropped so the Properties box is displayed and choose the segment you just created, called Abandoned Cart, and click
Update.
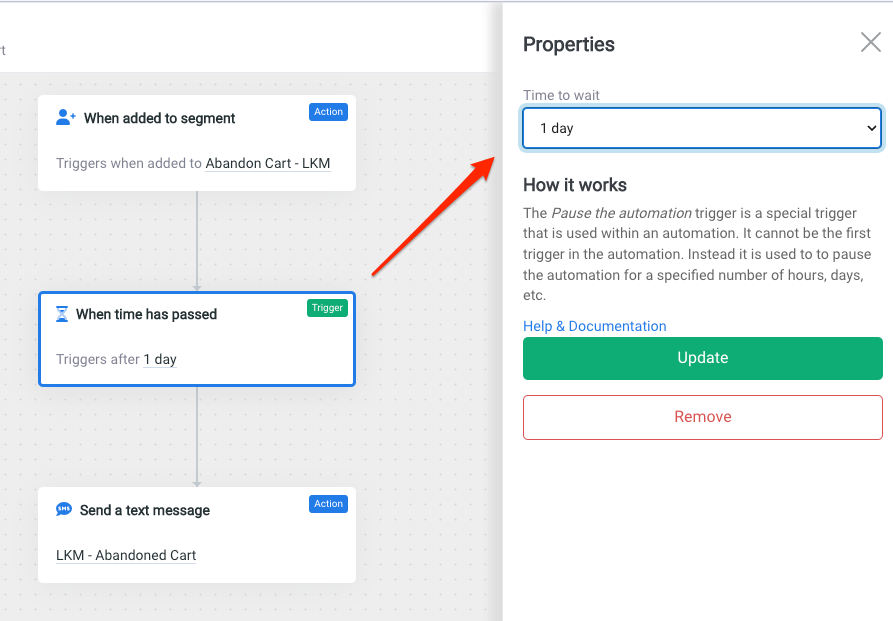
- Next, from the Triggers tab again, drag and drop the trigger
When time has passedonto the canvas overlapping the previous step. You will see a blue drop when it's safe to drop. - From the properties box, select the initial time frame you'd like to pass after their cart is considered abandoned and then click on
Update. In this example, it's 1 day. Typically you want this to be sometime in the first 12-24 hours.
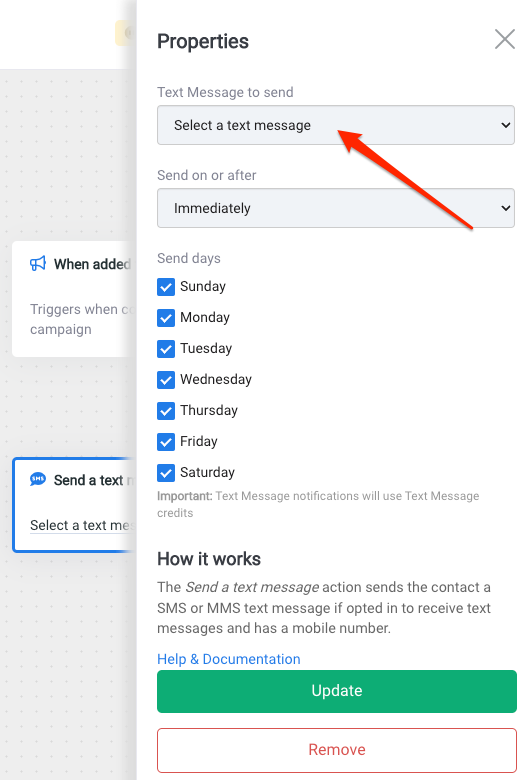
- From the Actions tab, drag and drop the action
Send a text messageorSend an emailonto the canvas overlapping the previous step so it will drop into place. - From the Properties window for the selected action, choose the text message or email to send and any sending preferences. Once selected, click
Update.
- Repeat these steps for as many drip messages you want to be sent.
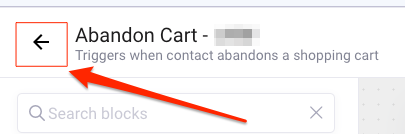
- Your final steps are to click
Saveand name the automation. You can give it an optional description as well. We recommend you use the description to say what is happening in the automation. For example, Triggers text drips when cart is abandoned. - Click the back arrow
<--to return to the automation settings.
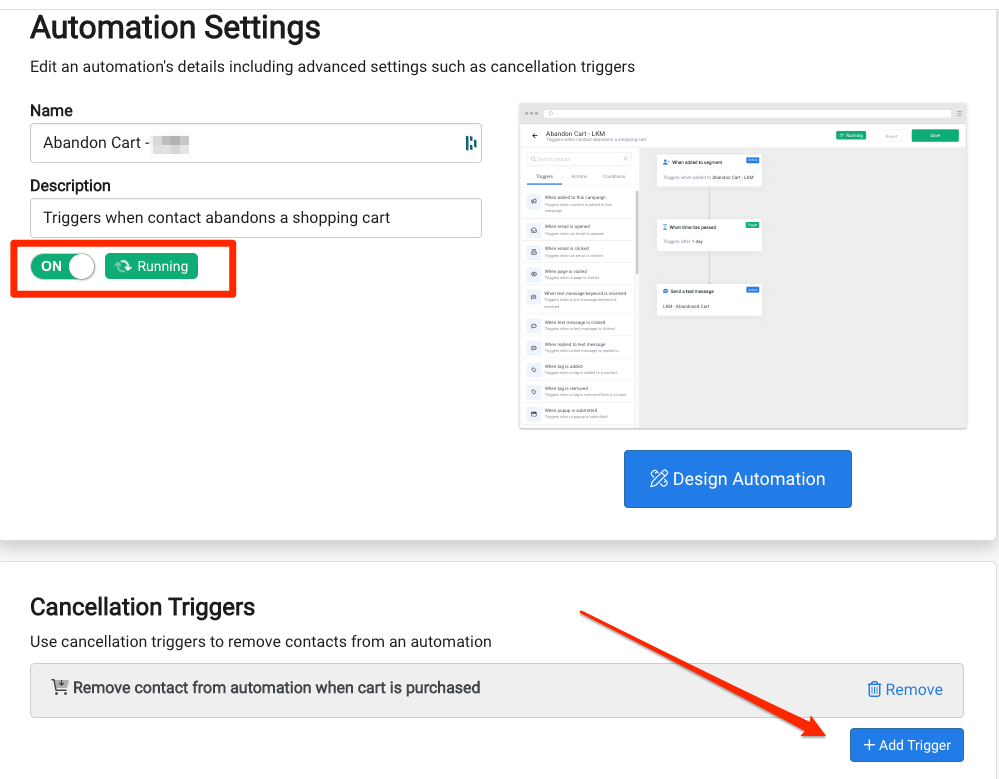
- From the settings screen, click on
+Add Triggerfrom the Cancellation Triggers section. Select theRemove contact from automation when cart is purchased. Next, be sure to turn on the automation.
You're all set!
As soon as new customers are added to the segment they will automatically populate as Leads in the campaign and run through the automation to receive your messages.
Click here for more help with creating automations.