Win Back Campaign
Seeing some of your customers wander off and need to get them back through the door or ordering online again? Our "Win Back" campaigns can help you stay on top of those drifters and automate the "nudge" process to keep them engaged and active. Just follow these simple steps.
RecommendedIn order to utilize this campaign and the suggested dynamic segment, you need to be integrated with your point-of-sale or CRM system. The segment relies on up-to-date purchase or visit records. See our Integrations Guide for help with connecting with other apps.
Steps we'll guide you through:
- Creating a dynamic segment
- Creating a campaign
- Creating a text or email
- Creating an automation
STEP 1: Create a dynamic segment
Normally you would do this through a contact search and then create the segment from that search, but since this is a more advanced search string, we're going to show you how to create it from scratch.
- Navigate to
Contacts > Create Segment.
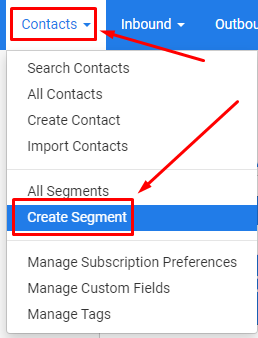
- Choose
Static Segmentfrom the popup window. Once created, we will actually change it to be dynamic.

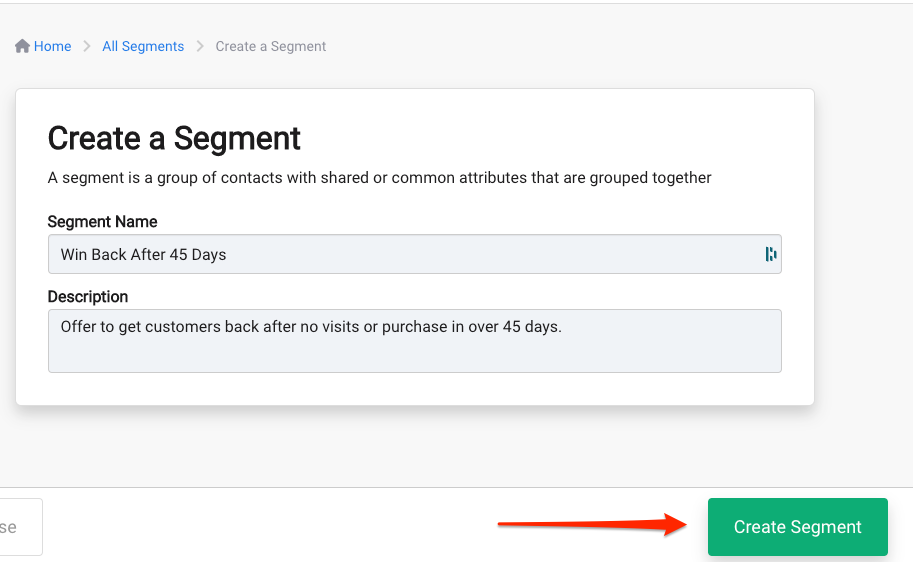
- Name the segment Win Back After 45 Days and give it a description if you like. Next click
Create Segment.
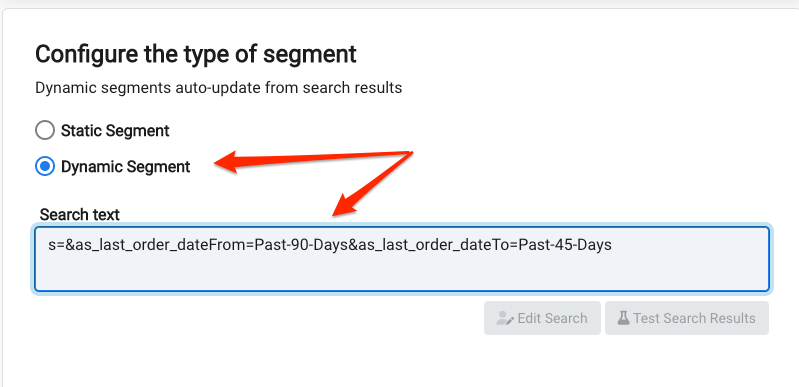
- On the next screen, change the segment type to
Dynamic Segmentand then type in this is exact string: s=&as_last_order_dateFrom=Past-90-Days&as_last_order_dateTo=Past-45-Days. The string is saying over the past 90 days, show me anyone who has not purchased or visited in over 45 days. This keeps the search from looking for customers from years of data and just focuses on those that are recent but at risk.
If your point of sale field for orders is not ”Last Order Date” or you need something different like ”Last Visit Date”, make sure that exact field description is inserted here with the same formatting.
- Click
Save & Close.
Click here for more help with creating and working with dynamic segments or working with custom fields.
RecommendedNormally you will not create dynamic segments this way and you do not need to know how to create this logic. For basic dynamic segments, you will use the contact search tool and create the segment from a search where the logic is automatically inserted for you.
STEP 2: Create a campaign
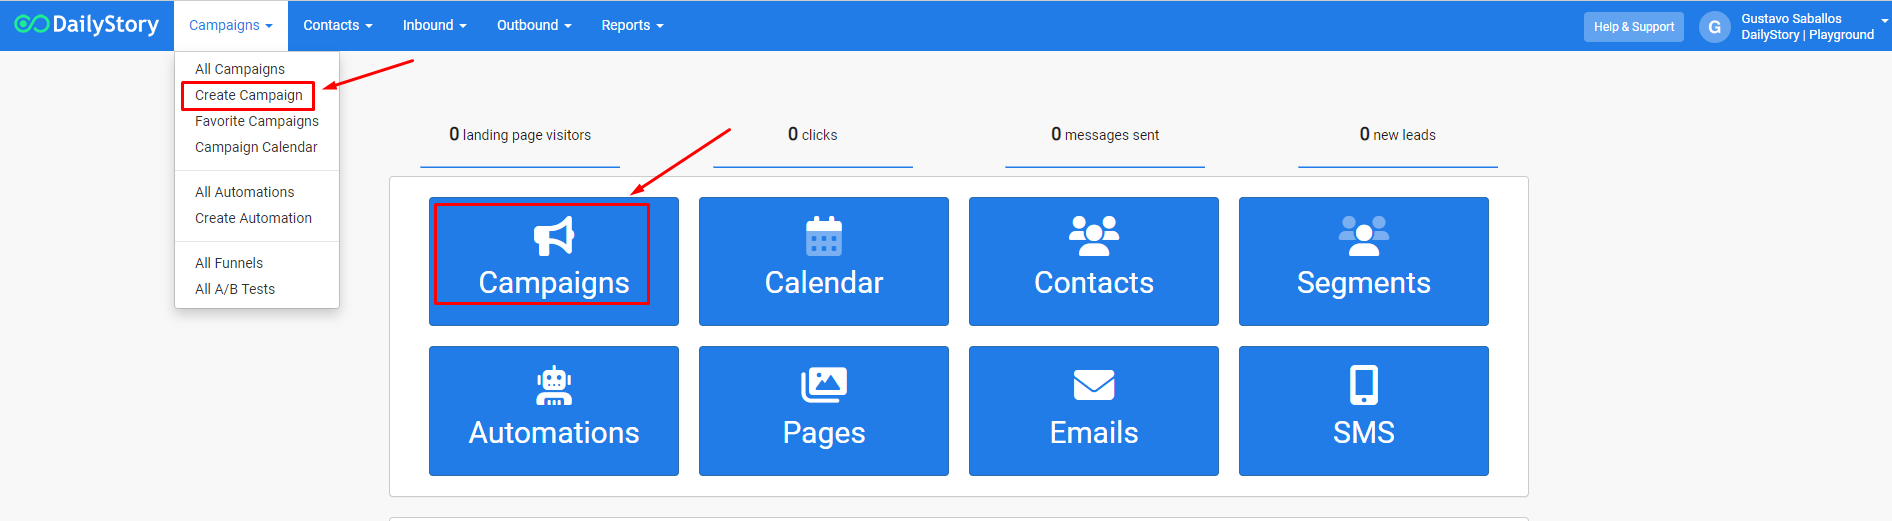
- Navigate to
Campaigns > Create Campaign - Name the campaign Win Back. Click
Create Campaign.
- Select
Existing contacts in the following segmentsas your Target Audience and then select the segment you just created, Win Back After 45 Days, from the drop-down list. - Click
Save & Close.
Click here for more help with creating and working with Campaigns.
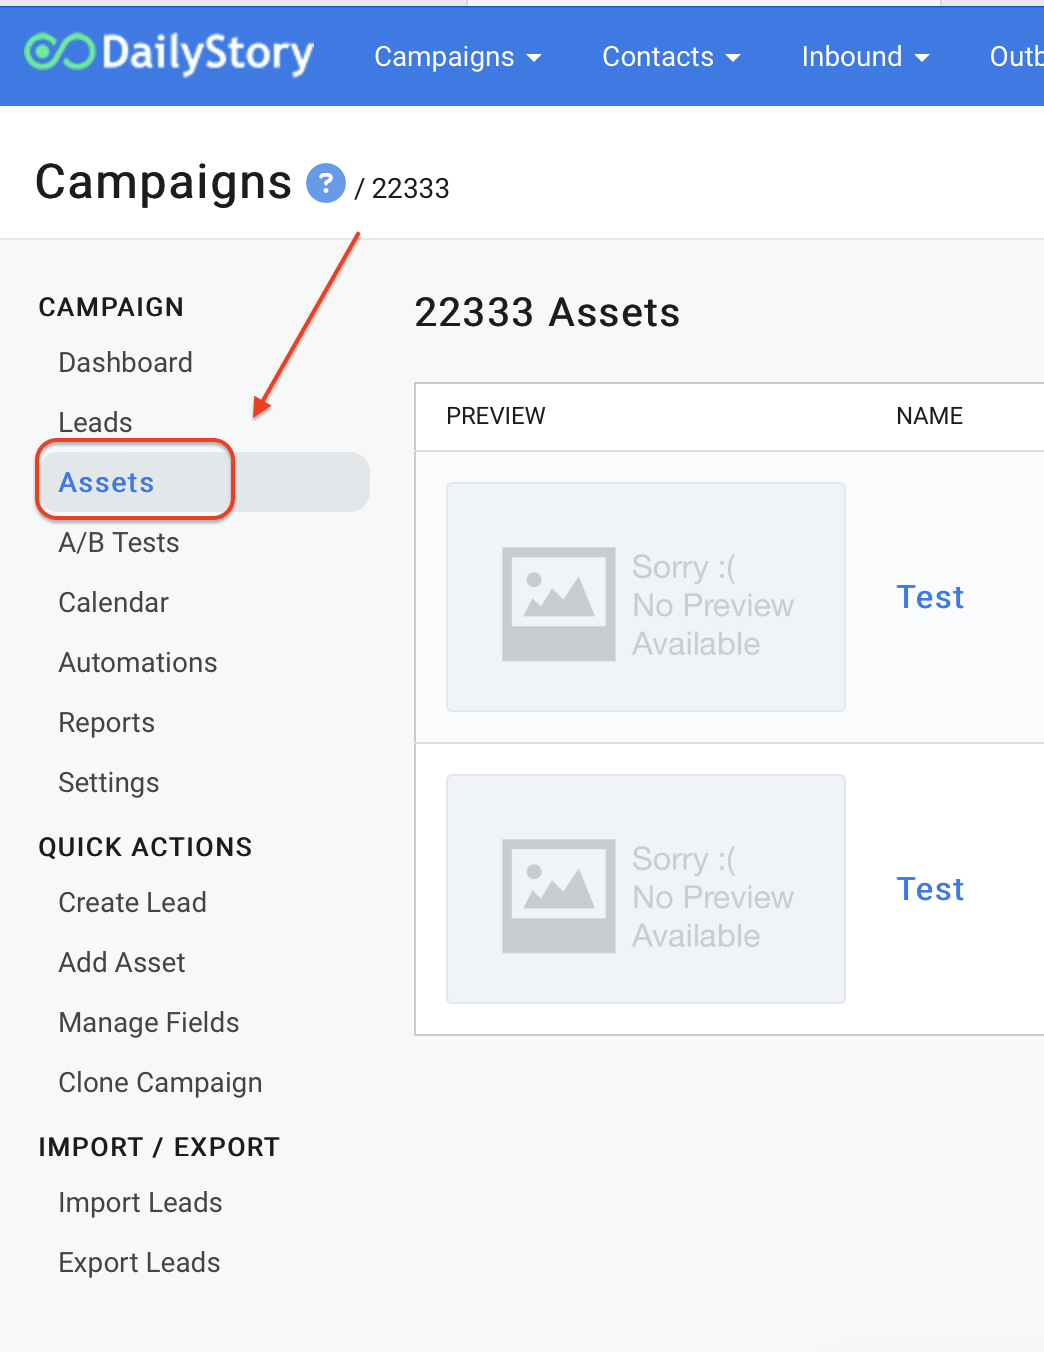
STEP 3: Create an email or text message
- From within the campaign, select the Assets tab and then click
+ Add Asset.
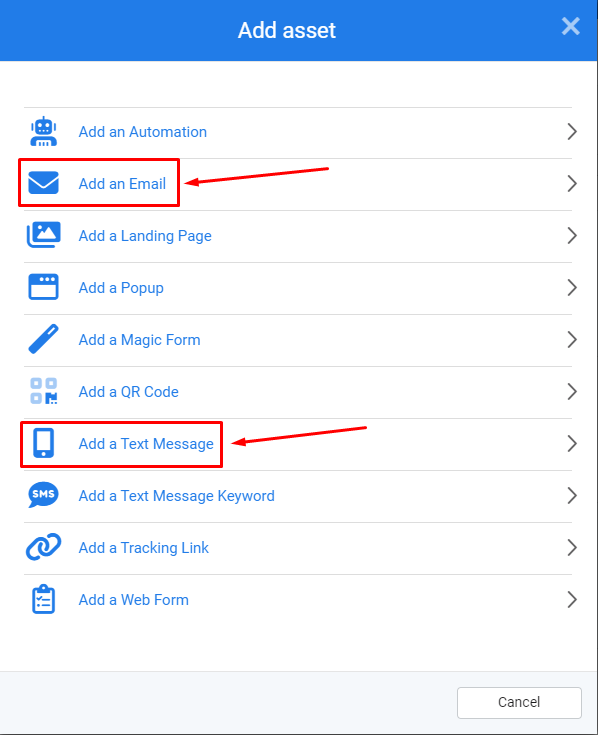
- Select
Add an EmailorAdd a Text Messagefrom the popup window.
- Fill out the required information to create the message and then hit the green
Next ->button. Design your email or text message and clickSave & Close. We'd recommend a discount amount or free gift offer to bring them back to the store.
Click here for more help with creating text messages or creating an email with the email designer.
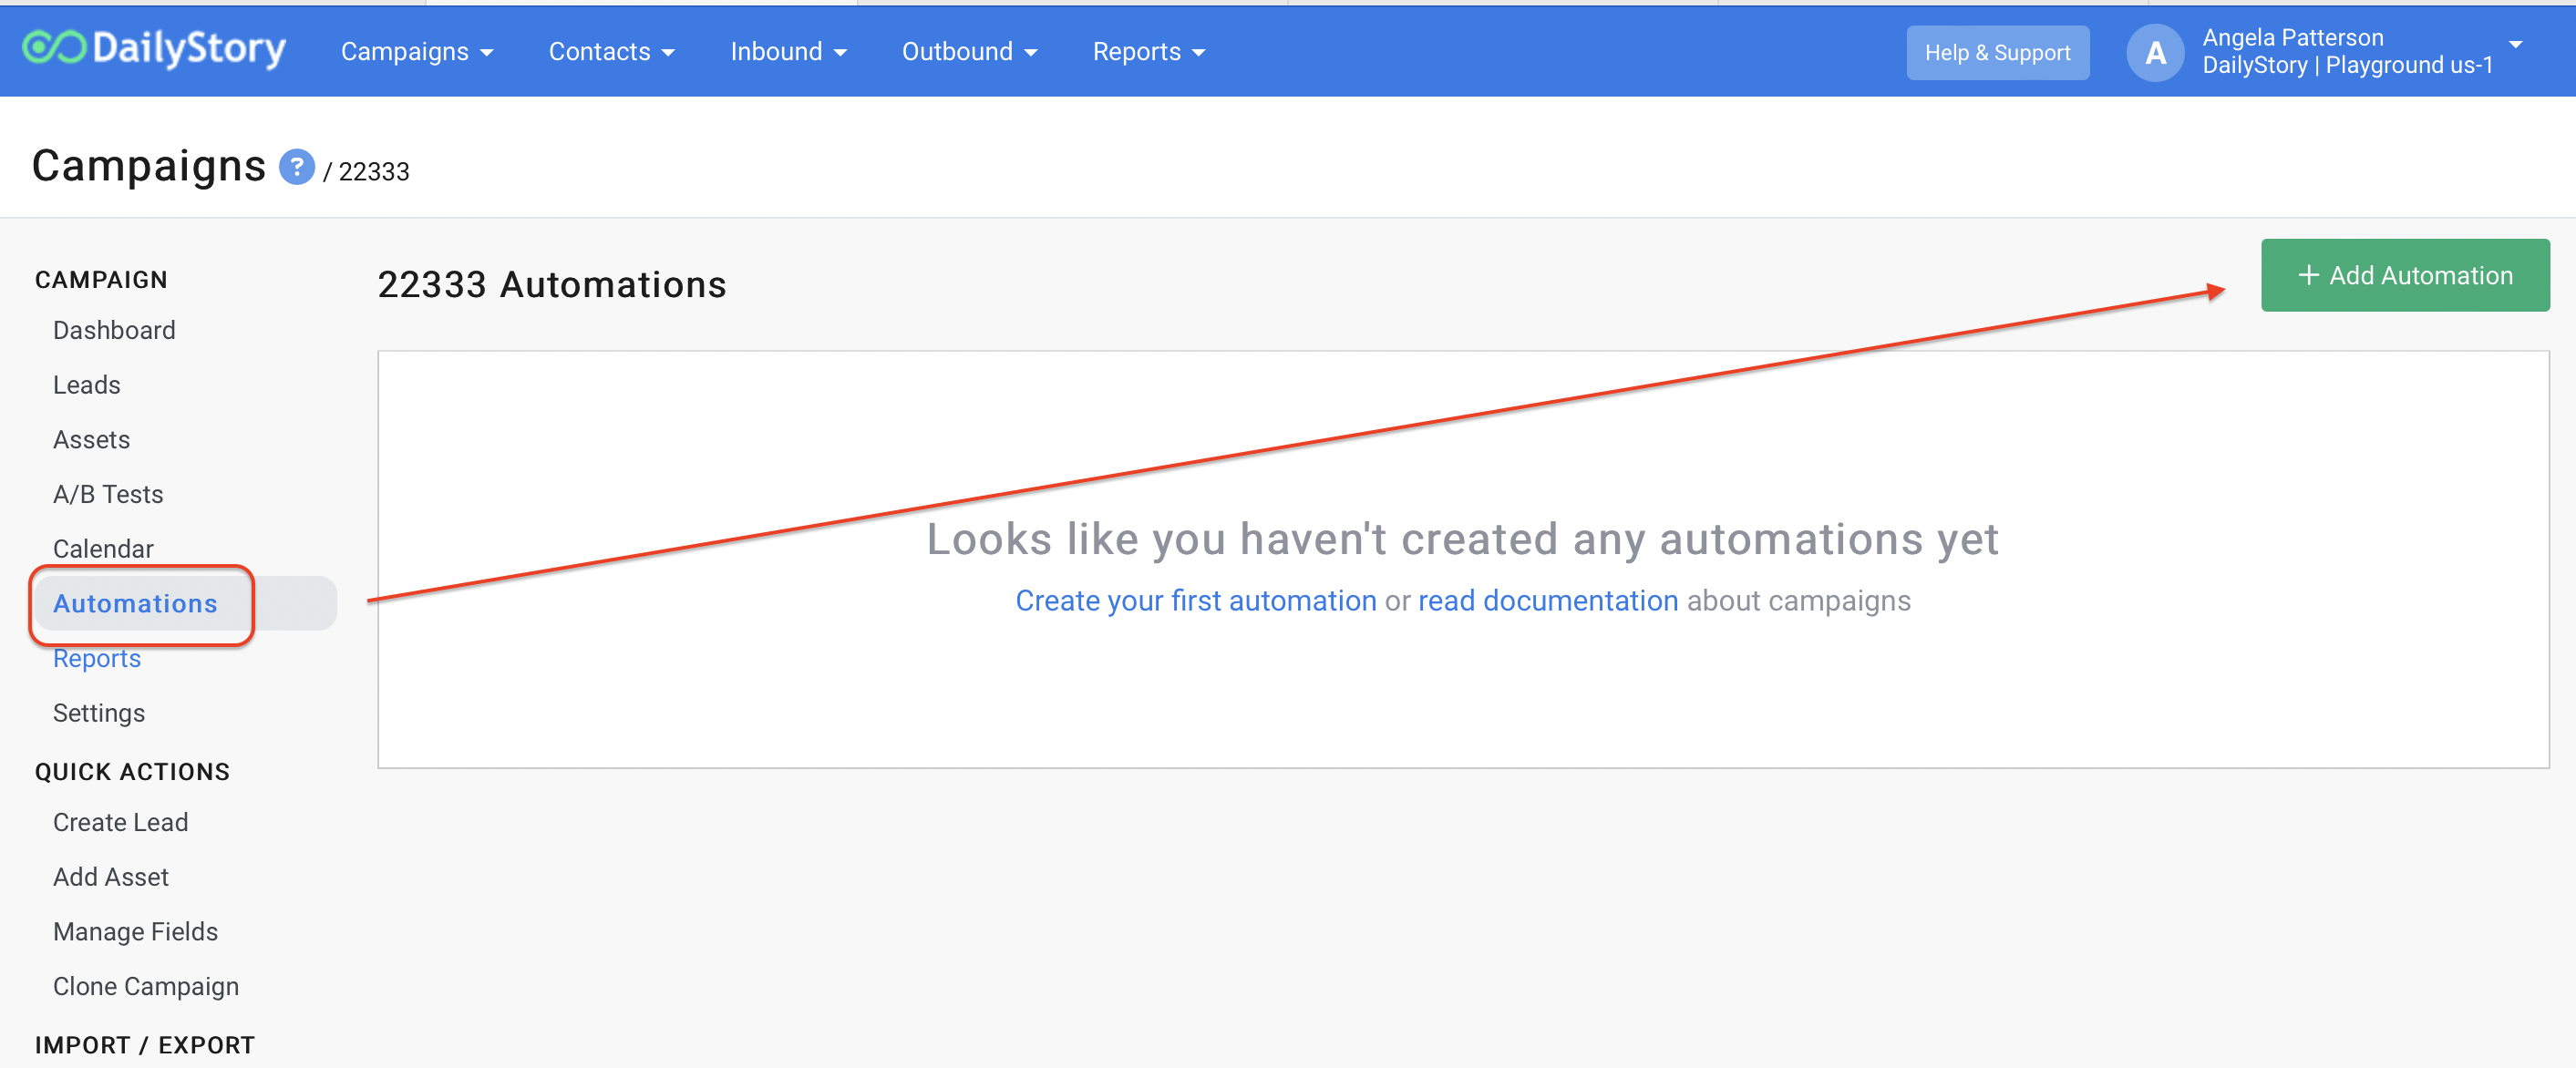
STEP 4: Create an automation
- From within the campaign, select the Automations tab and then click
+ Add Automation.
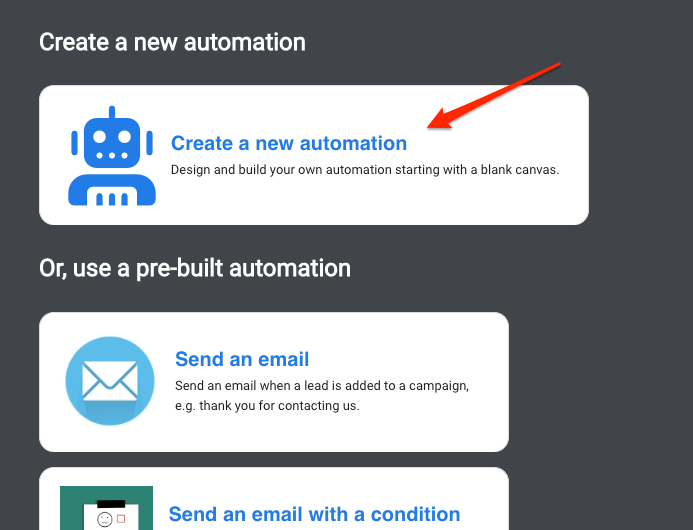
- Select
Create a new automation.
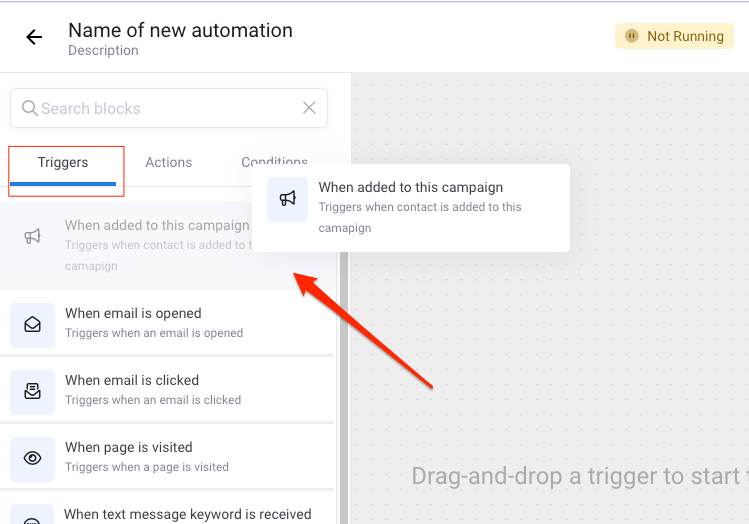
- From the Triggers tab, drag and drop the trigger
When added to this campaignonto the canvas.
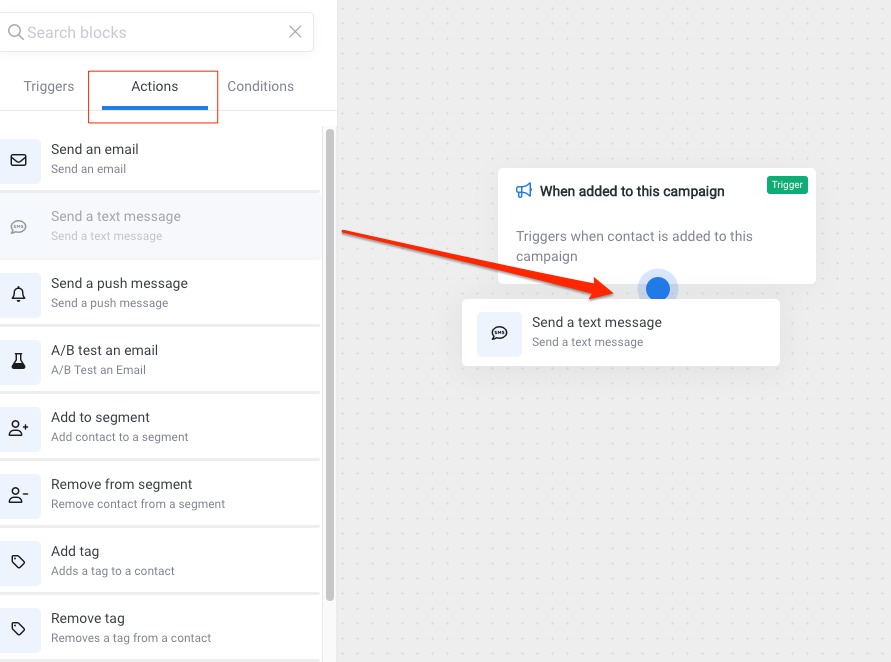
- From the Actions tab, drag and drop the action
Send a text messageorSend an emailonto the canvas overlapping the previous step so it will drop into place. You will see a blue dot when it’s ready to drop into place.
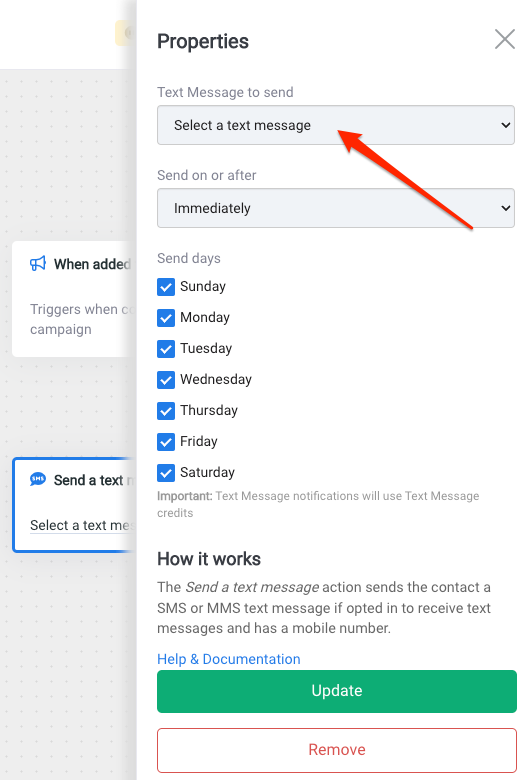
- From the Properties window for the selected action, choose the text message or email to send and any sending preferences. Once selected, click
Update.
- Your automation is ready, so your final steps are to save it, name it and turn it on. You can name the automation Win Back After 45 Days and as a description describe what will happen. For example "Send text message when added to campaign".
- After you click the Save button and name your automation, click the back arrow
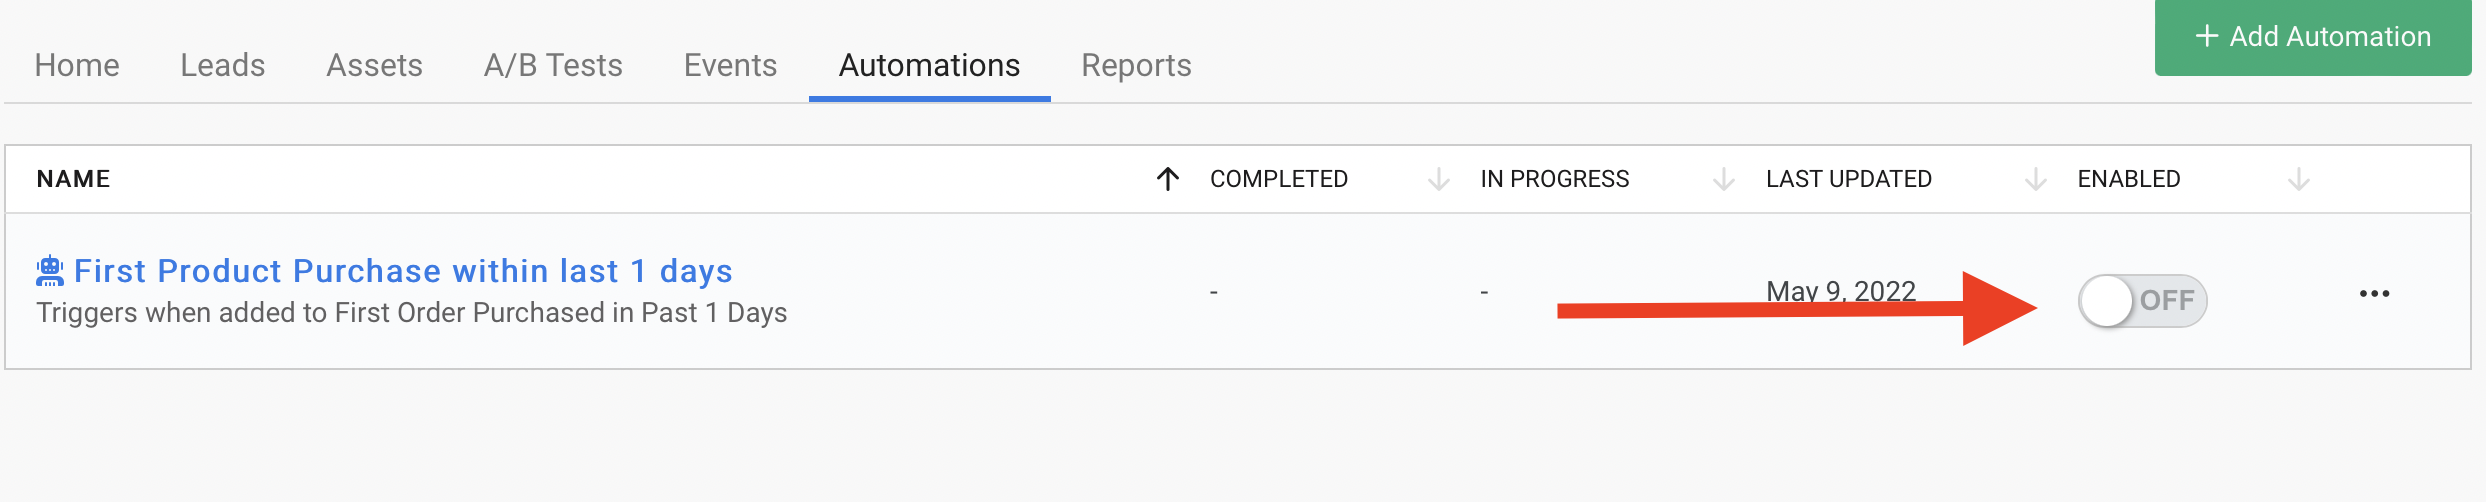
<--to return to the automation settings. - You can slide the automation to
ONfrom the settings screen and clickSave & Close, or you can always turn automations off or on from the tab in your campaign.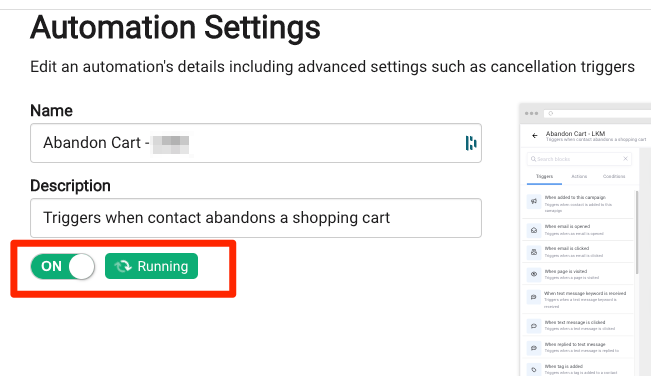
Click here for more help with creating automations.
You're all set!
As soon as new customers are added to the segment (based on the over 45 days but not longer than 90 days criteria), they will automatically populate as Leads in the campaign and run through the automation to receive your Win Back message.